HOPPLI - The rabbit enclosure for IKEA friends
Since our rabbits moved in with us 6 years ago, a lot has changed. In the beginning we both had our own room and the rabbits were with Christina in a small enclosure. But we soon realized that the bunnies need more space for a species-appropriate keeping. Therefore we decided to share one room and give the rabbits the other room.
In the meantime, however, the 3 have become older and also much calmer. At the same time, Christina's painting and my photography became more and more intensive. The moment came when the room became too small for us. A shared PC was no longer practical and our equipment and various utensils simply need their space.
So what to do? No matter which of us takes the bunnies into his room, there would be hardly any space left to work. Then there would be the balcony. With 7m2 big enough, but unfortunately south-facing and thus much too hot in summer. Slowly we ran out of ideas. Instead of the dining table, an enclosure in the living room? Also not the real thing. And since rabbits, unlike hares, are pack animals, the obvious solution of each of us having a small enclosure in his room was also ruled out.
I don't remember if I just rubbed my nose at that moment, but suddenly I had an epiphany. Our rooms are next to each other and separated by a simple sheetrock wall. How about a connecting tunnel between the enclosures? I have to say, I haven't been this excited about one of my ideas in a long time :-) And since you have to take advantage of this euphoria, I also started right away with the implementation.
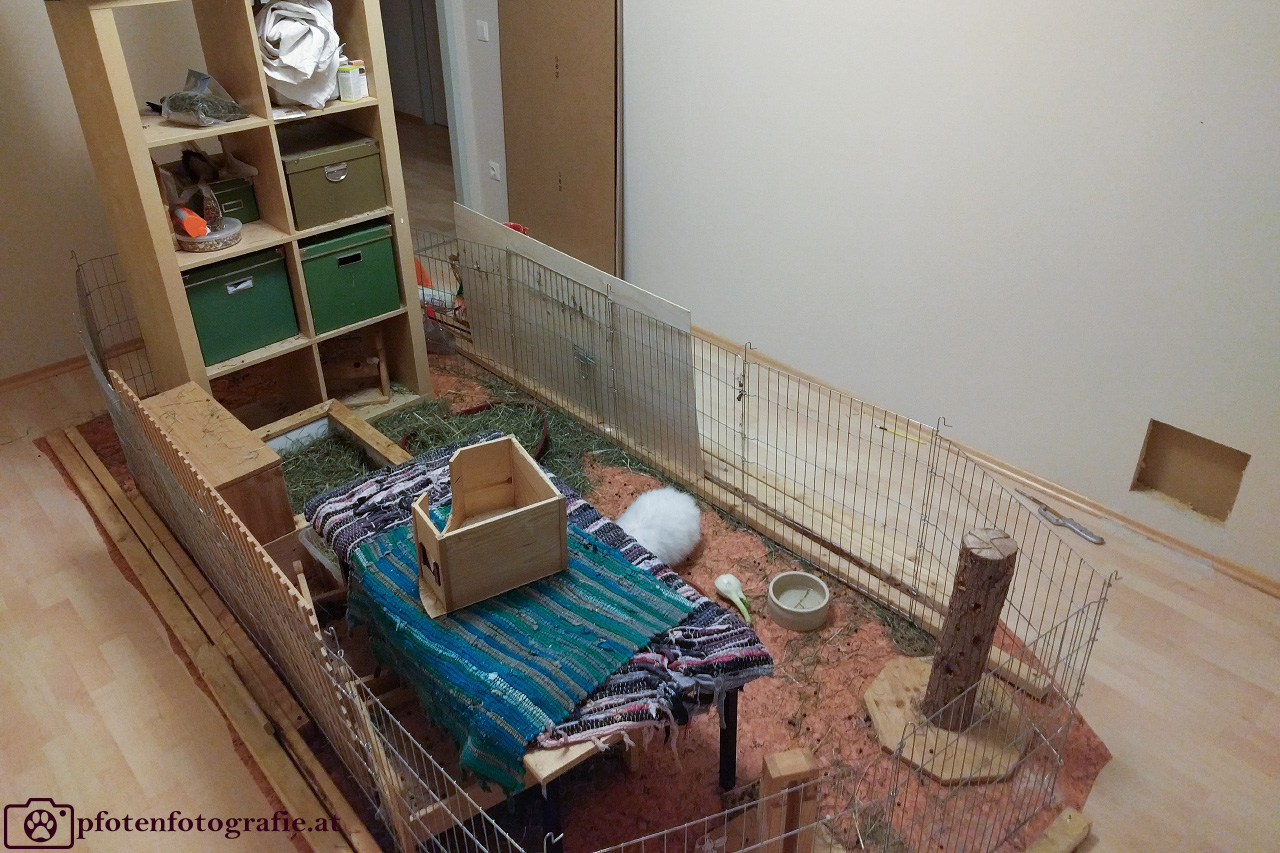
The first problem was not long in coming. How do you renovate a room and build a new enclosure while the rabbits still live in the room? The solution was a temporary enclosure with grids in the middle of the room so that I could comfortably repaint the walls.
That was not so difficult. But how and with what should I actually build the enclosure? I decided on wood, because it is the easiest to work with. But to saw all the boards in this size to the millimeter? After all, I am not a carpenter. And I don't have the right tools either. Besides, the boards would have to be joined somehow. Apart from gluing, I don't know how to do that. And by the way, it should also look a bit like something.
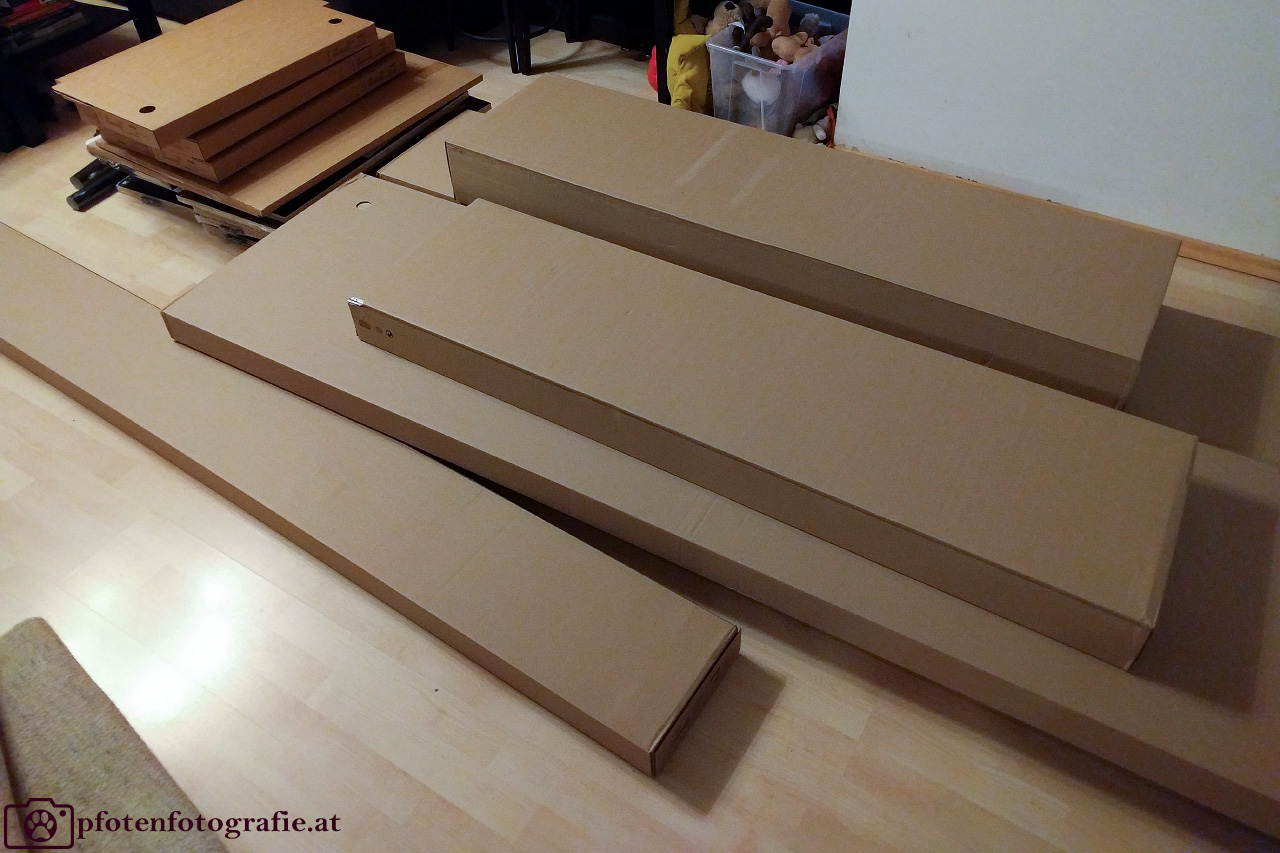
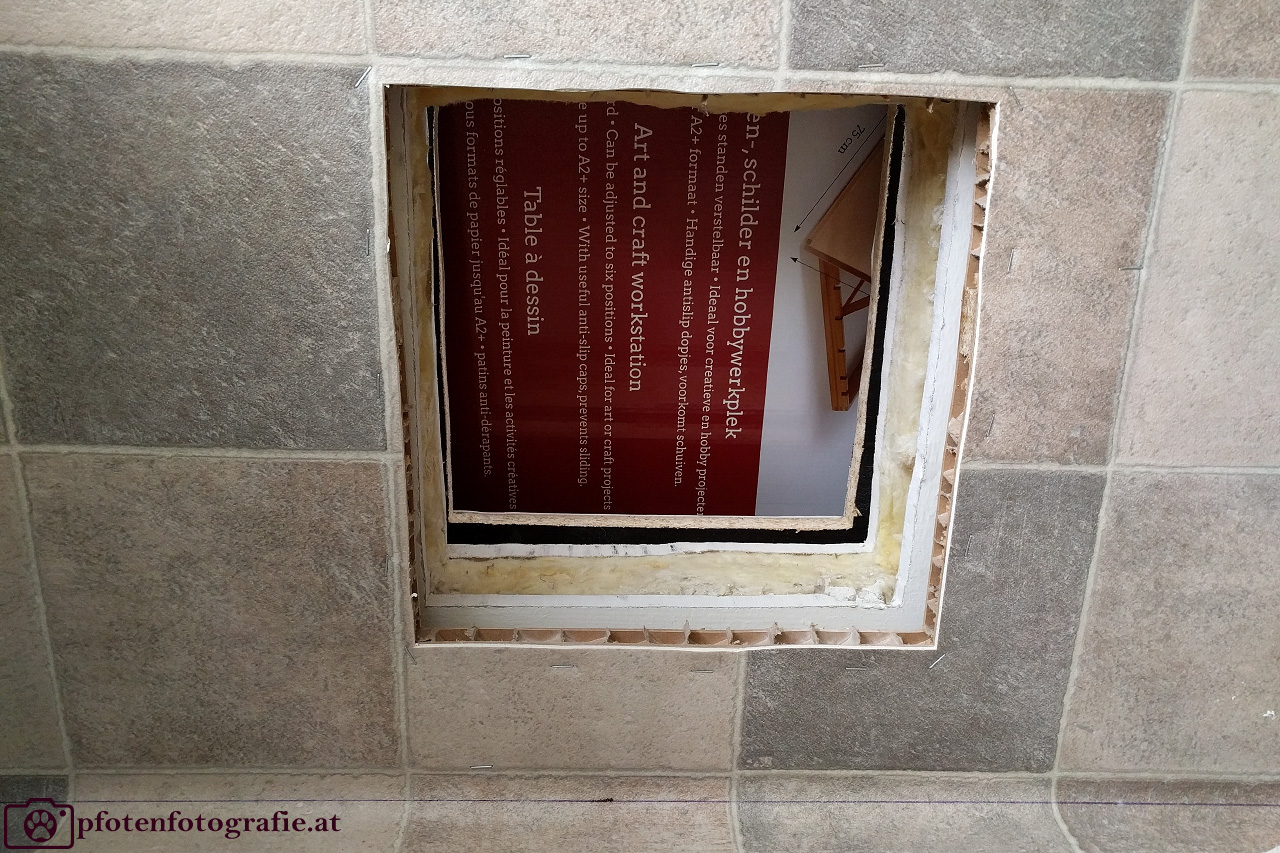
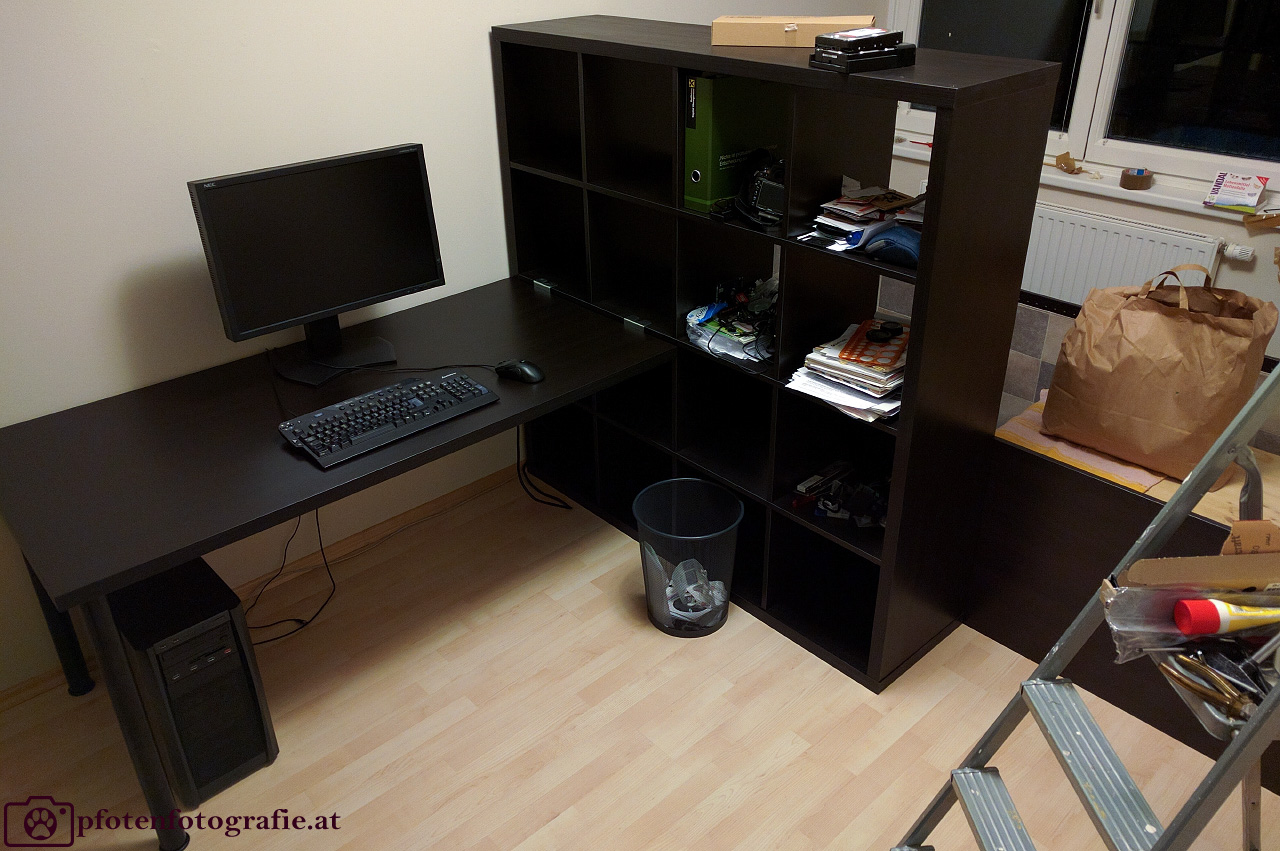
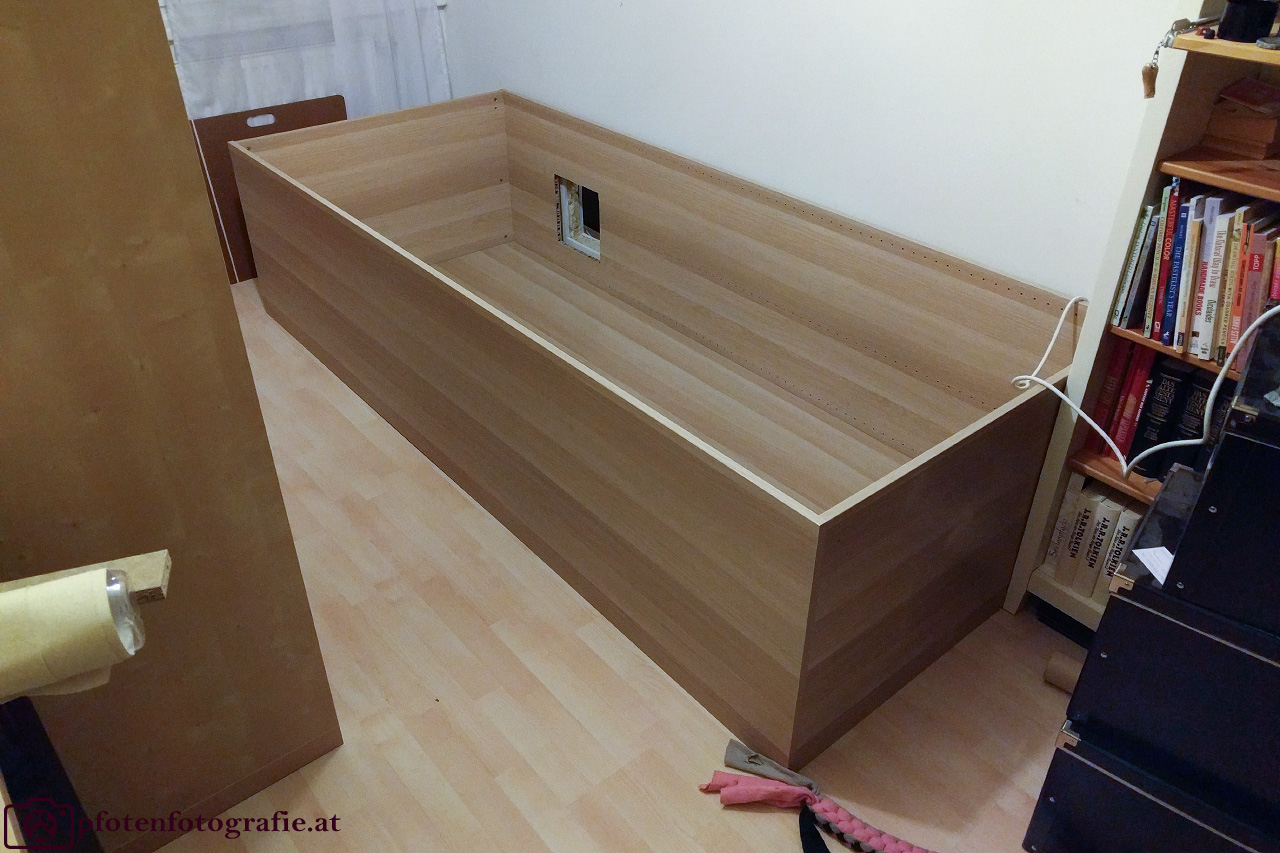
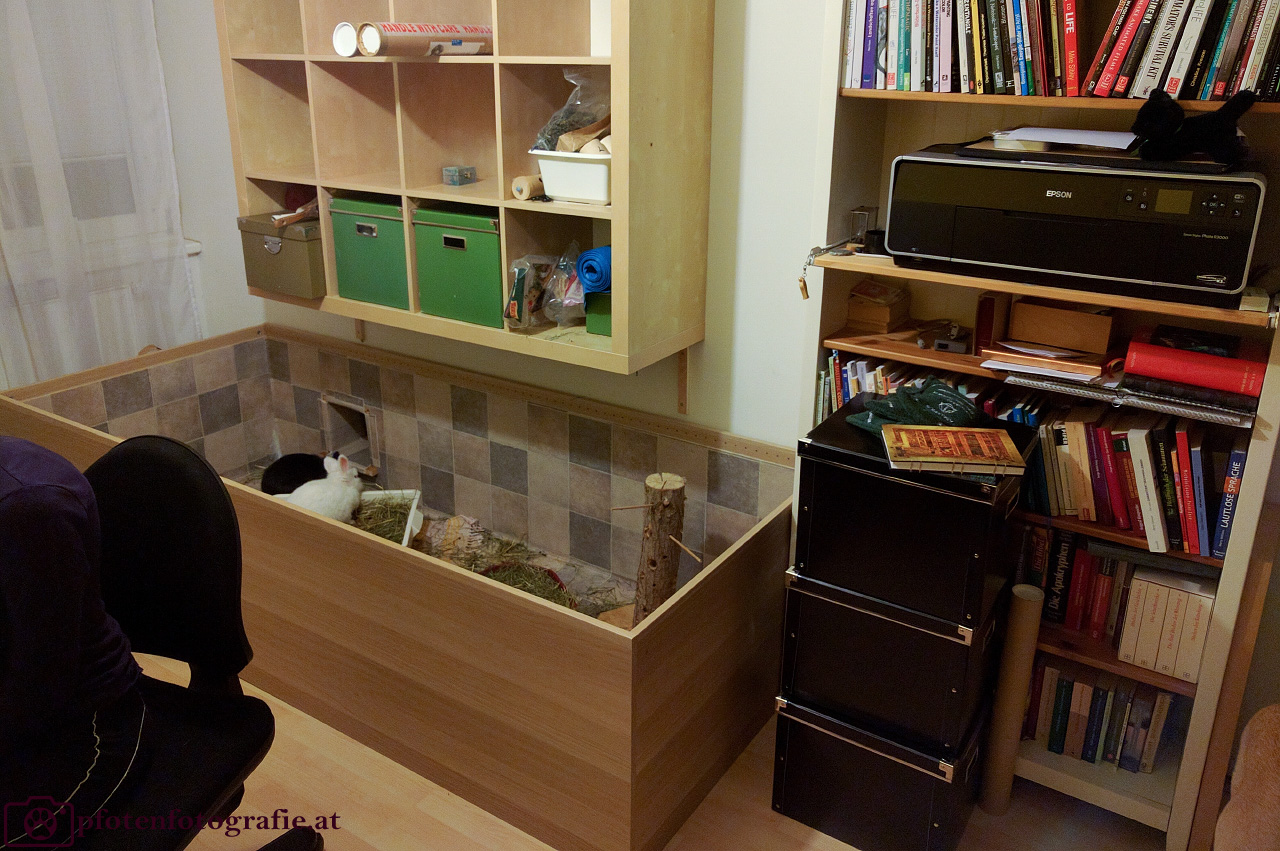
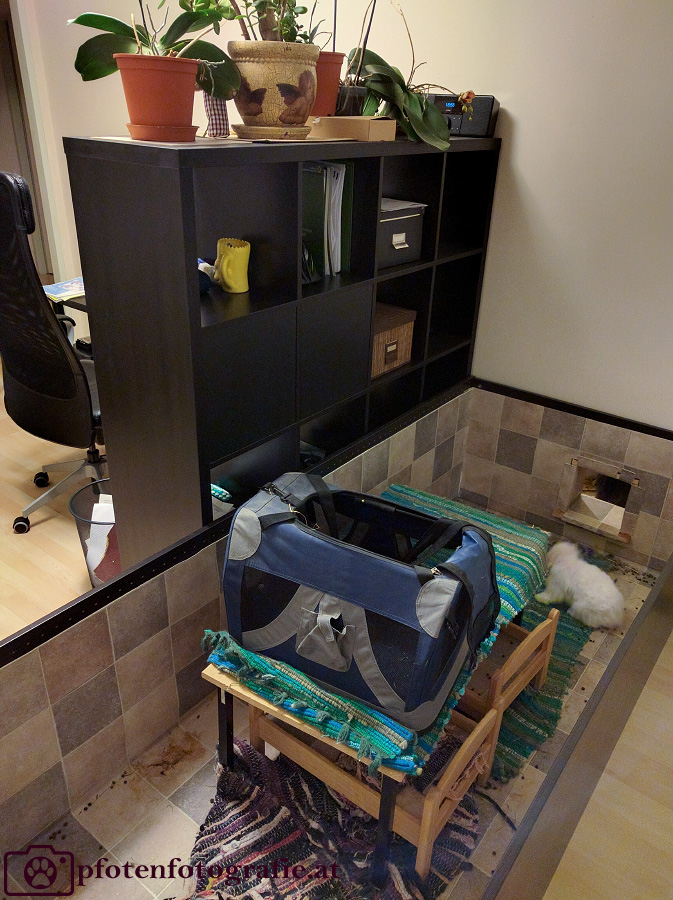
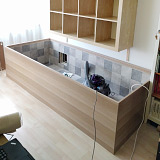
But also for this I found a perfect solution. Two big IKEA PAX cabinets, one in each room. Lying on their backs, of course! They fit wonderfully with the rest of the furniture and IKEA furniture is fun to build anyway :-) Since the PAX cabinets are built completely symmetrical, you can even omit the skirting board and screw the side panels on the very outside in each case.
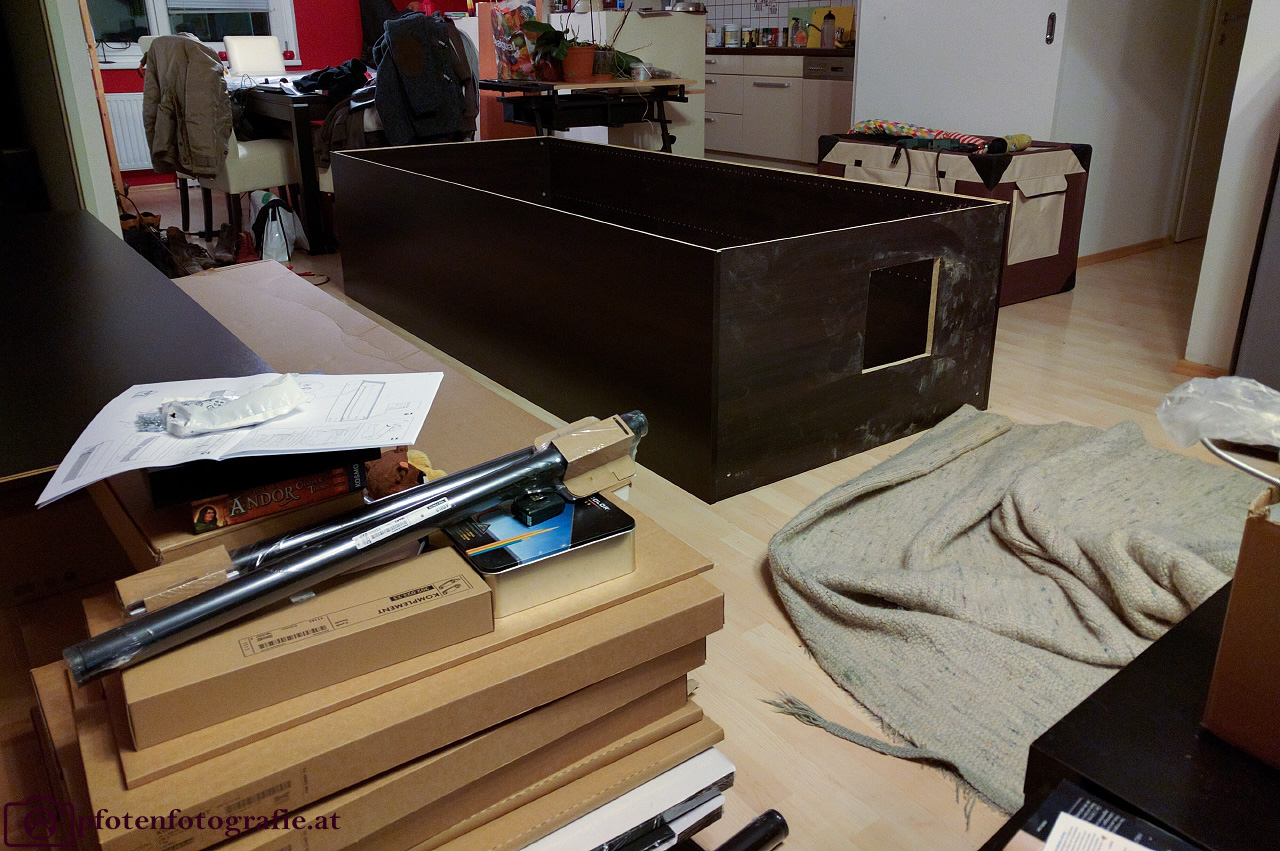
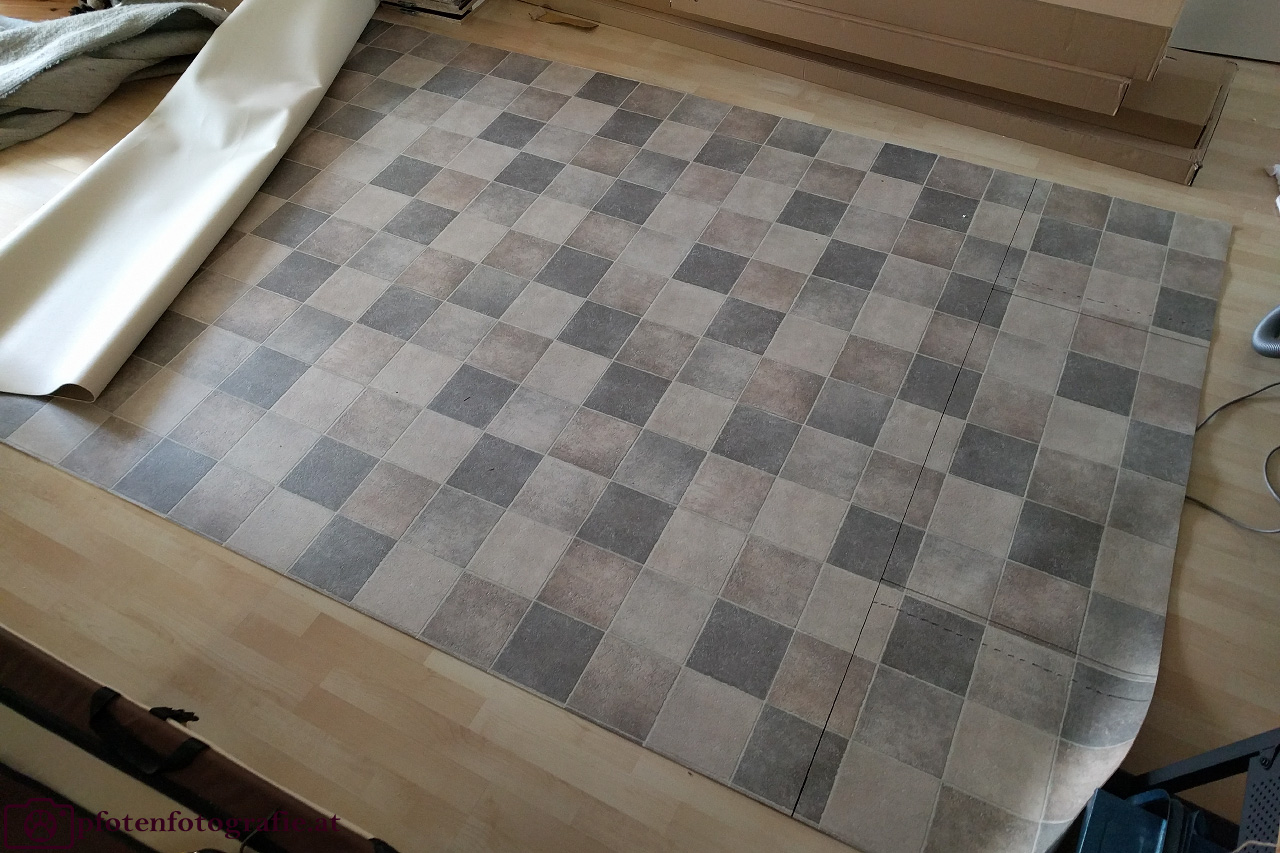
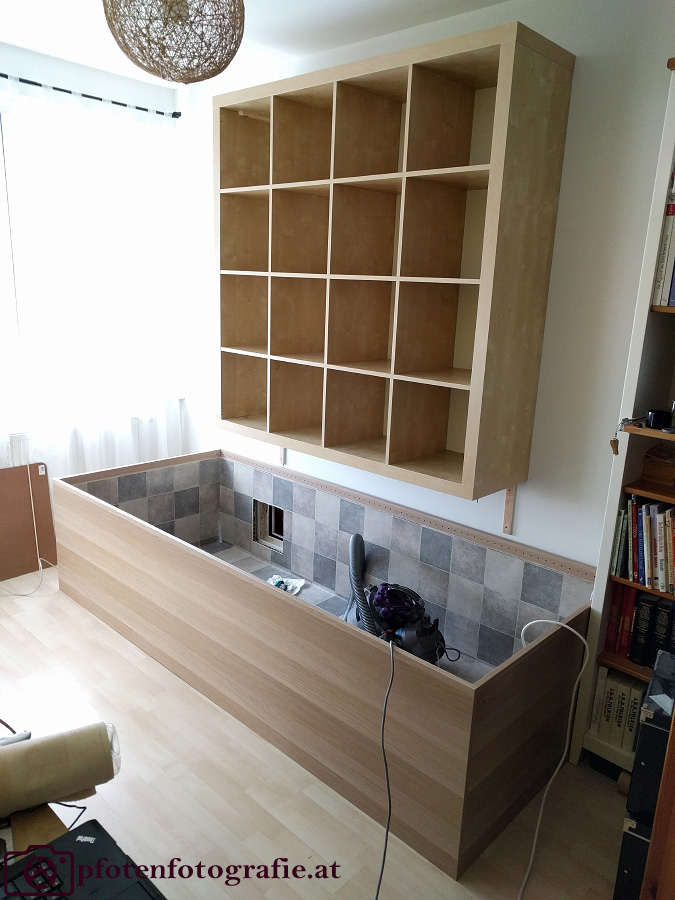
Now just saw out the hole for the passage at the appropriate place and the first part is ready. Almost! The inner lining is still missing. I bought a large piece of PVC flooring at the hardware store. At home I cut it to fit and then fitted it into the cabinet. This is not so easy and you need at least 4 hands, better still 6. When it fits, the flooring is simply stapled to the cabinet and the joints are glued so that everything is nice and tight. Now the first part is really done.
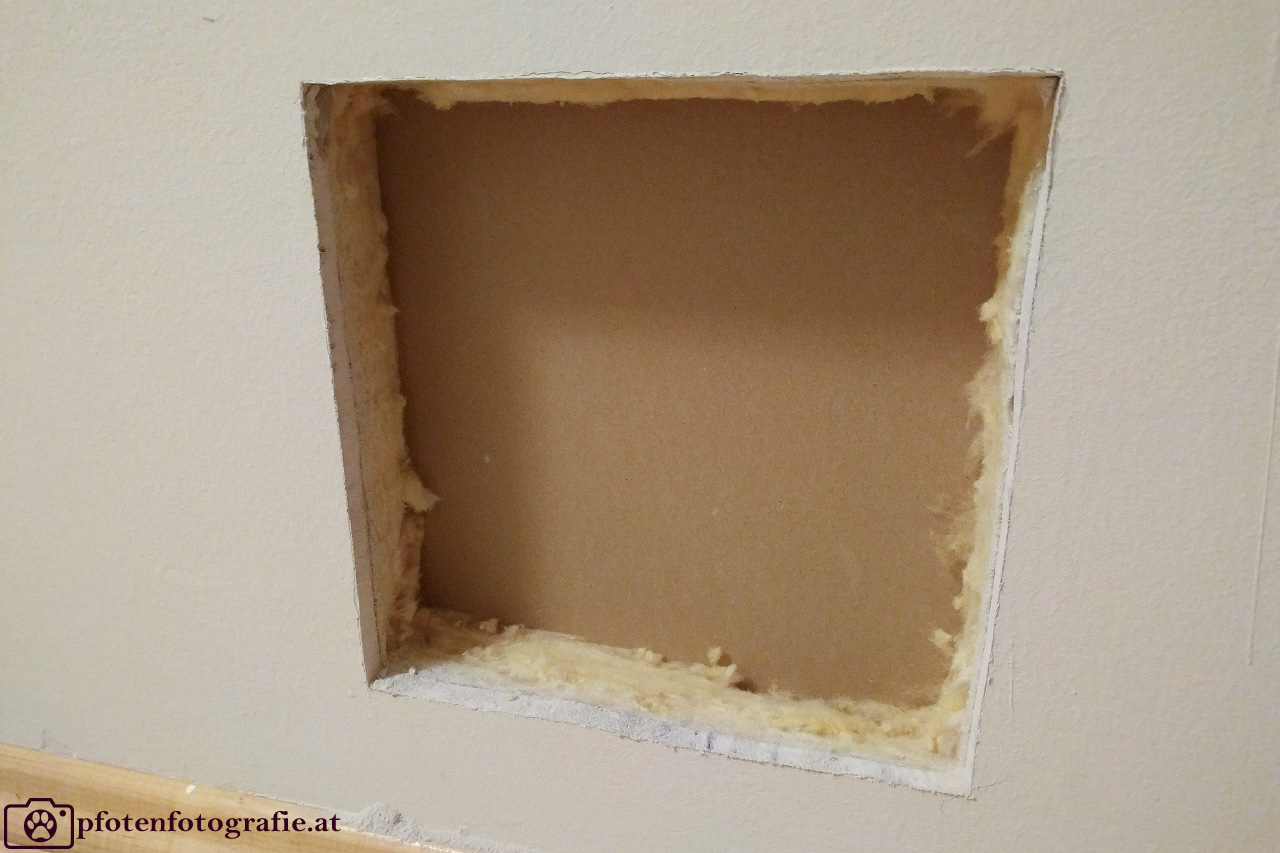
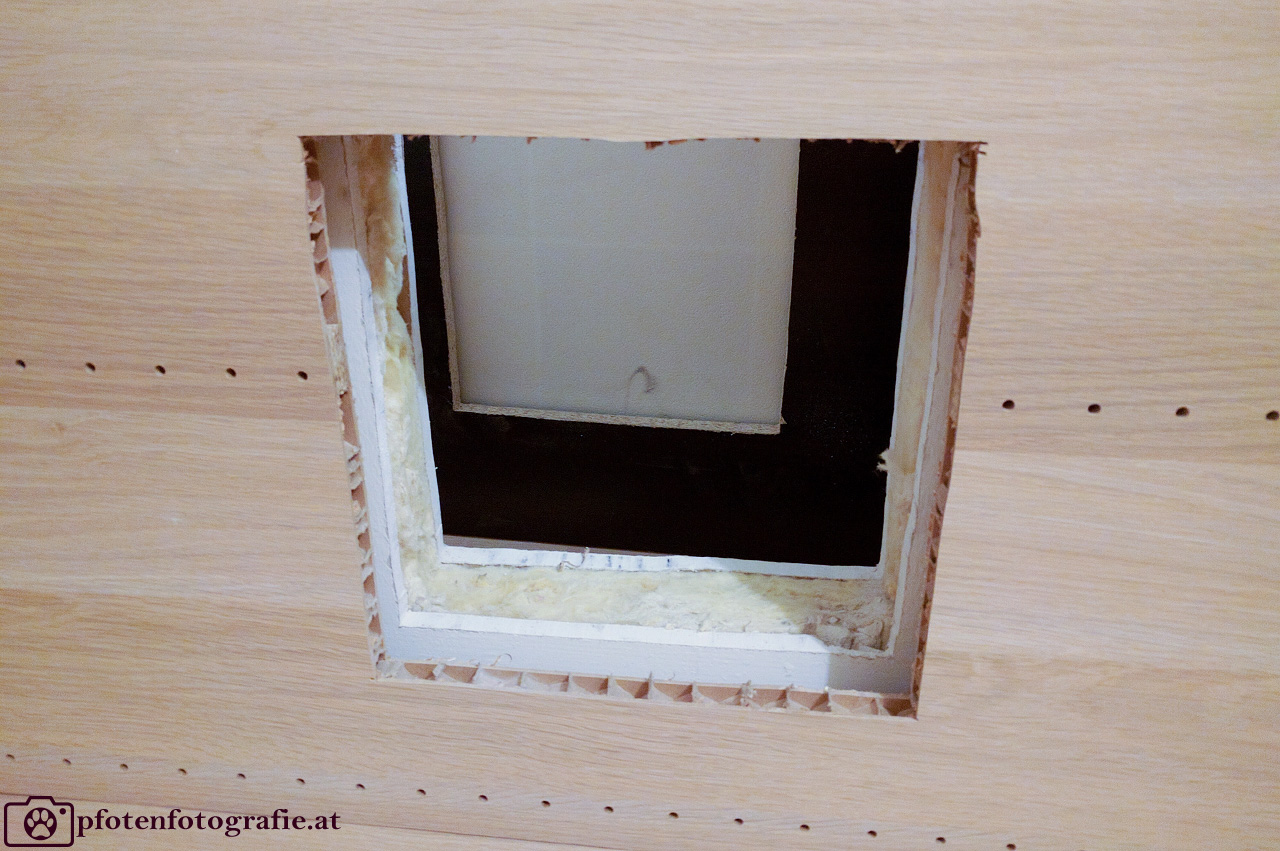
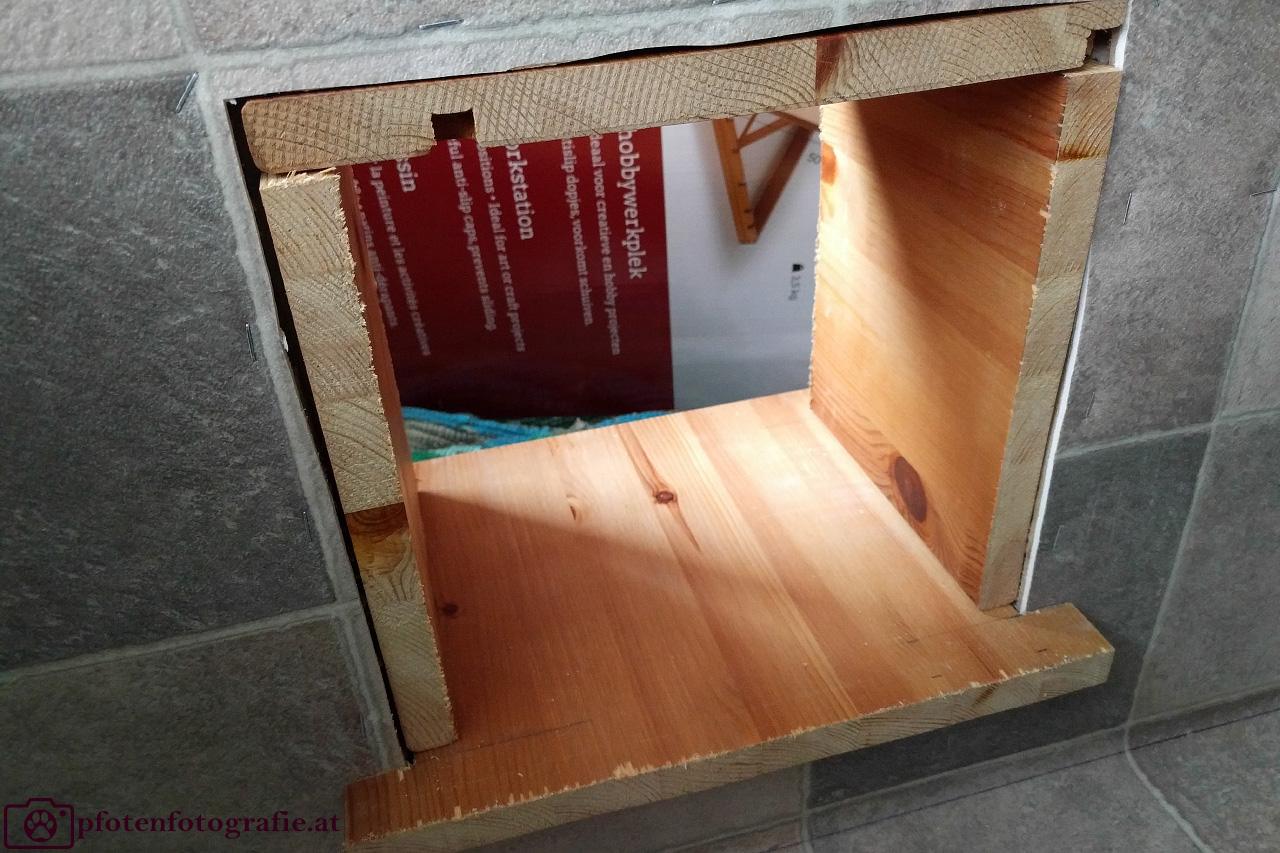
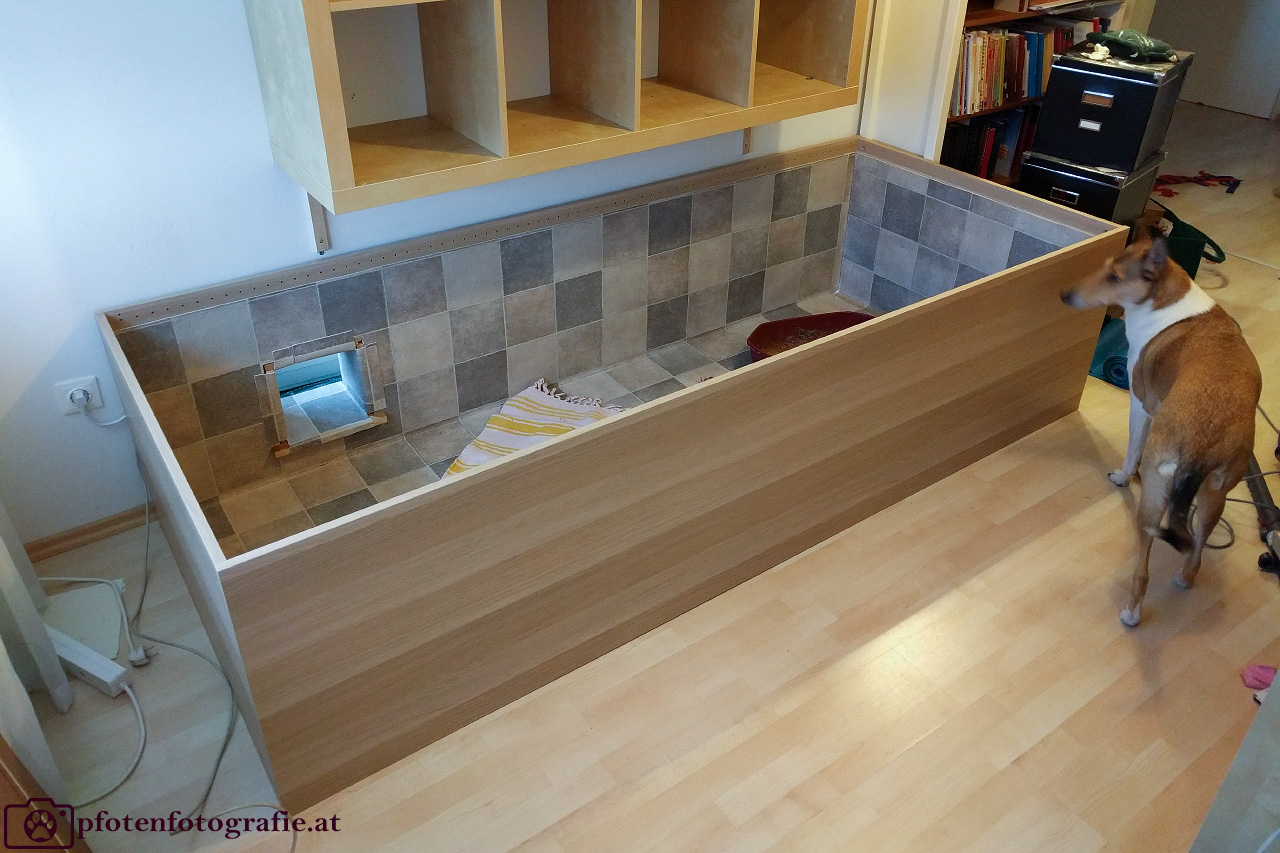
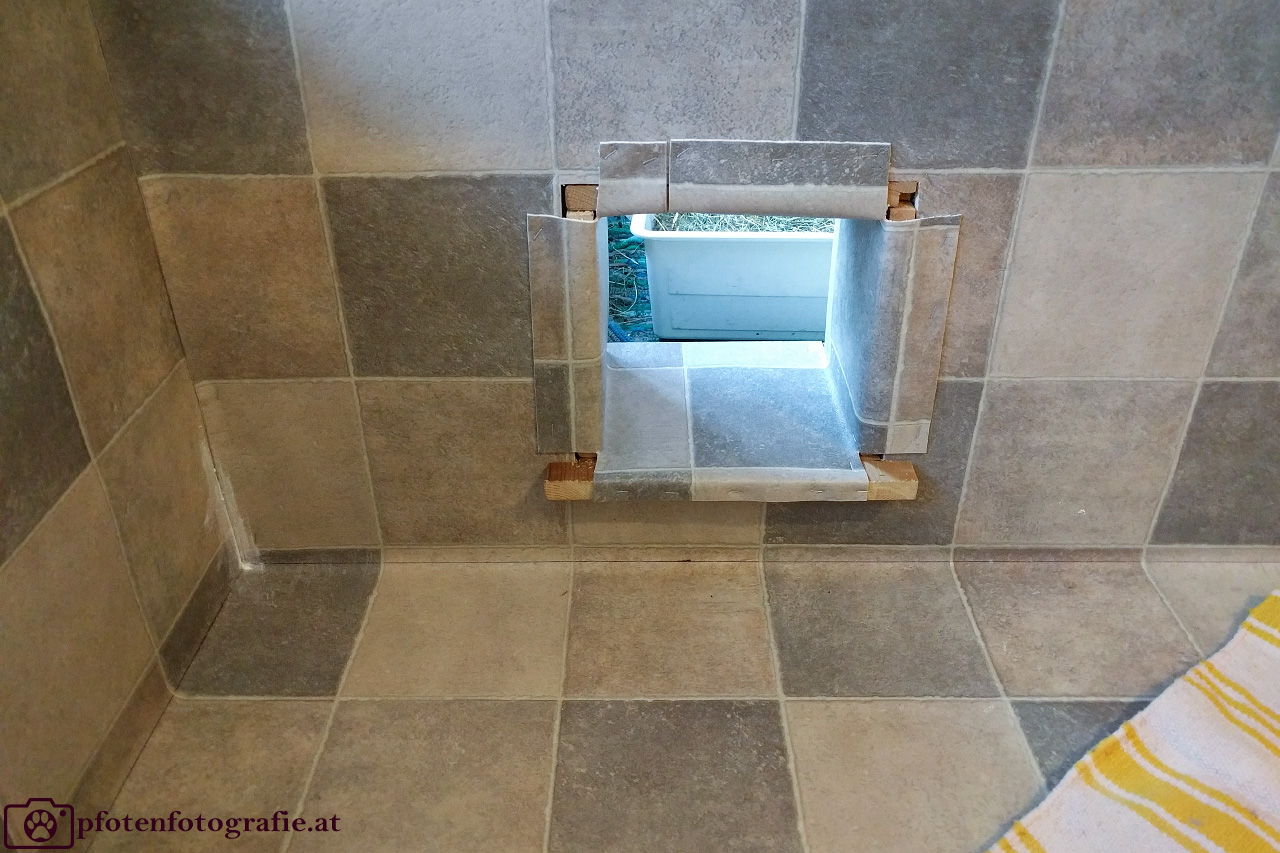
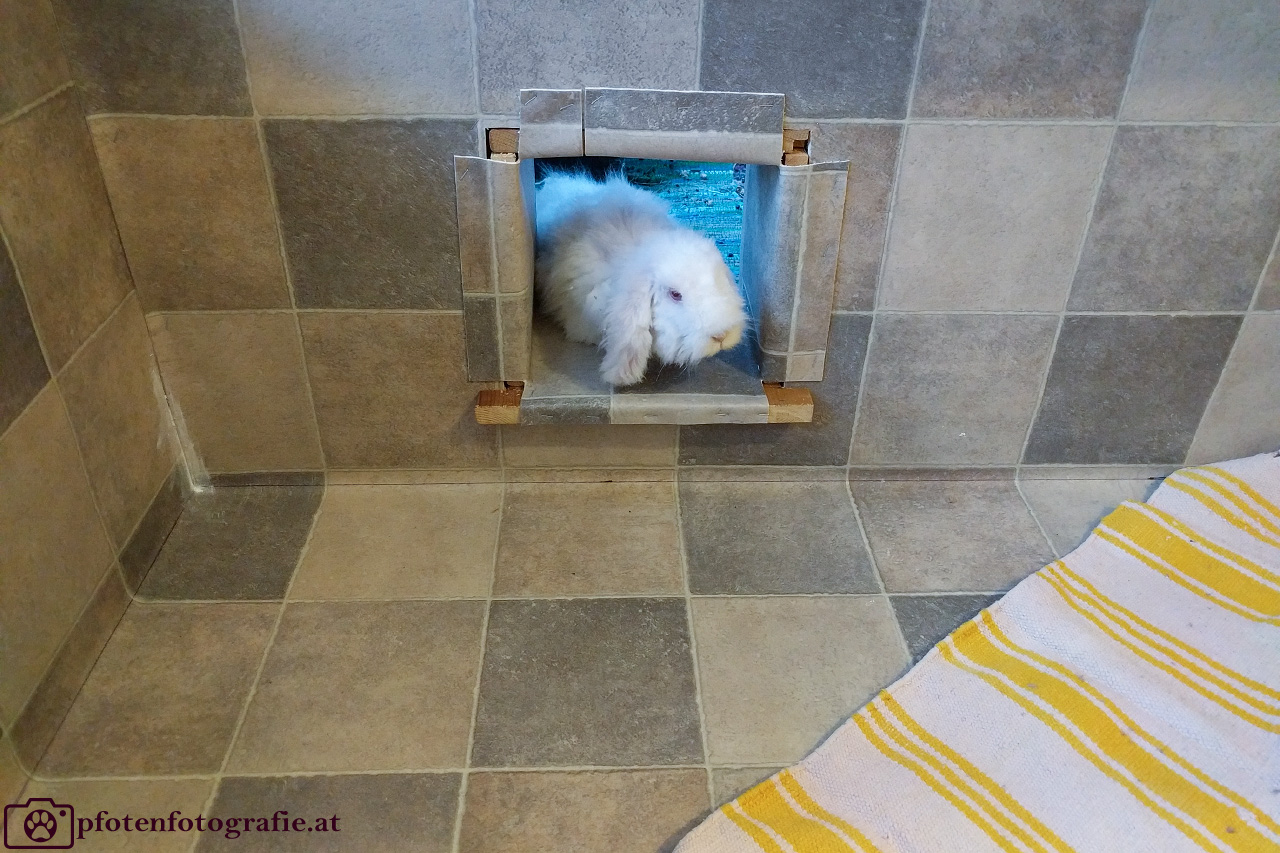
I was a little more nervous about the hole through the wall. Of course, I checked beforehand to see if there were any metal parts behind the wall. Still, I had a pretty queasy feeling when I sawed open our wall. After all, you only get one shot at it. One wrong measurement and you have the salad. But it all worked out. I built the second pax the same way and then just covered the passage with a few boards. The enclosure was ready!
That all sounds pretty easy, doesn't it? But in reality it was a lot of work that took days. But if I would have listed every detail, this text would become much too long. Just have a look at the pictures, I think they are self-explanatory.
If you have any questions, feel free to leave me a message. I would be very happy if there are imitators :-)