A cat tree made from a tree trunk
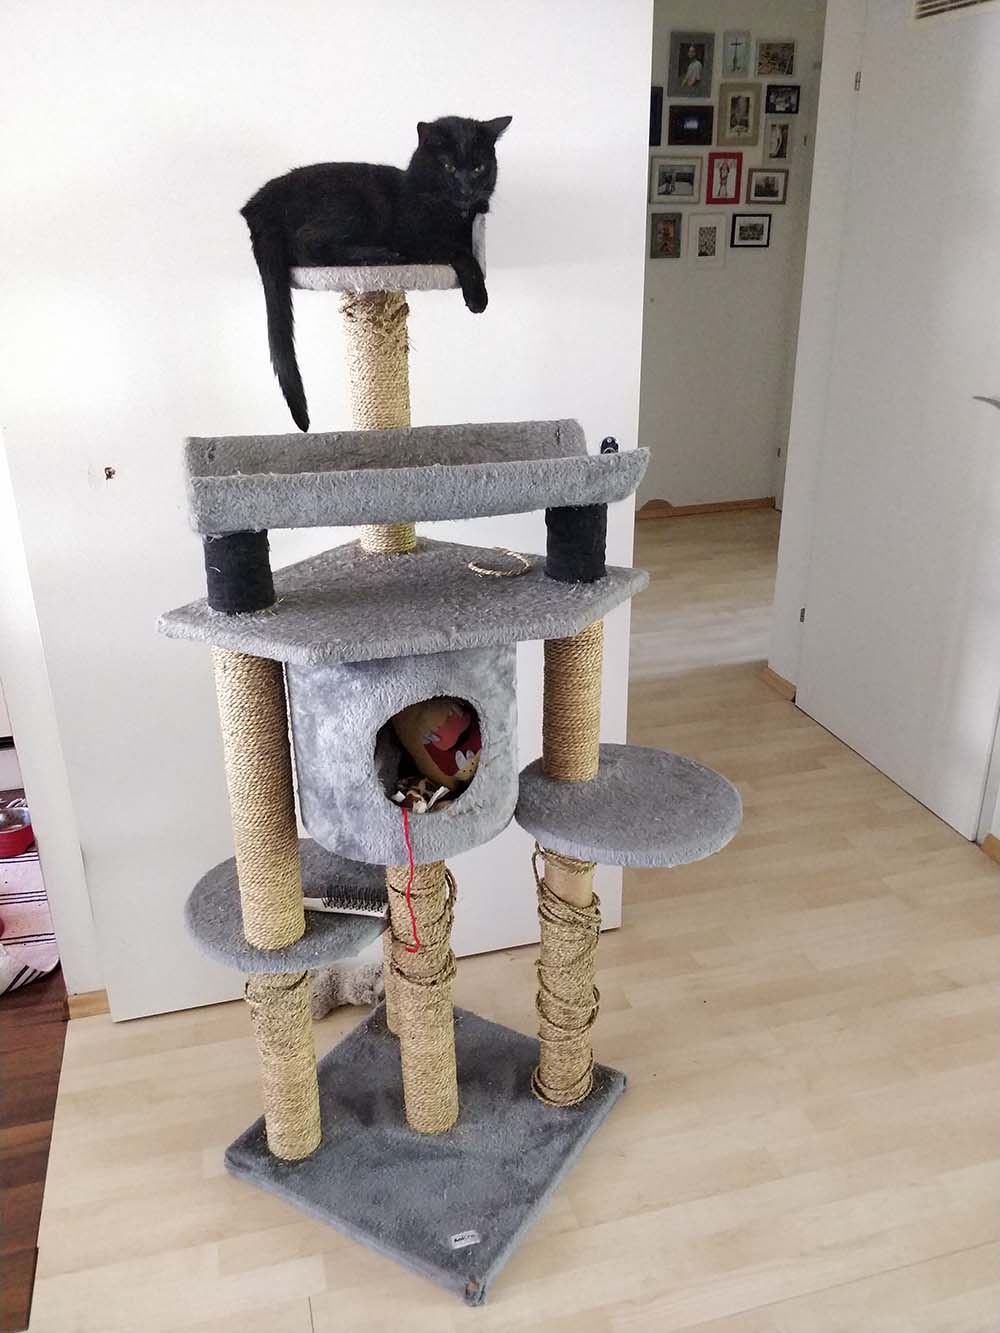
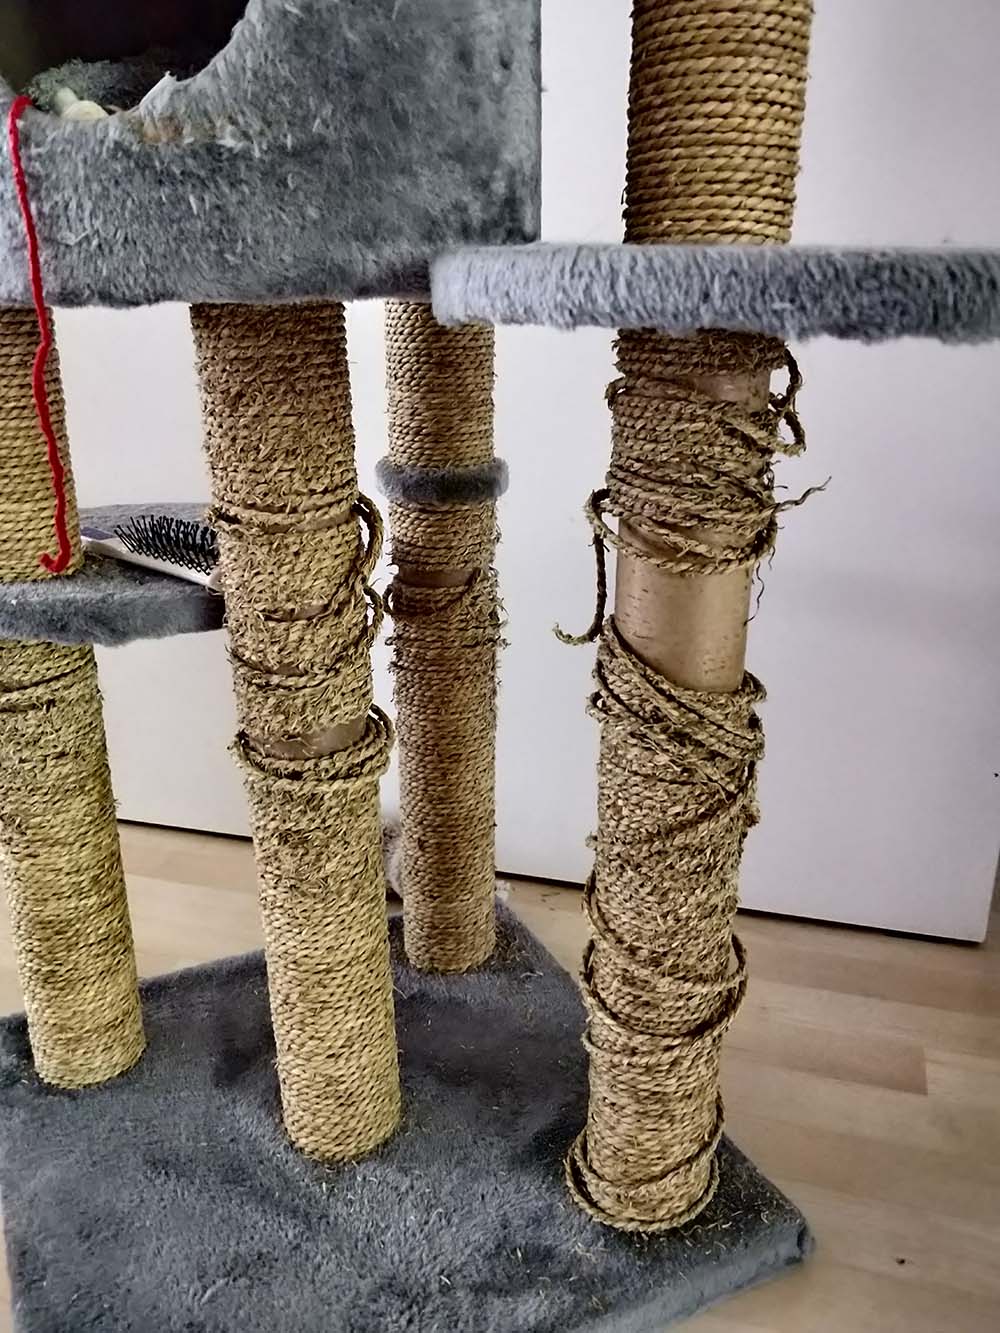
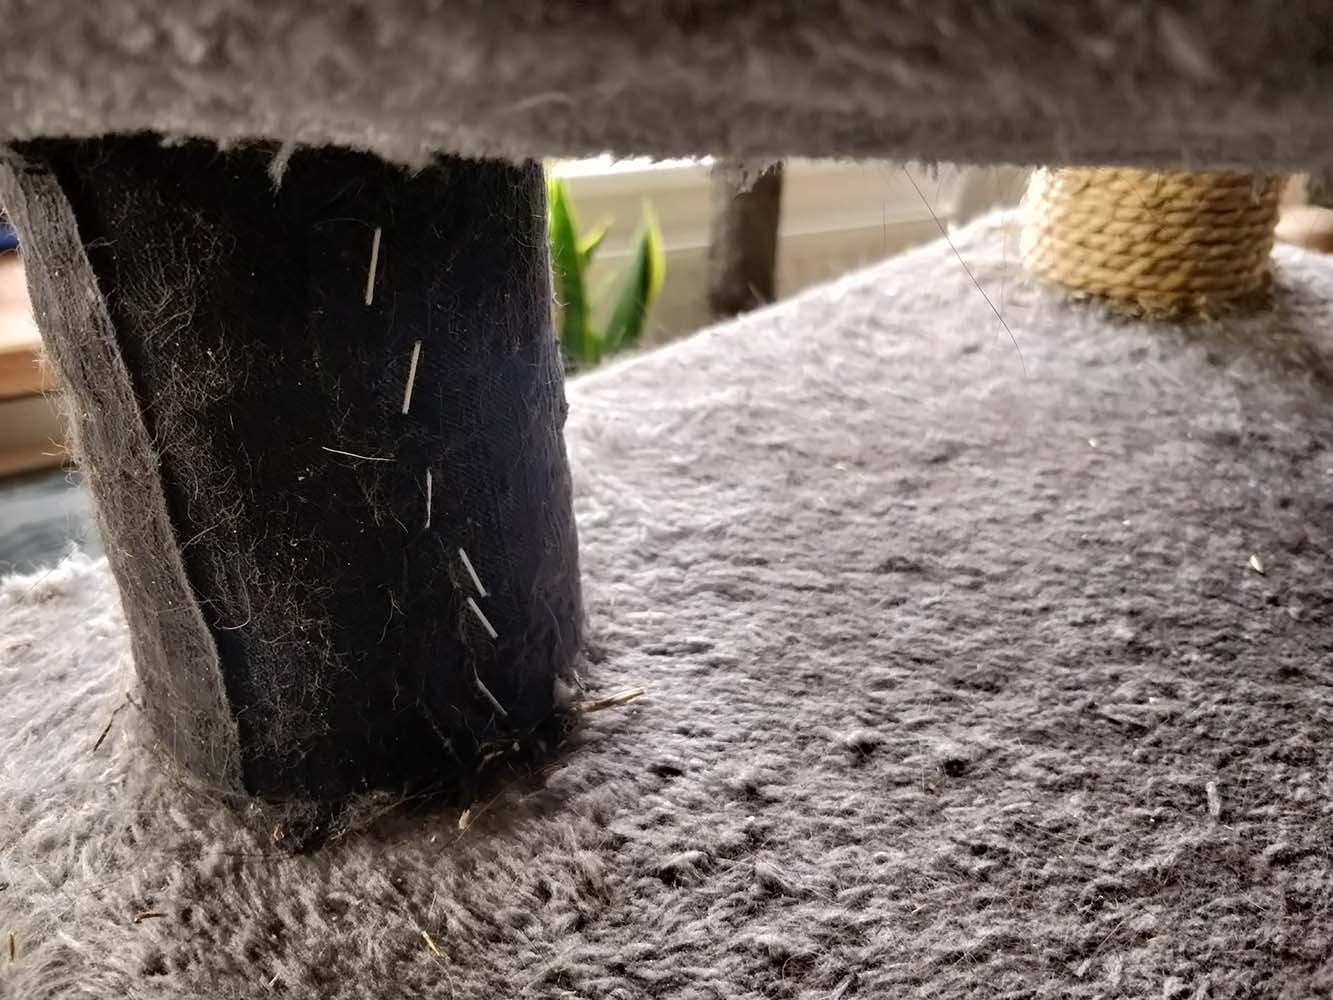
Einstein and Newton love their cat tree. Although the term cat tree is not really appropriate. You could also call it a sleeping tree. Newton especially enjoys lying around and having his belly scratched. However, the last few years have left their mark. The sisal ropes have been repaired several times, and the fabric has also been partially replaced by an old pair of jeans. But the cat tree was never a beauty, like most of the cat trees bought off the shelf.
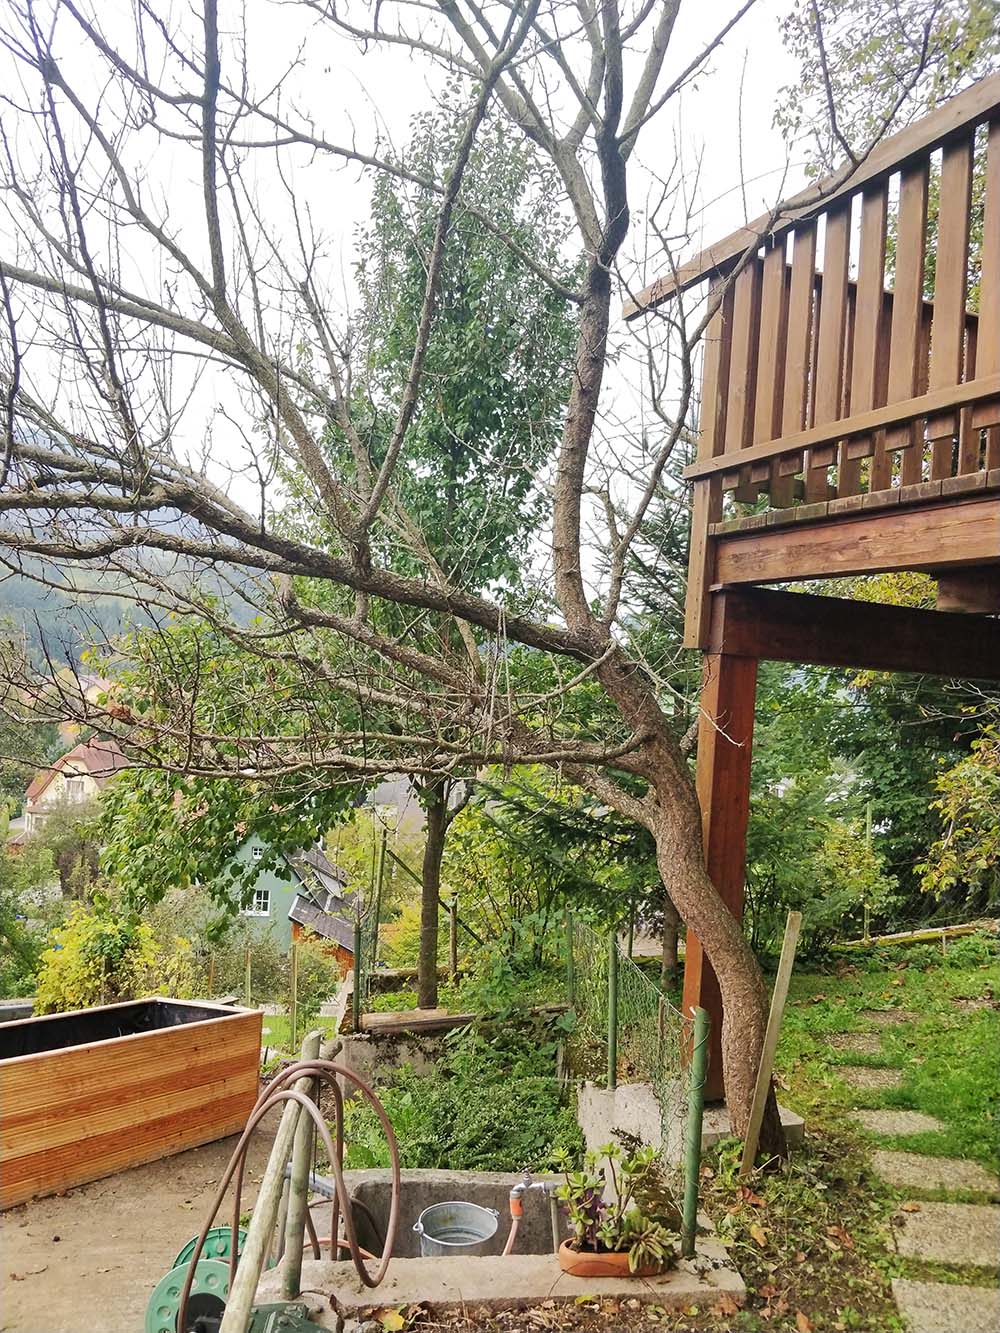
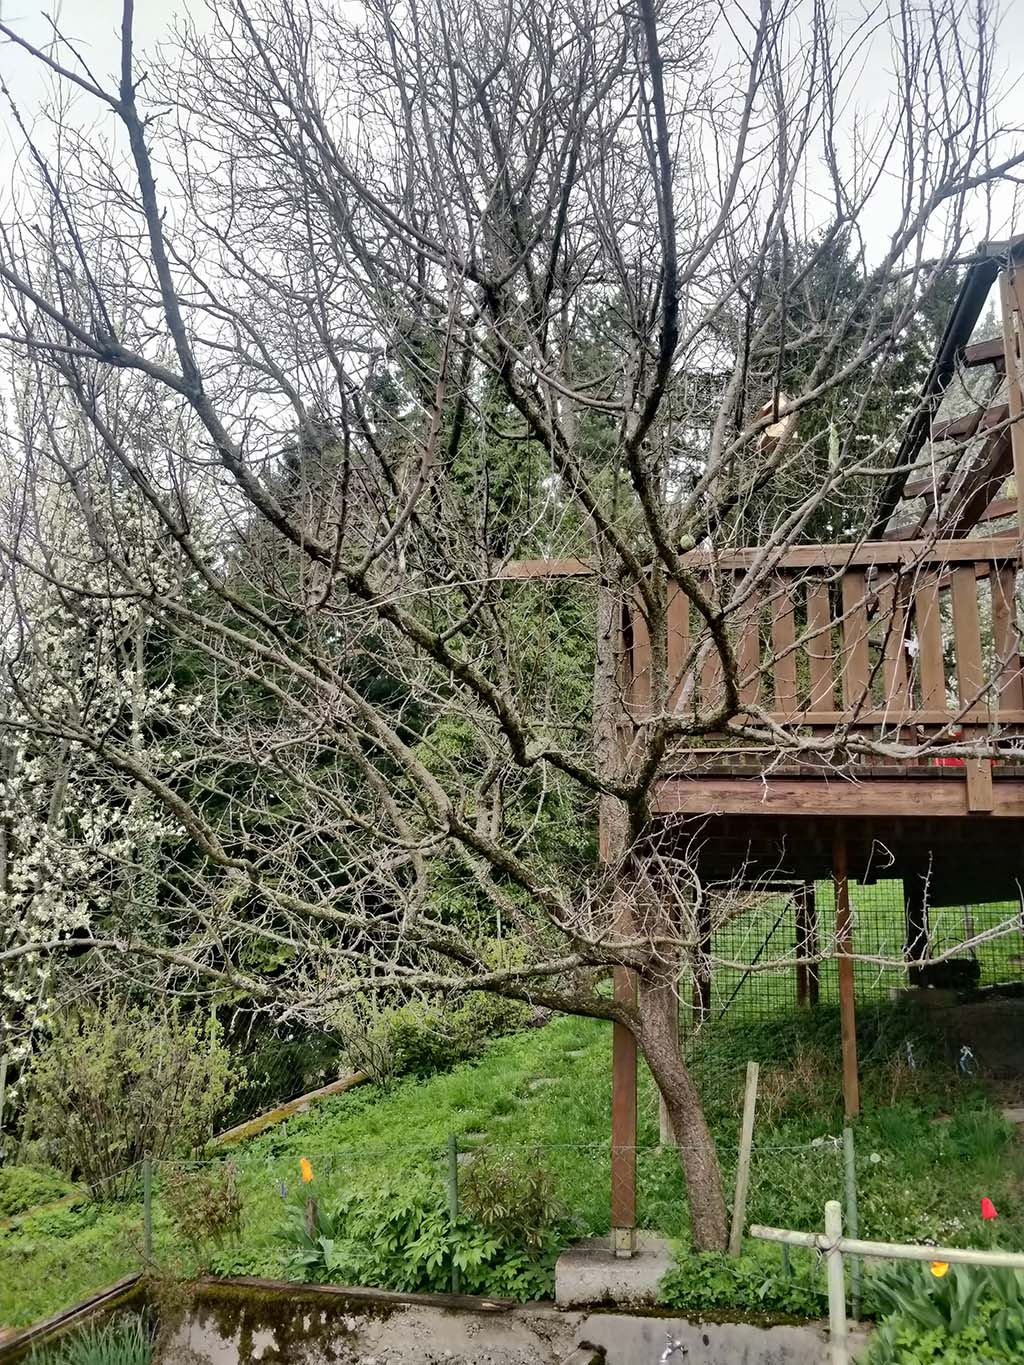
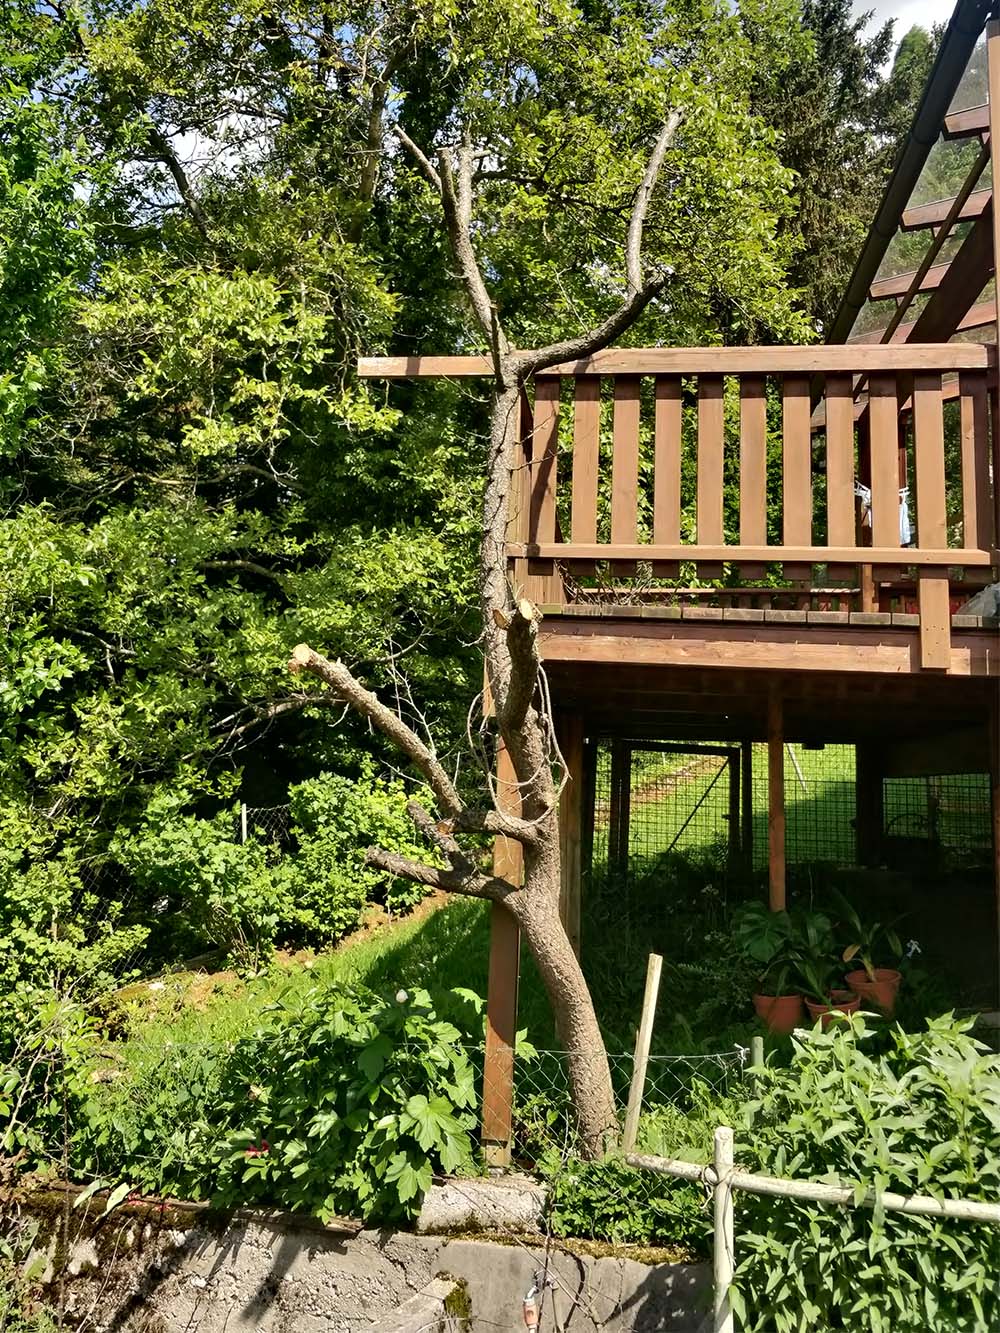
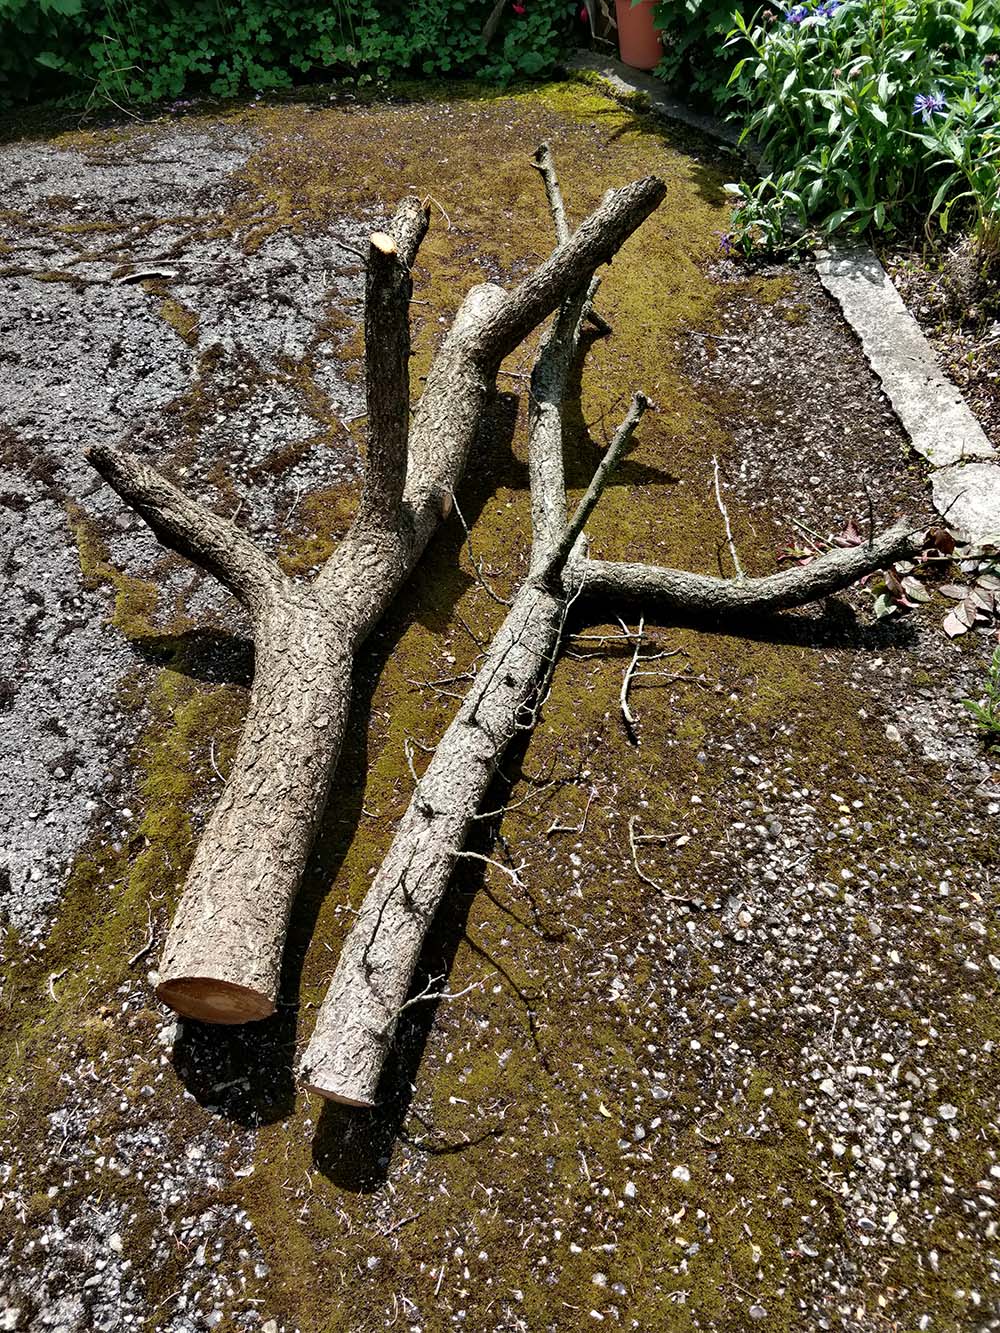
I have always liked a tree trunk as a cat tree. But I never really pursued the idea so far. Now, however, I had the opportunity to use a dead apricot tree. Of course, you can't just transport a tree like that to Vienna in a car. So the tree had to be brought to the right size on site. Fortunately, the tree was not very big and, thanks to the chain saw, it was quickly cut into individual pieces that just fit into the car. I made the bottom cut in such a way that the tree was balanced, i.e. could stand on its own.
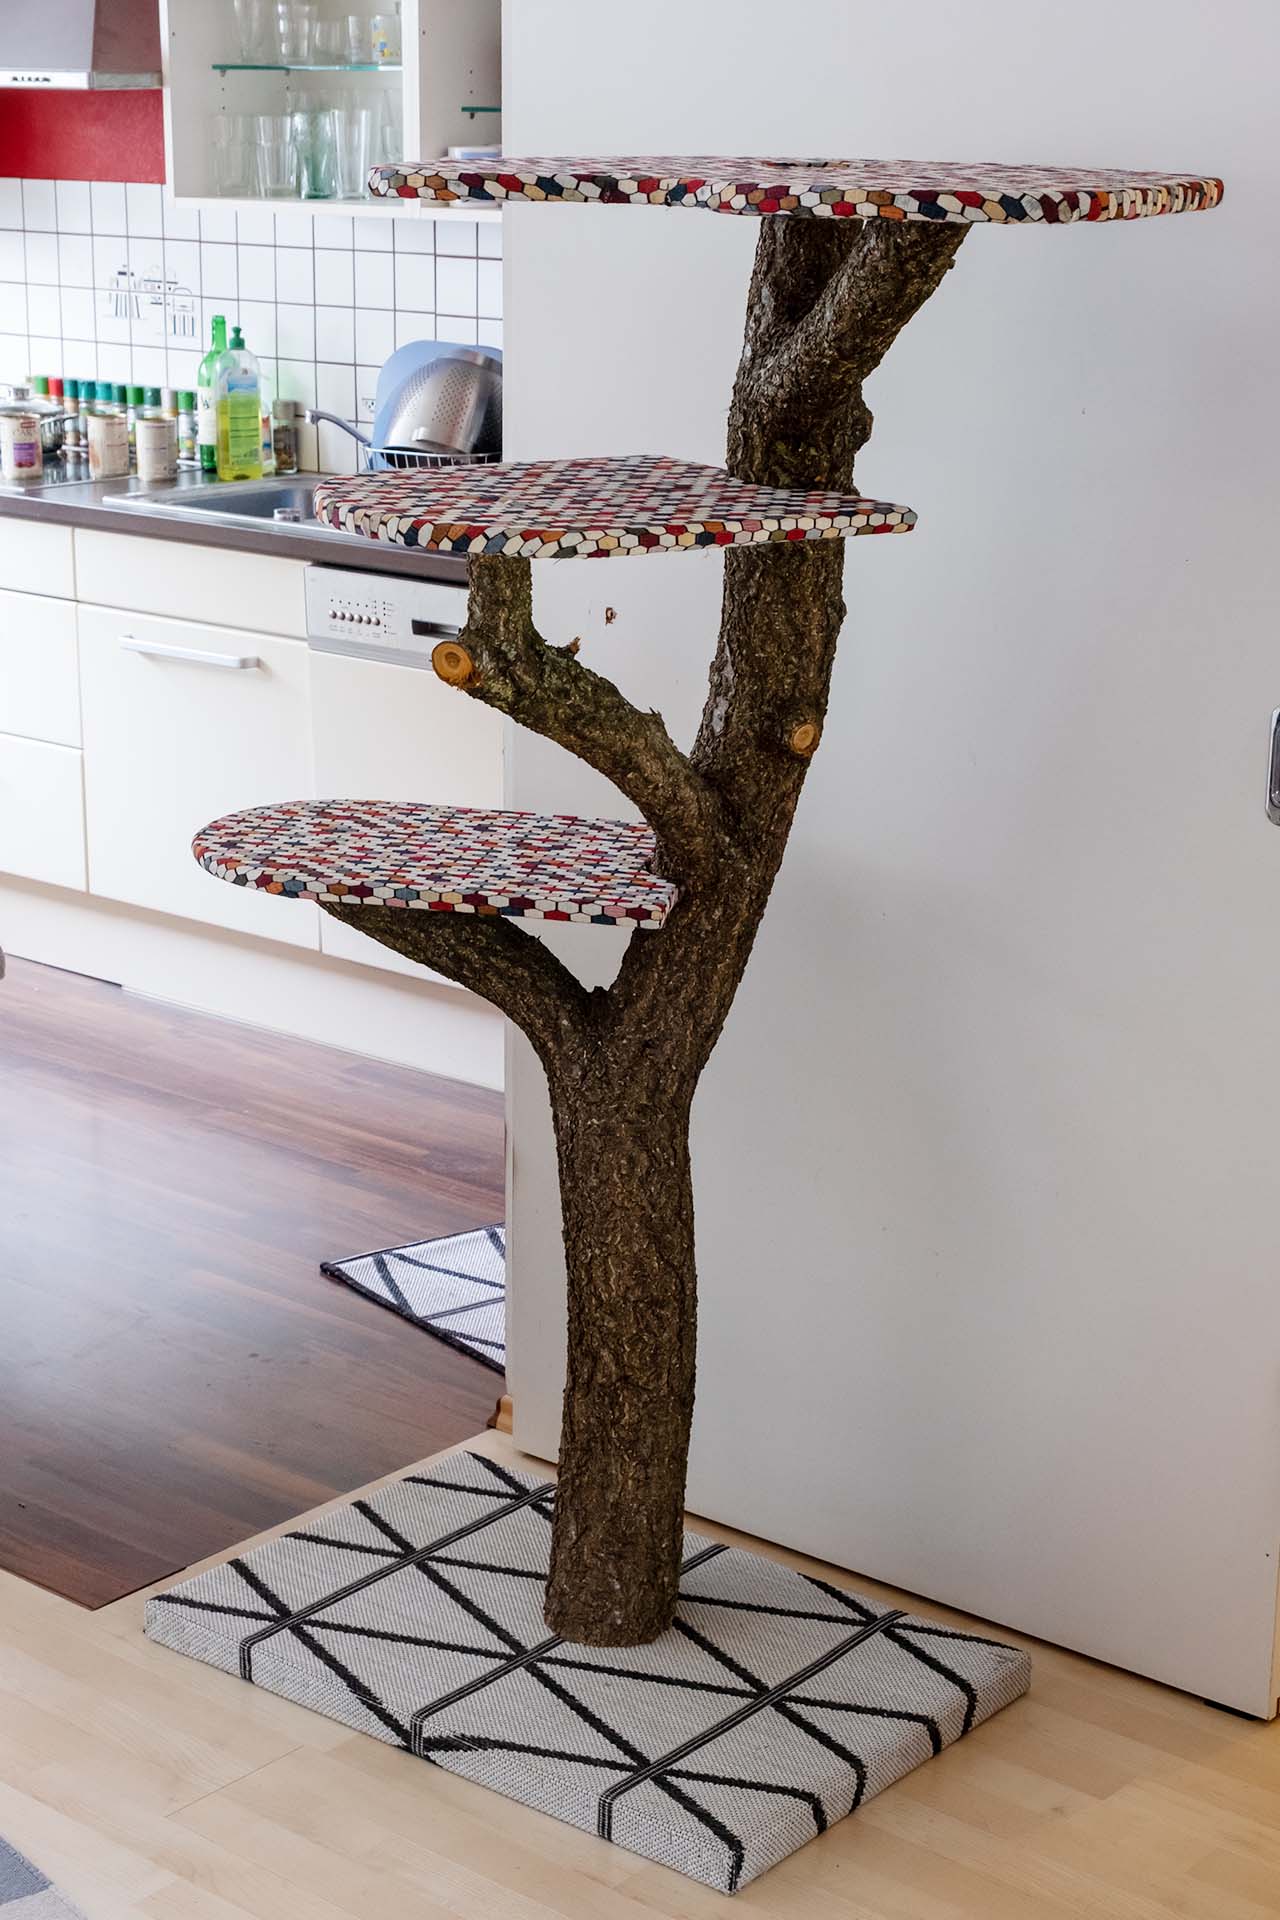
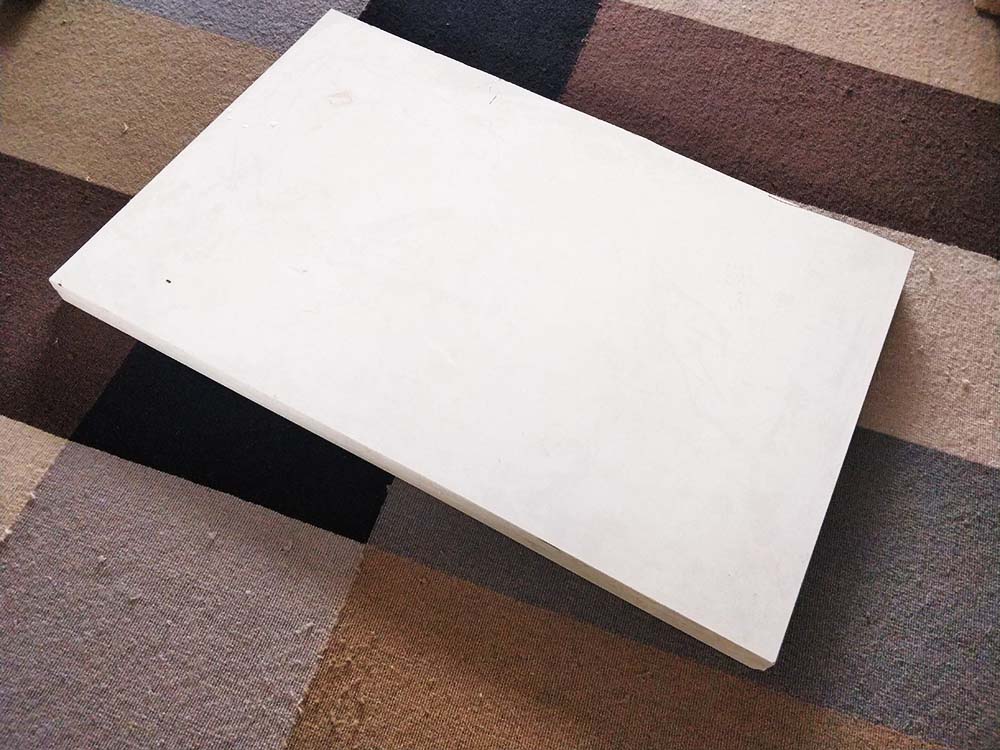
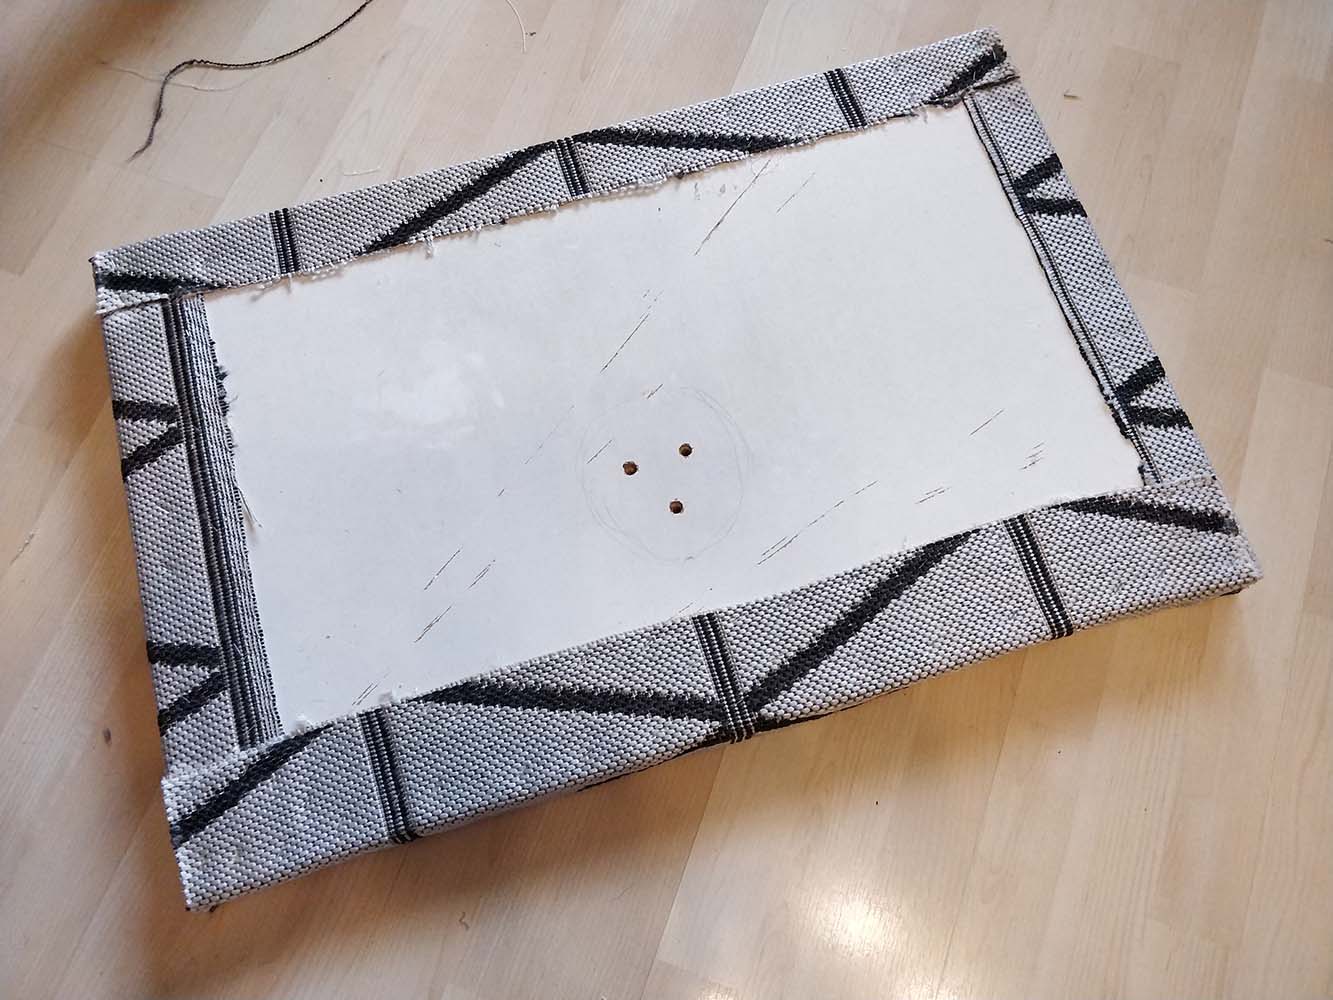
Two old, coated chipboards, which are screwed together, serve as the base plate for the cat tree. The trunk itself is attached to the base plate with three screws. The position of the screws is first marked on the base plate and then you drill through the plates into the trunk. Since the chipboards are not exactly pretty, they are covered with a small carpet. In order for the individual levels to sit horizontally on the branches, the ends of the branches must also be sawn off as horizontally as possible.

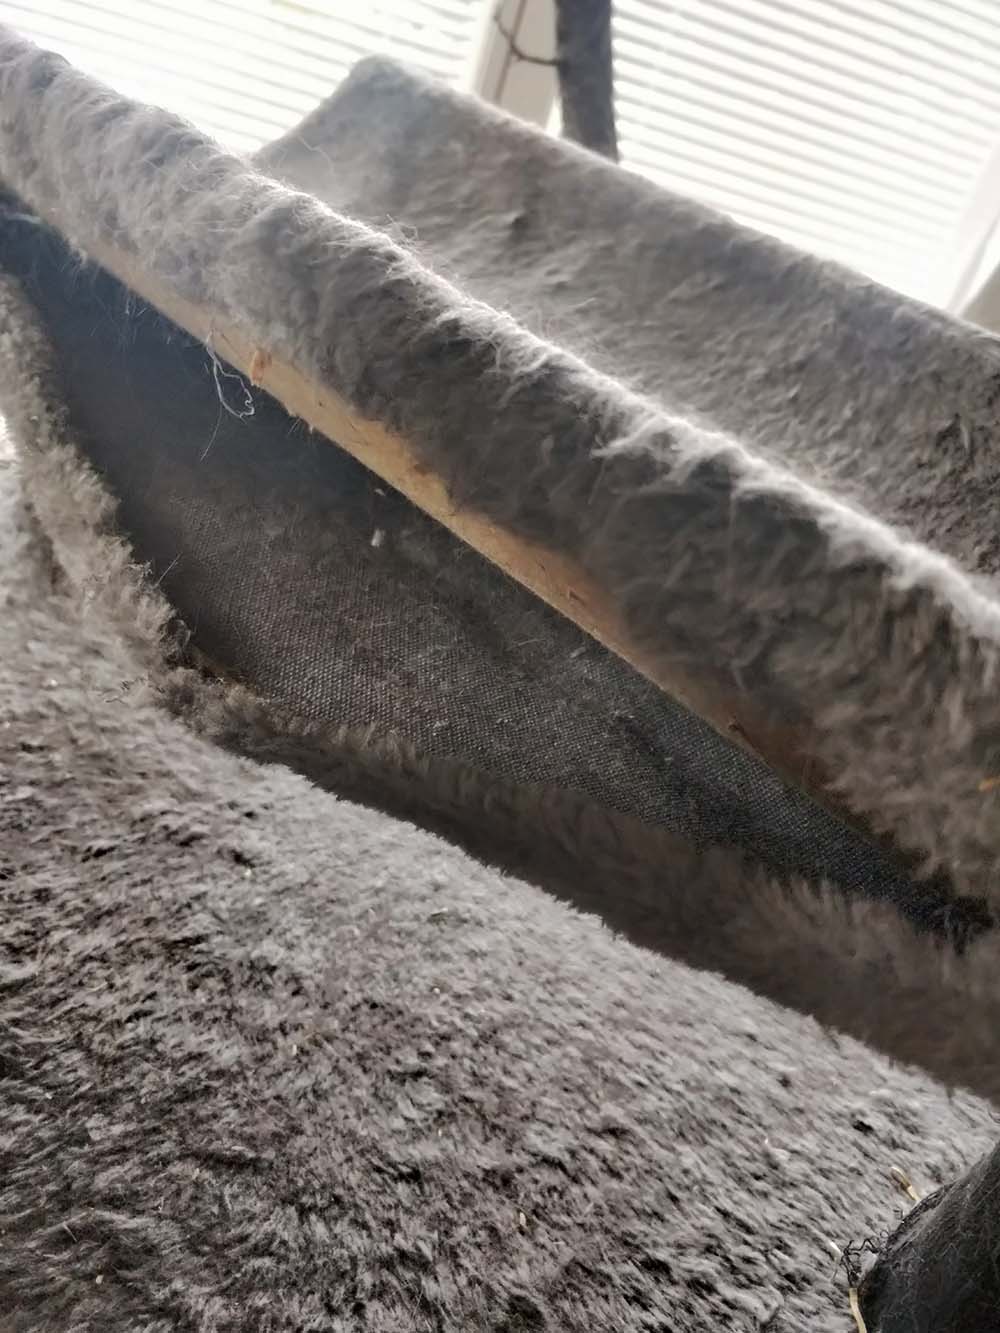
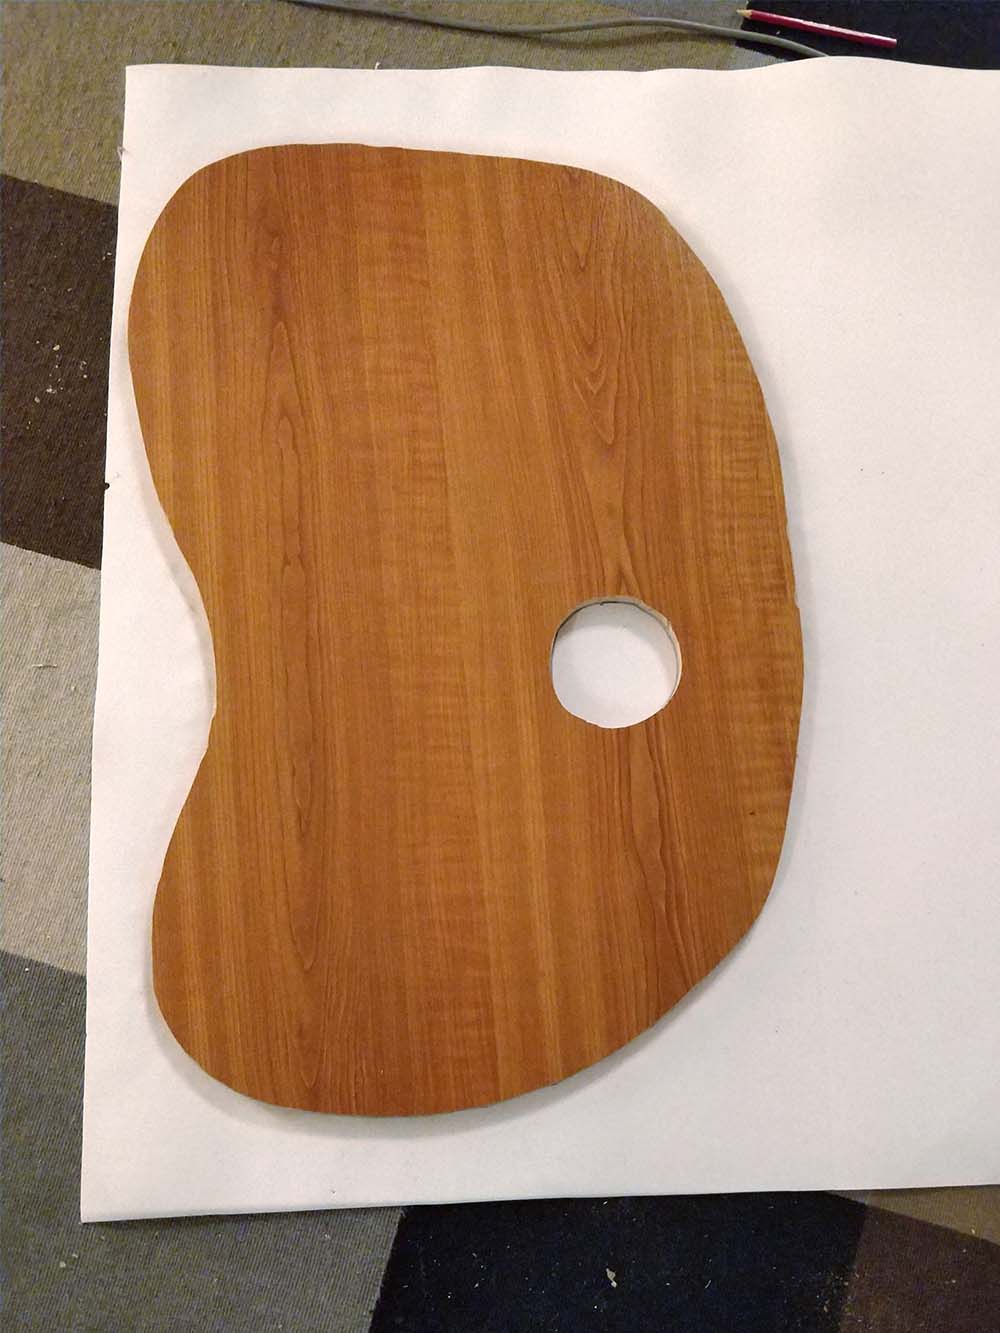
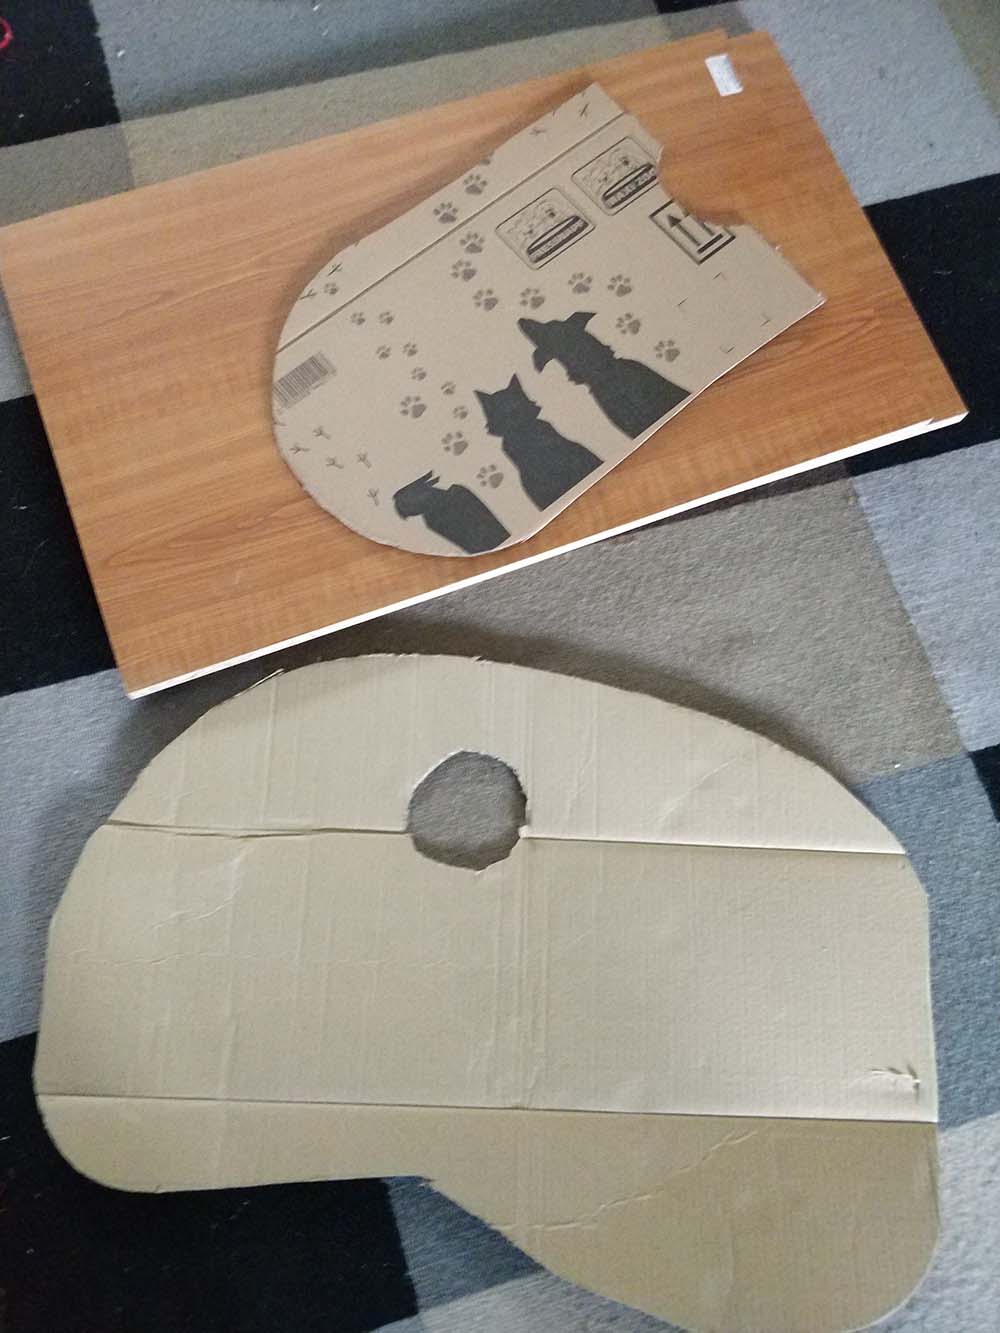
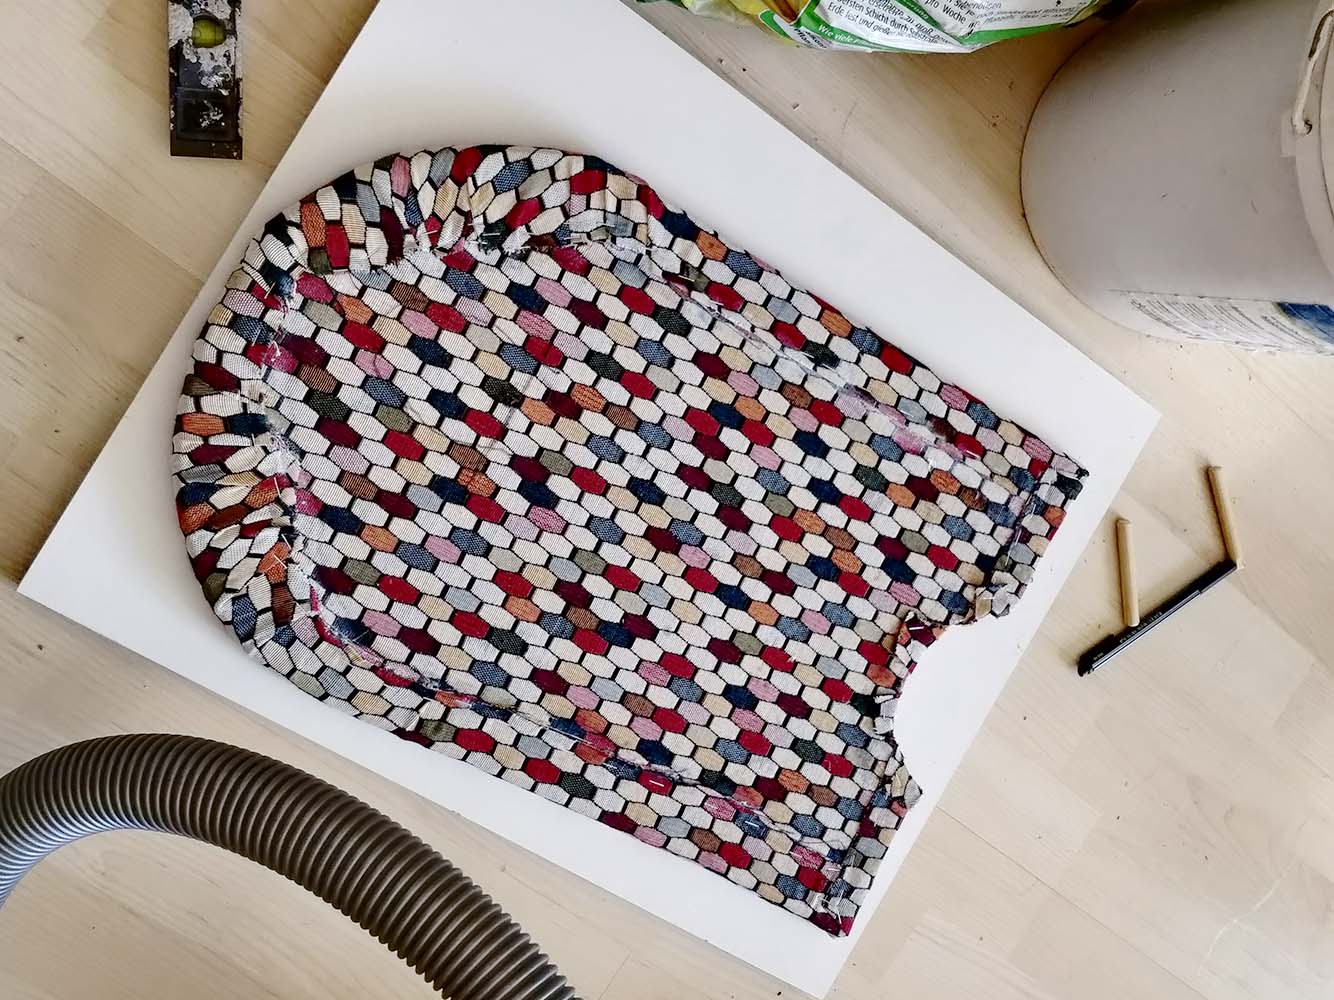
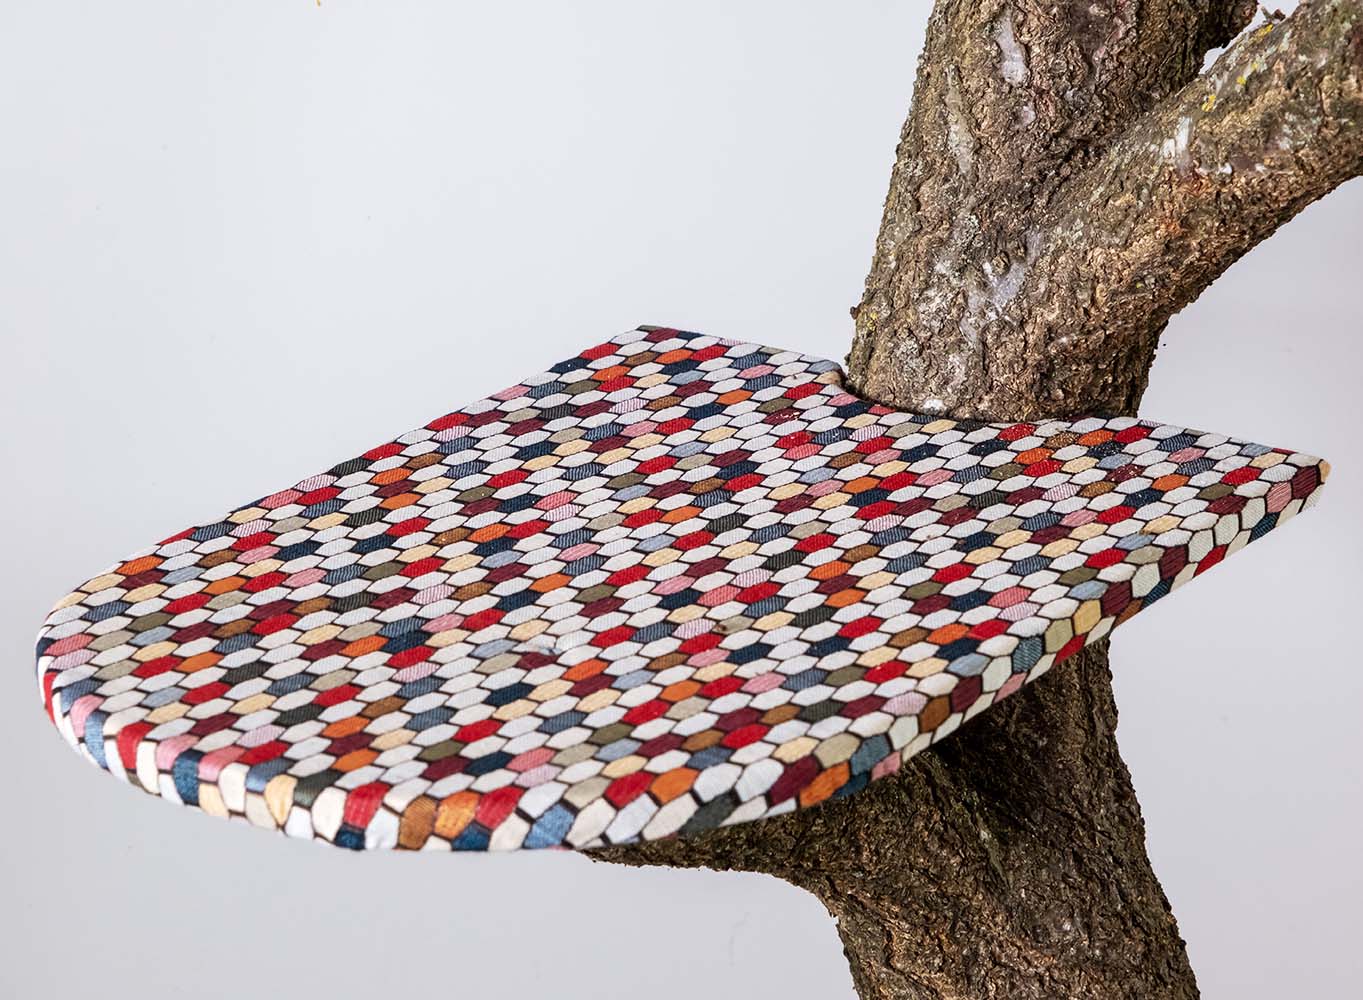
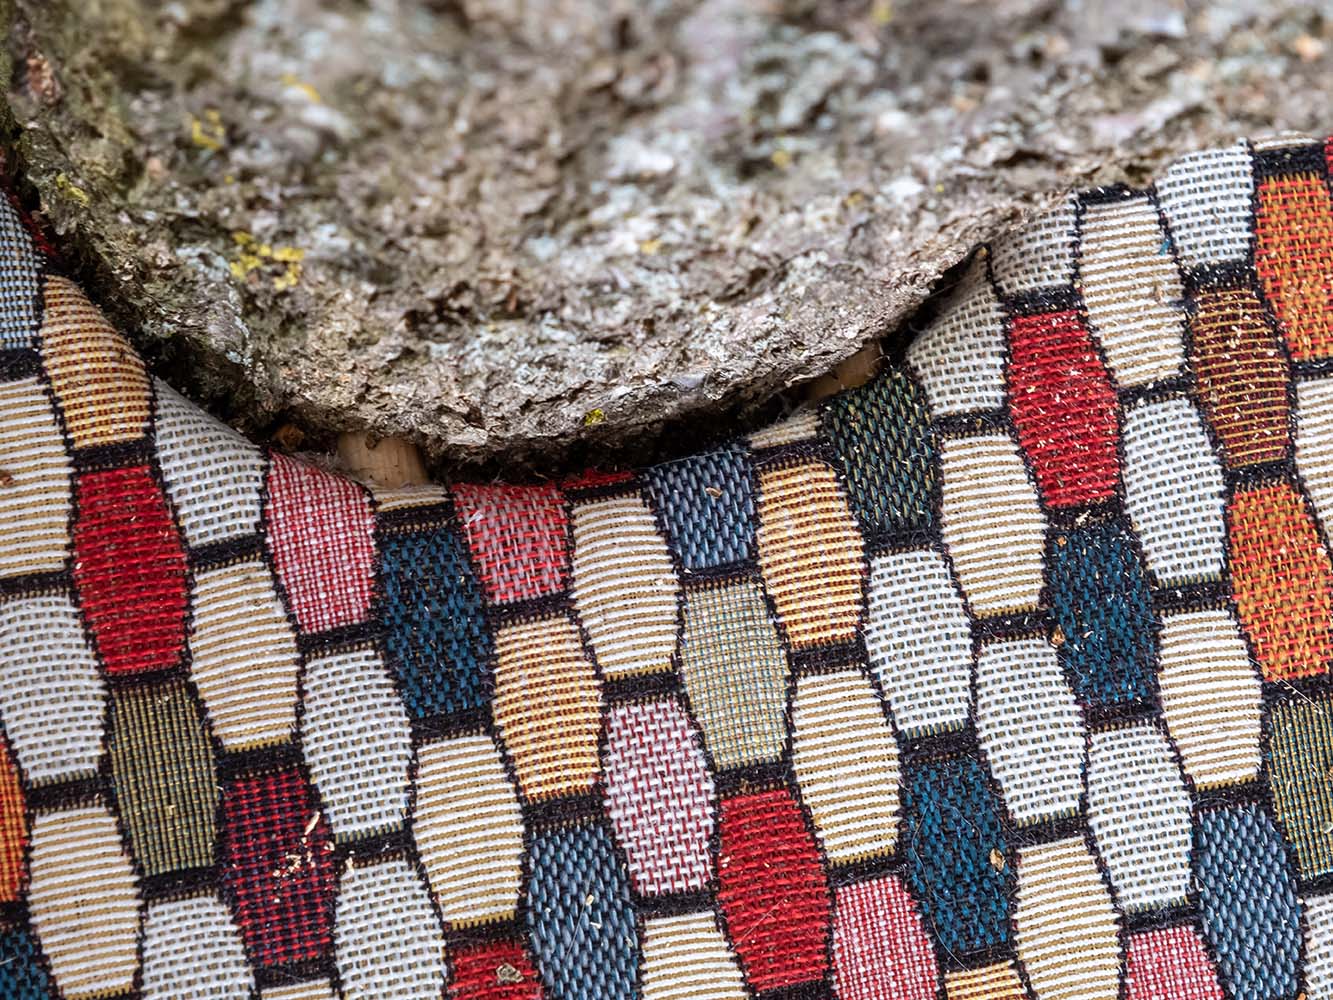
What is missing are the individual levels. Before you start sawing, you can use some cardboard templates to find the shape, size and position of the levels. As soon as it fits, the levels can be sawn out of chipboard. The tops of the boards are covered with foam rubber so that the cats can lie on them softly. To enhance the cat tree's appearance, the levels are covered with a pretty fabric, which is also stapled on for safety. The levels are simply screwed onto the branches at the front end and attached to the trunk with two dowels. For the dowels you have to drill carefully into the sides of the boards and accordingly also the two holes in the trunk.
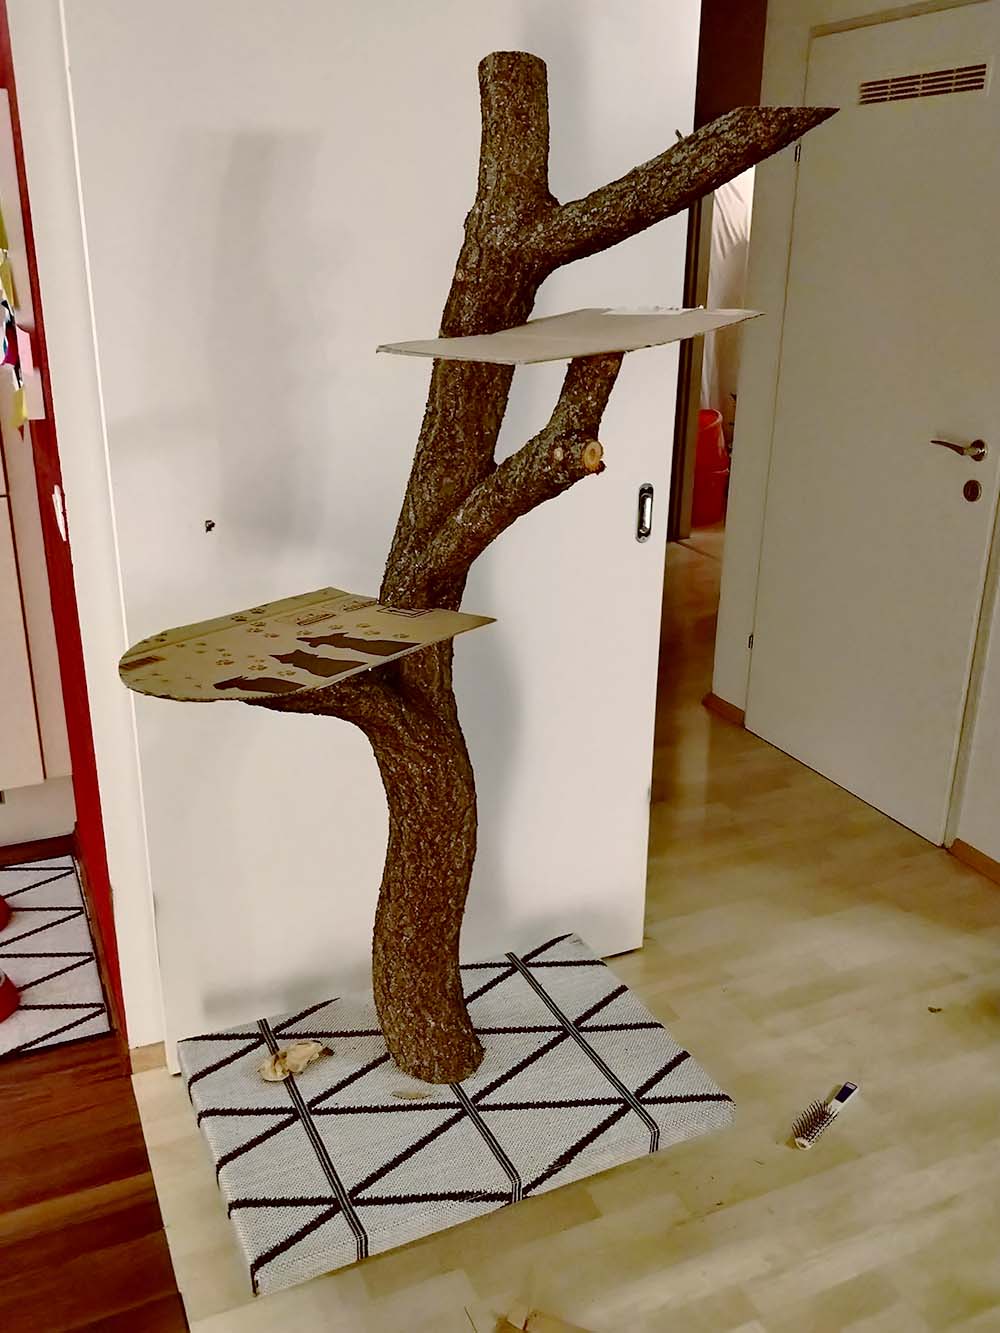

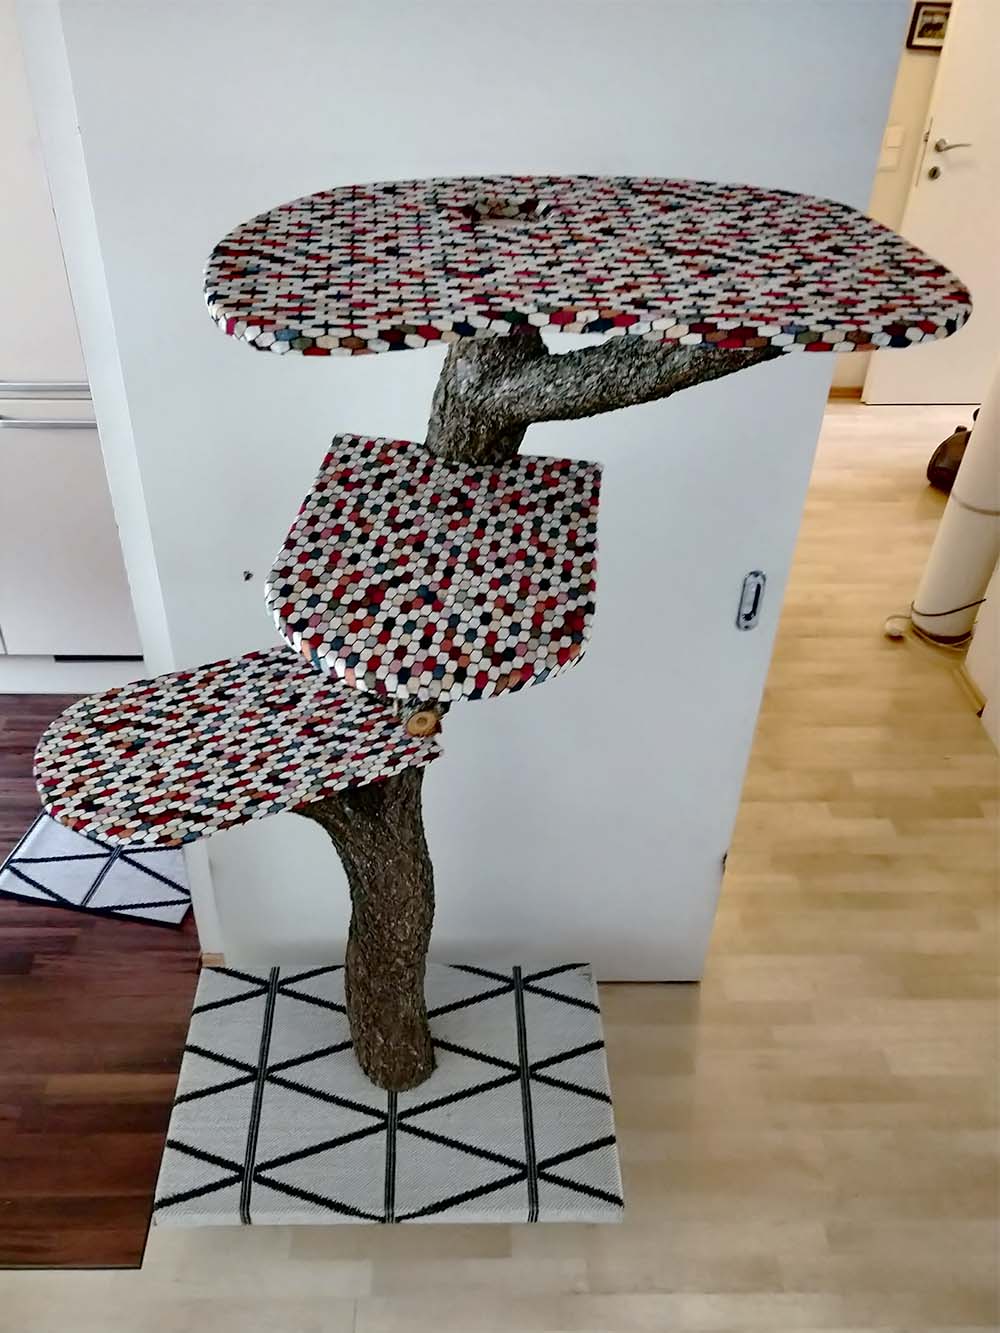
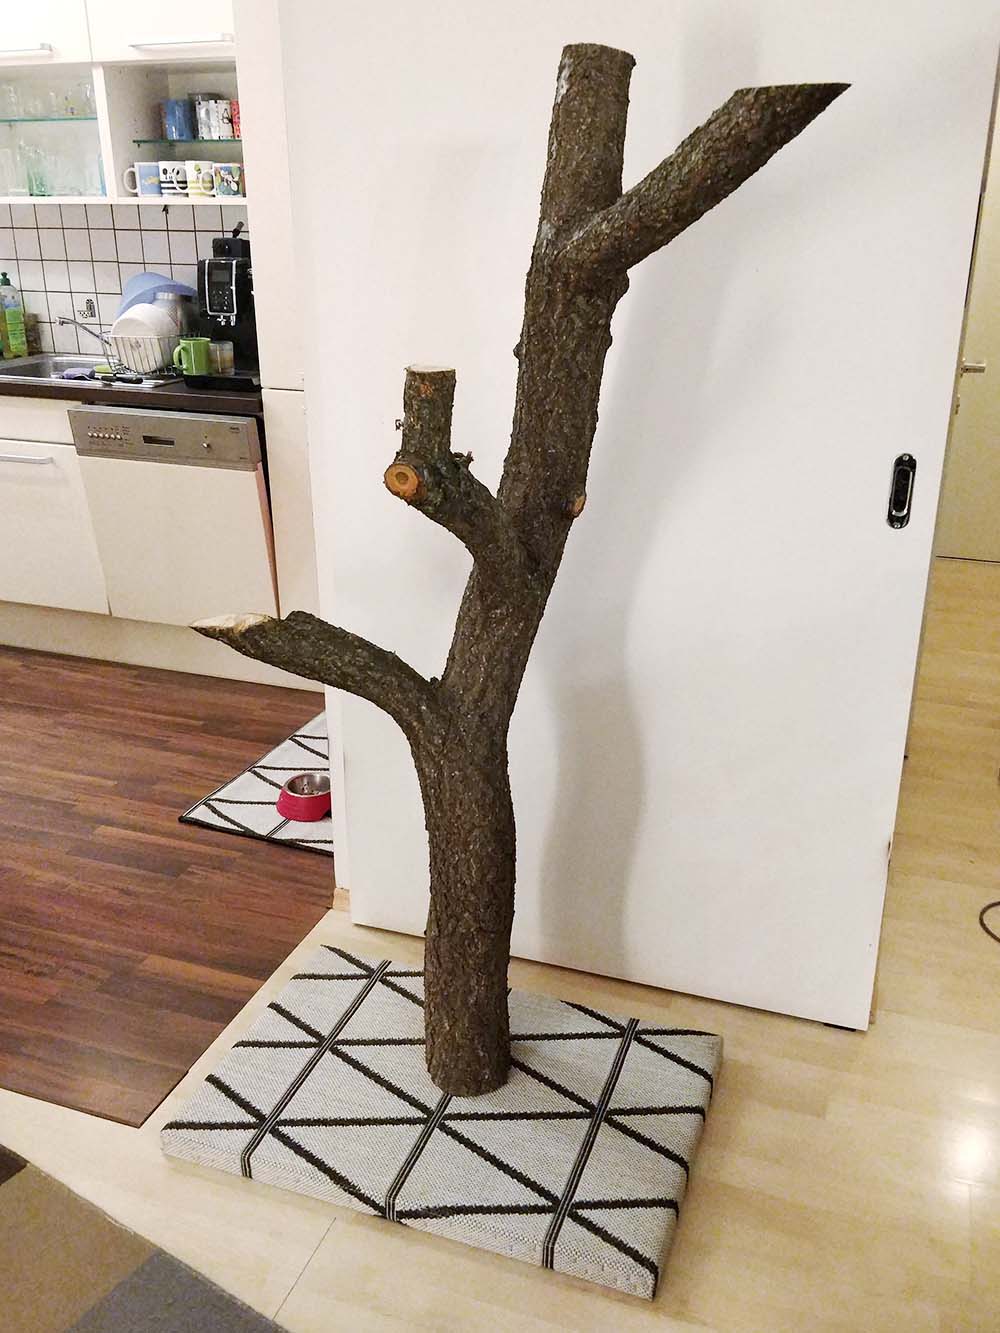
Now the cat tree is ready. This all sounds quite simply but it was a couple of evenings full of frustration and occasionally anger. You wouldn't believe how heavy such a piece of trunk can be. The lack of professional tools didn't make it any easier either. In the end, however, a very beautiful cat tree was created: