Water drop photos for hobbyists - Making of
Update 10.05.2021: Completely new drop control with touchscreen
Photographing a simple drop of water is basically quite simple. With a little patience and appropriate timing, it's easy. However, if you want to capture the collision of two or more drops, possibly with differently colored drops, you can't do without technical aids.
That's why I've been doing a lot of research on the internet lately to find the best way to do this. Here I would like to present you my current solution, which is certainly still in need of improvement, but in principle already works. For me, it was especially important that the whole solution is cheap and can be easily disassembled again for space reasons.
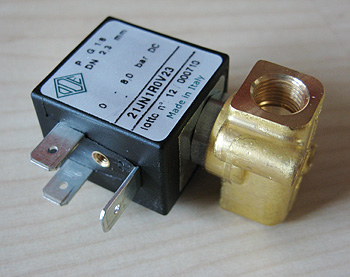
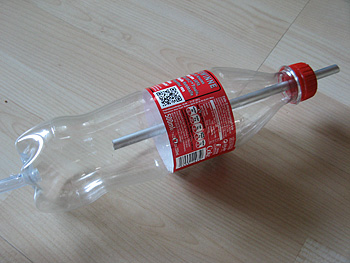
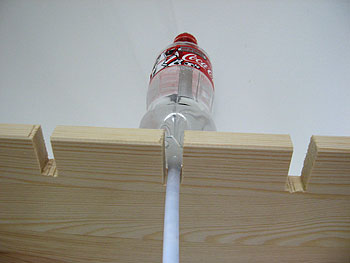
Of course, this valve must be supplied with water. In principle, any water container connected to a hose is sufficient for this. However, the pressure decreases as the water level drops, and then the set timings may no longer be correct. This problem can be avoided by using a so-called Mariot bottle. For this I simply use a plastic bottle and a short piece of aluminum pipe. A hole is drilled in the top of the screw cap and in the bottom. The aluminum tube is put into the cap and glued airtight with hot glue. The tube is put into the bottom and also glued accordingly. Here I will surely use some kind of connection later, so that the hose can be pulled off again.
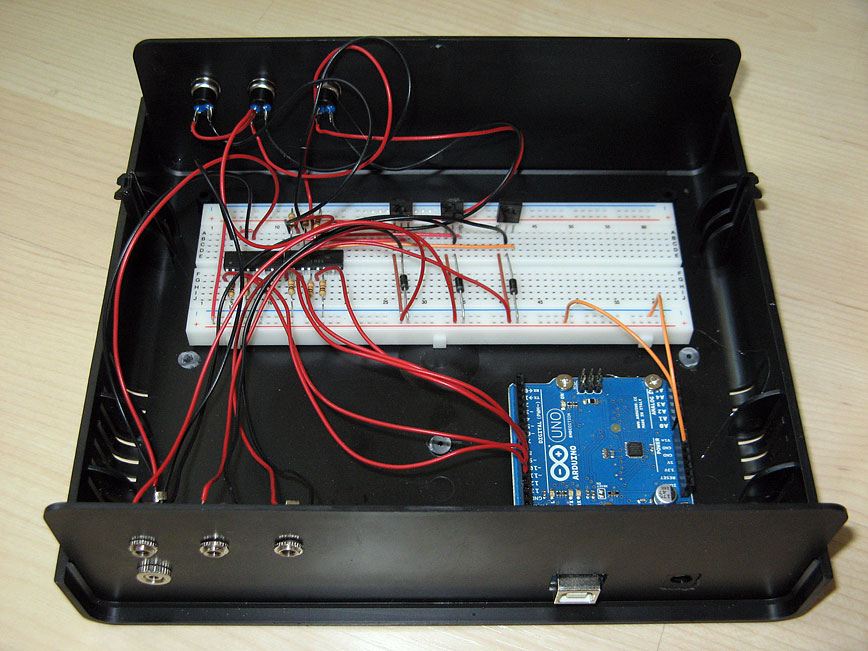
The control of the solenoid valves and the camera is done by a microcontroller. I used the Arduino Uno for this. It is very cheap and can easily be programmed via a USB connection. The camera can be triggered directly with an appropriate cable, for the valves you need some electronics. I built the whole thing into a housing with the appropriate connector sockets. In front are still buttons, so that I can also open the valves manually to fill the hose with water.
For the microcontroller to do anything, it still needs to be programmed. For this I wrote a small Java program for the laptop, with which you can control all values and another corresponding program for the microcontroller, which receives these values and controls the valves and the camera accordingly. All settings are then made via this mask:

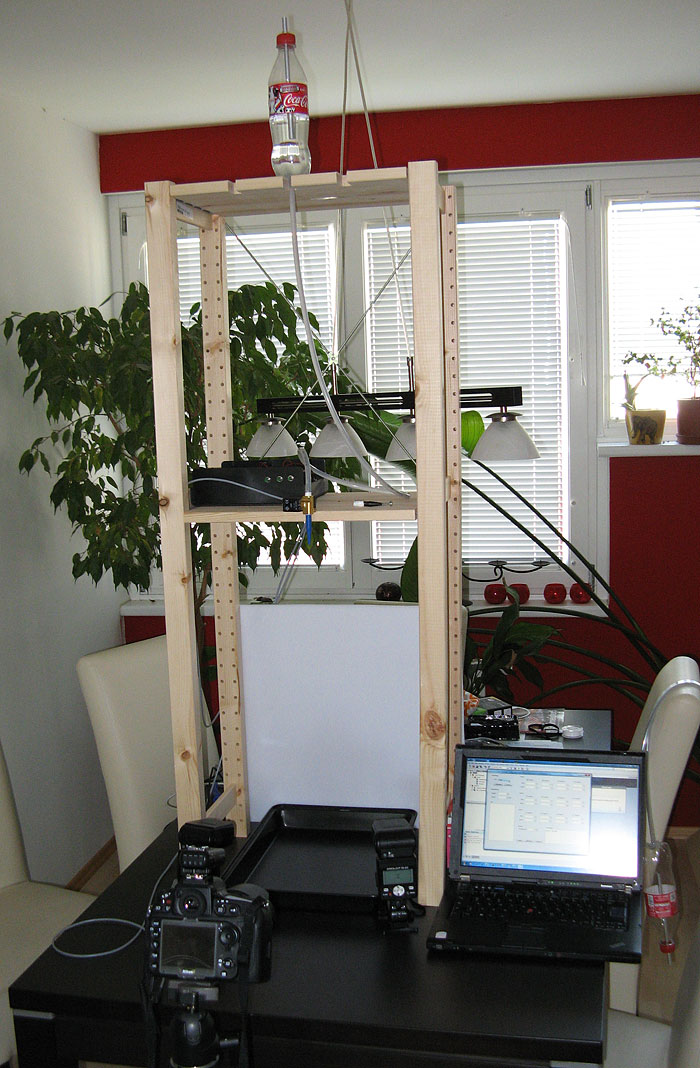
Now you just need a rack to build the whole thing. I bought a small Ivar shelf from Ikea. This has the advantage that you can quickly disassemble it again and the shelves are all height adjustable. In the upper board I sawed three recesses to be able to put the bottles with the hoses there. In principle, I have designed everything to work with three bottles and valves, but for now I'll stick with one valve and then slowly work my way up. The water basin is a simple baking tray, behind it is a plexiglass pane for even backlighting.
All in all, the setup looks like this:
Finally, a few notes about the camera and flash settings. Since the microcontroller is only connected to the camera, the flashes are triggered via radio triggers. For this I use a Phottix Strato II. The flash strength is set to 1/128, which guarantees a very short exposure time. With the camera I use an aperture between 16 and 20, the exposure time doesn't matter in principle. The ISO value is between 400 and 800. You have to set the focus manually beforehand. Just drop a few drops and put some object on the spot where they hit the water, so you can focus on it.
So, that was a short description of my craft project. If you have any questions, just leave me a message. Unfortunately, I don't have a schematic, the construction is more like trial-and-error ;-)
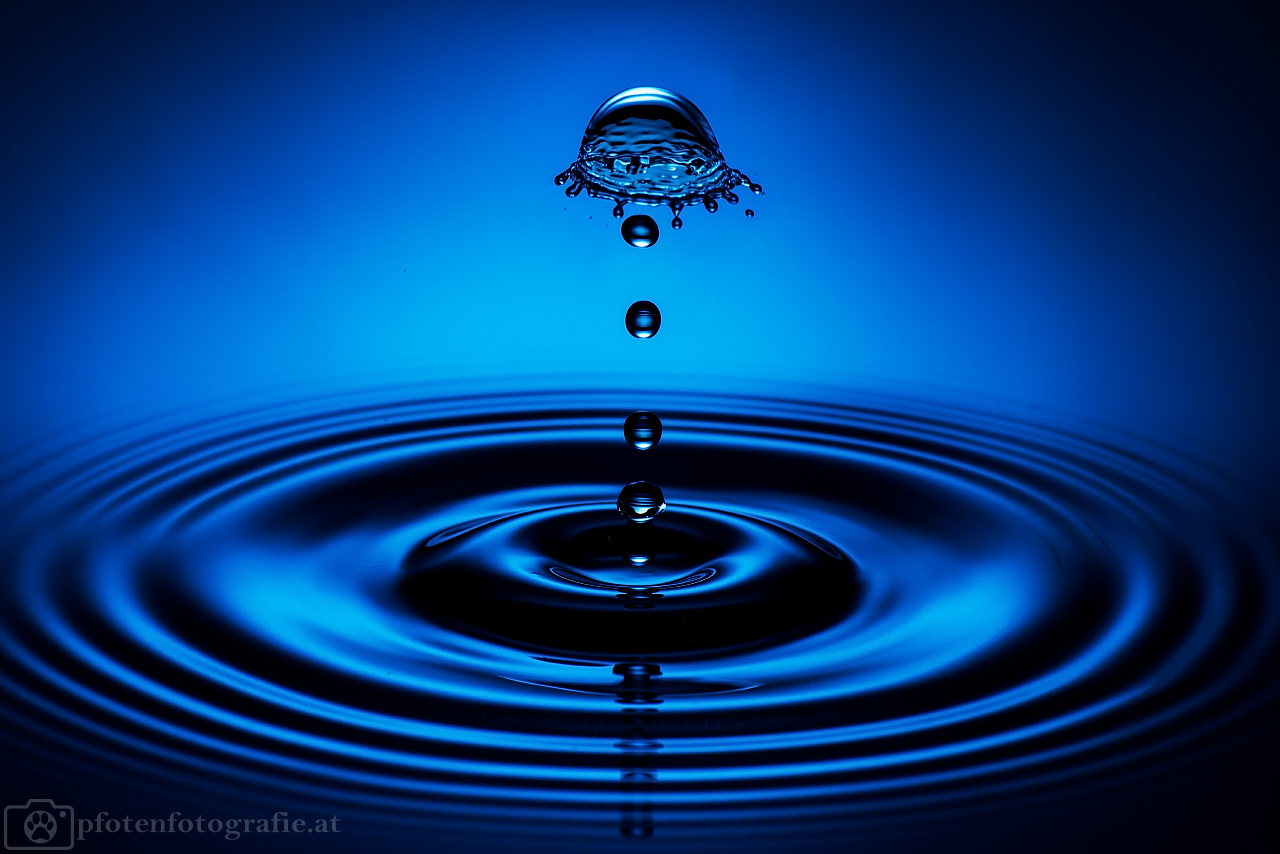
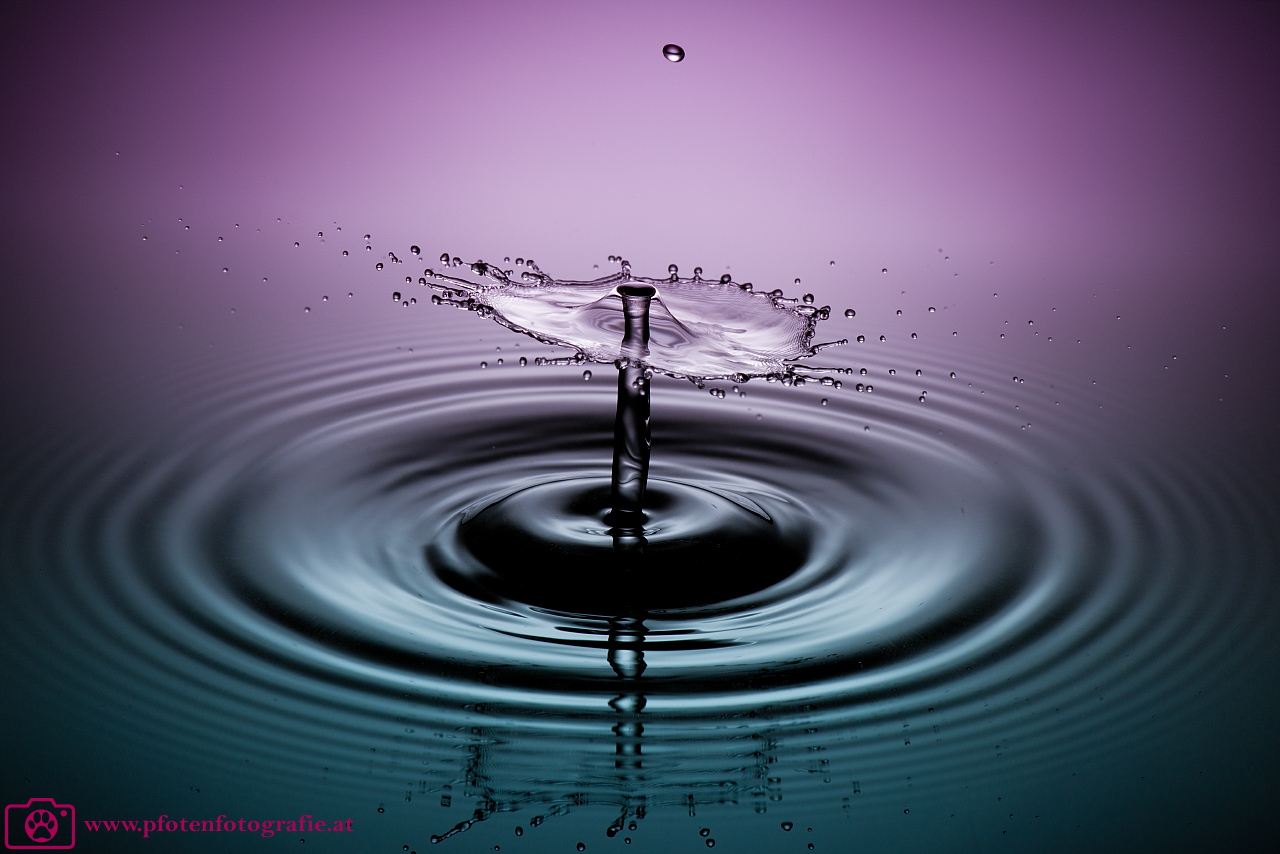
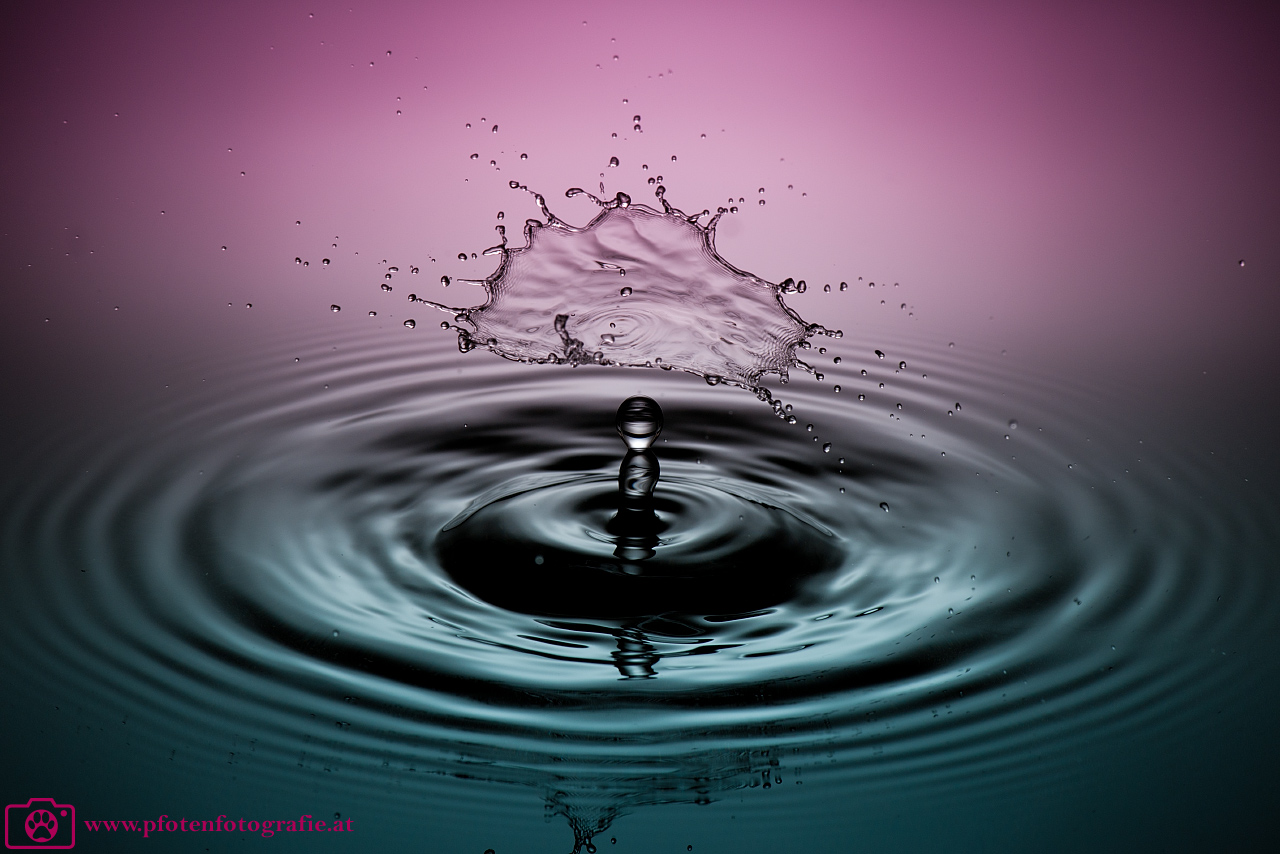
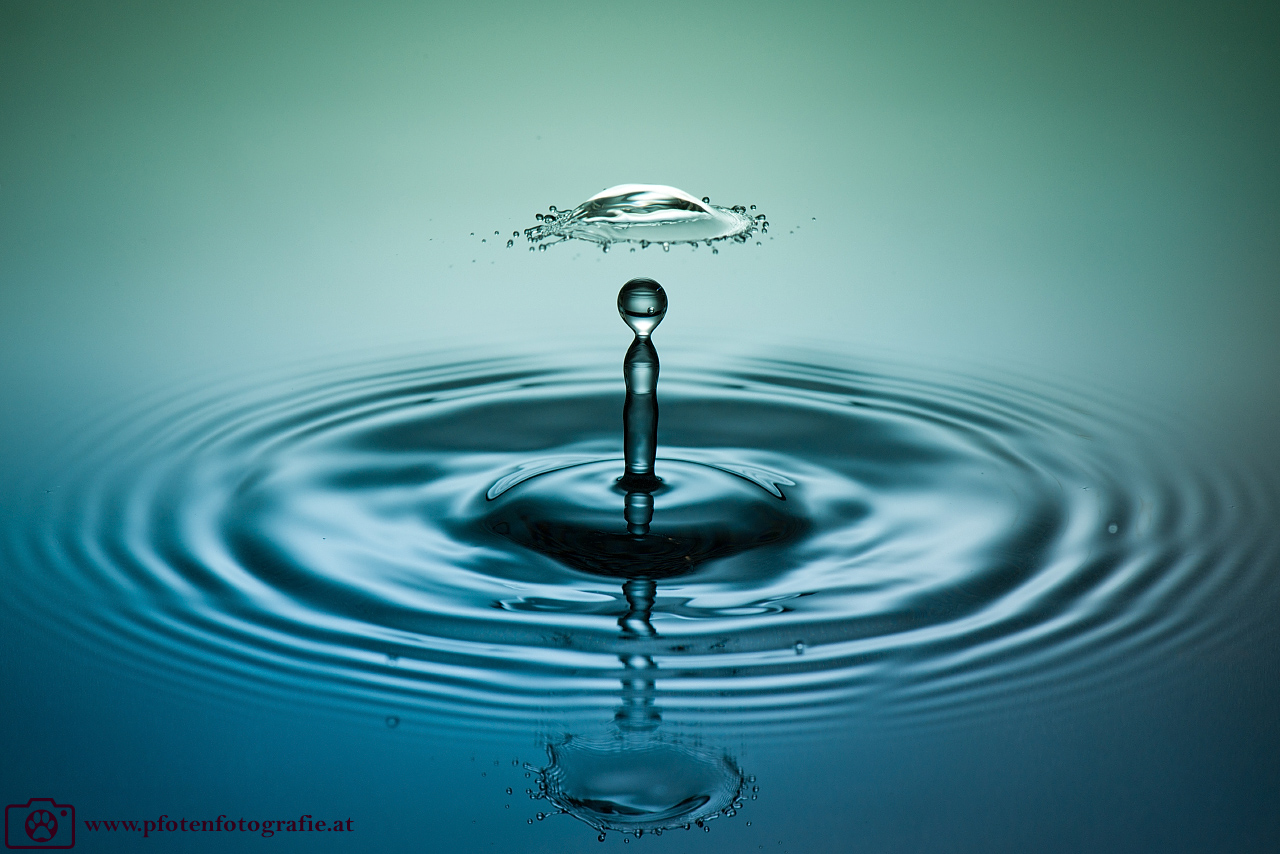
And this is how my first attempts look like after a lot of fiddling with the timings: