Build your own LED aquarium lighting
In this article, I would like to introduce you to a small project that is probably best categorised as "upcycling". Last year, I renovated my bathroom and in the process, the old mirror cabinet was discarded. However, it didn't just go in the bin, but I dismantled it and saved the most important parts. This included the aluminium profiles that made up the frame. Now my girlfriend has given me the idea of building a nice LED aquarium light from the profile, as we recently saw something similar in a restaurant.
The single steps
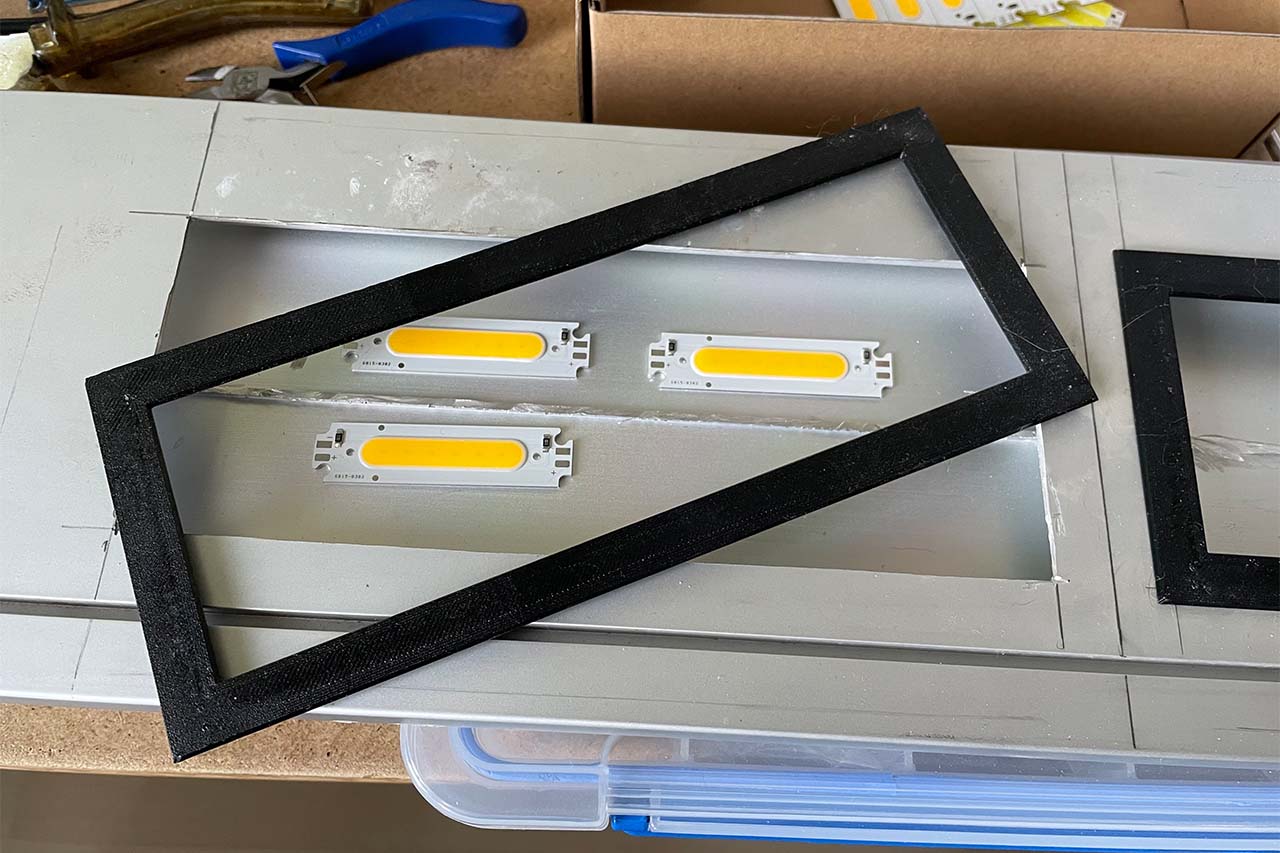
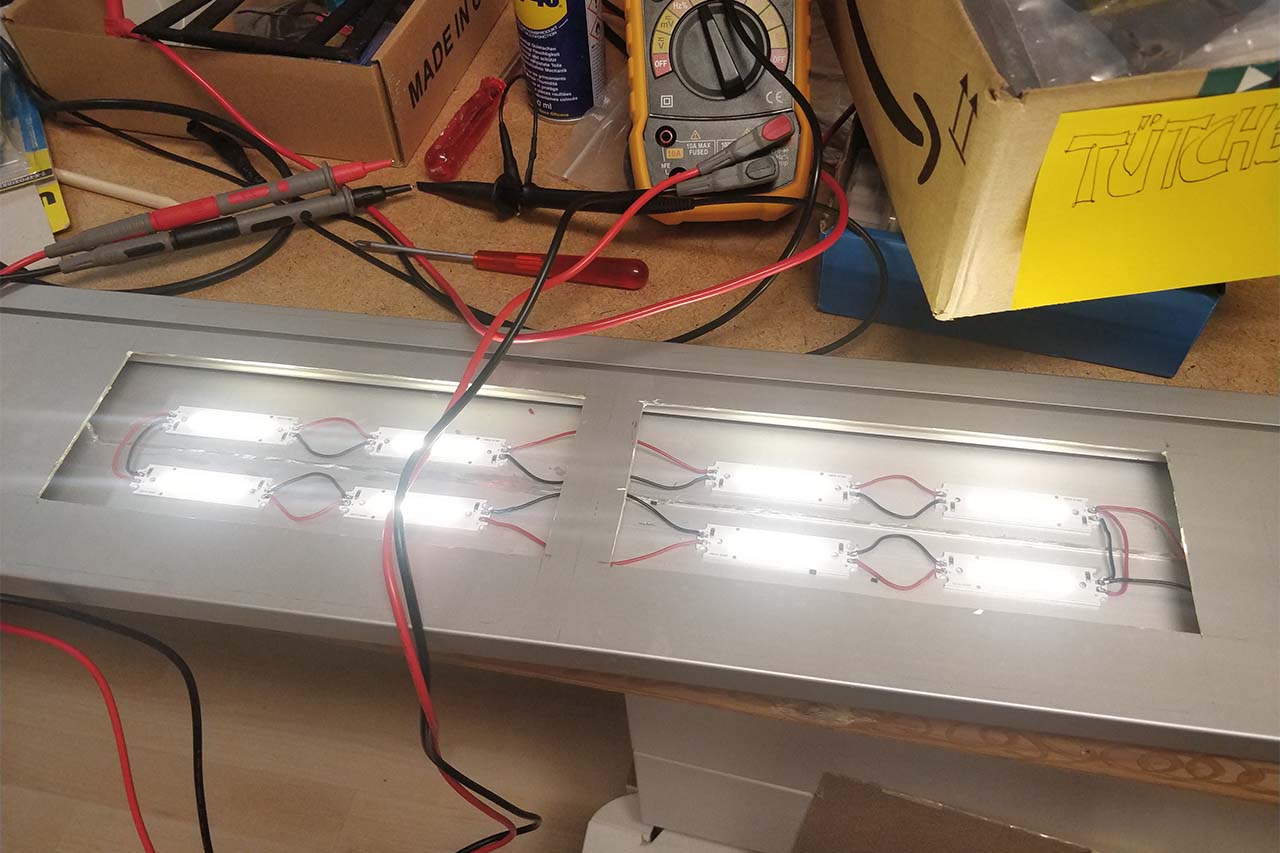
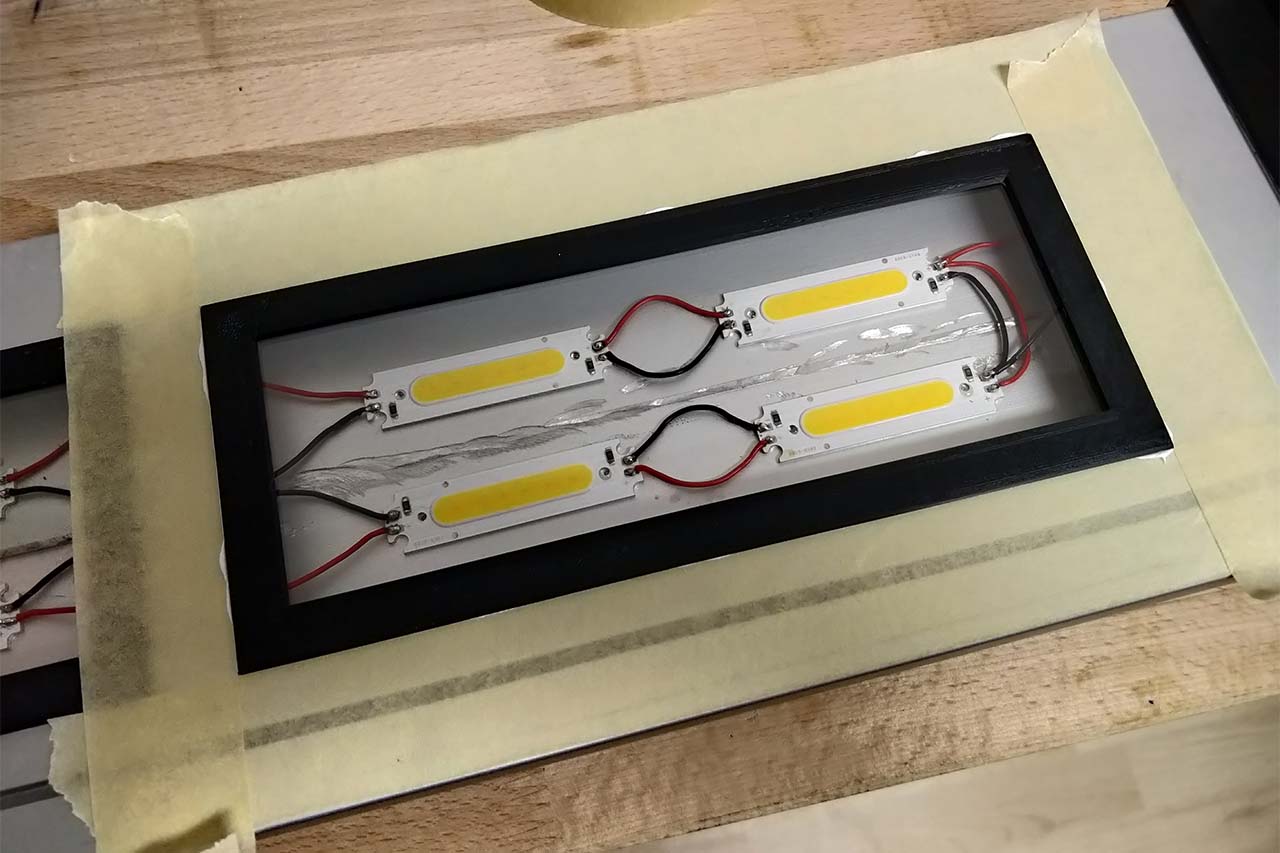
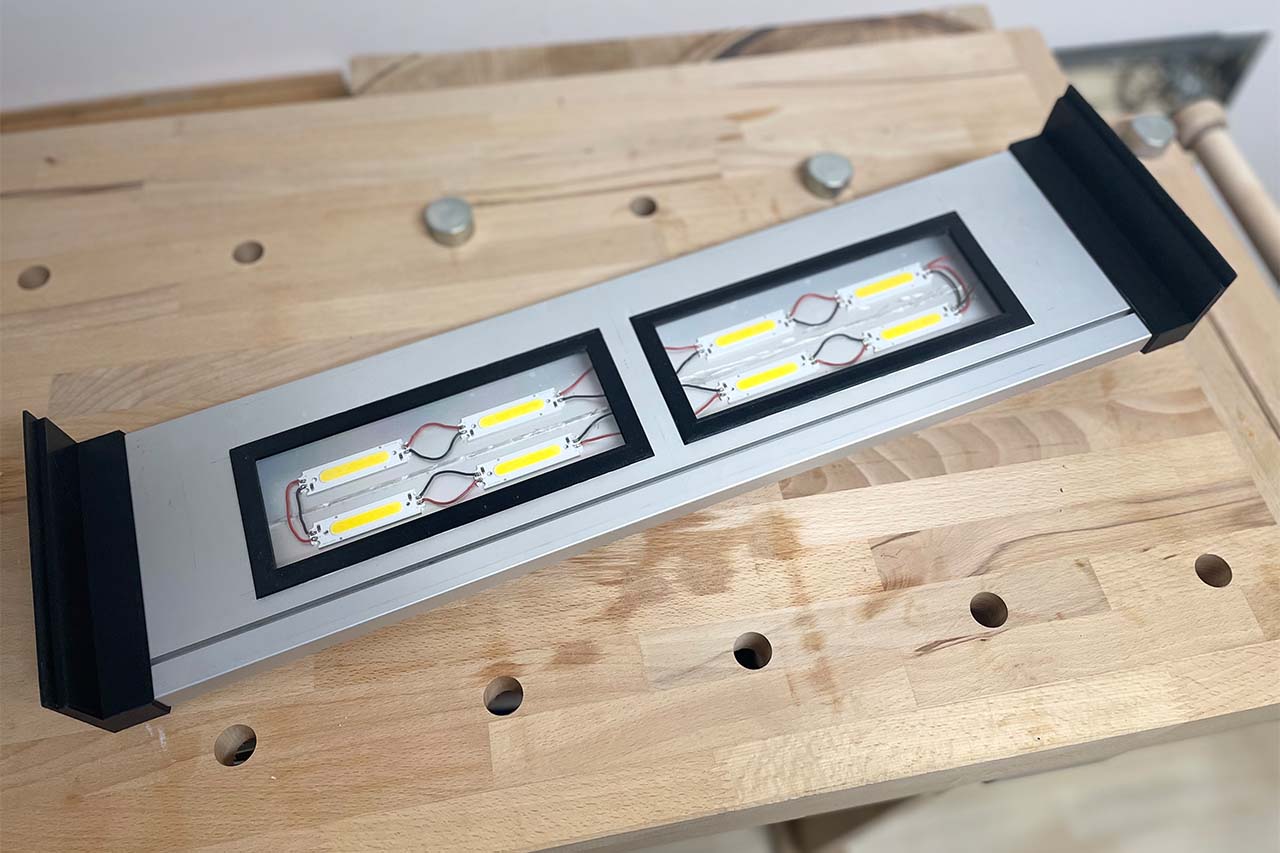
The aquarium is just under 50 cm wide. As the profile was a little longer, I first had to saw it a little shorter. I then milled two rectangles into the future underside. Four LEDs are to be installed in each of these rectangles. The LEDs have an operating voltage of 12 volts and an output of 2 watts. As the edges of the rectangles are not particularly attractive, I designed and printed out two bezels. This is also the reason why I milled out two small rectangles instead of one large rectangle, as my printer can only print parts up to 20 cm in size.
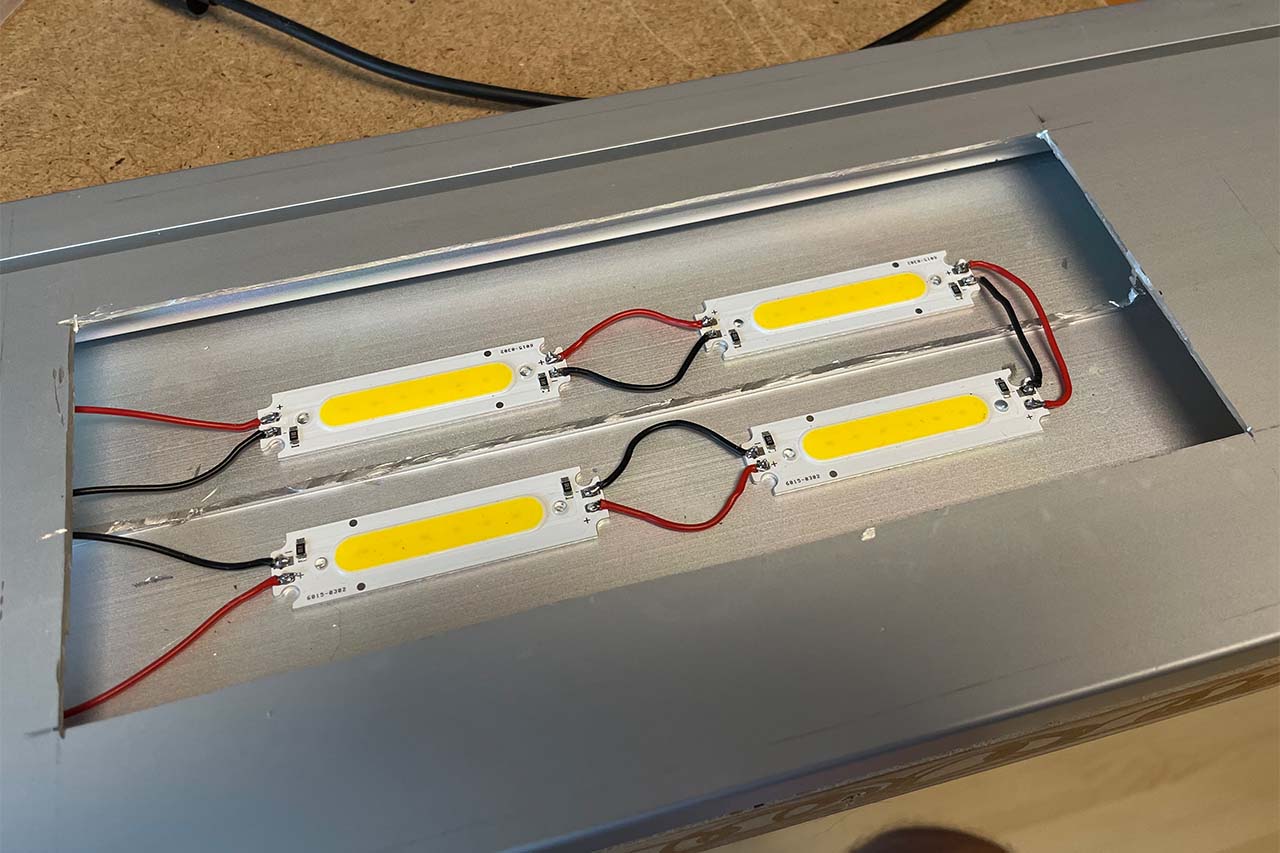
The LEDs are then glued into the profile with two-component adhesive. The profile also serves as a heat sink, as the LEDs must be cooled. Once the adhesive has hardened, the individual LEDs are wired.
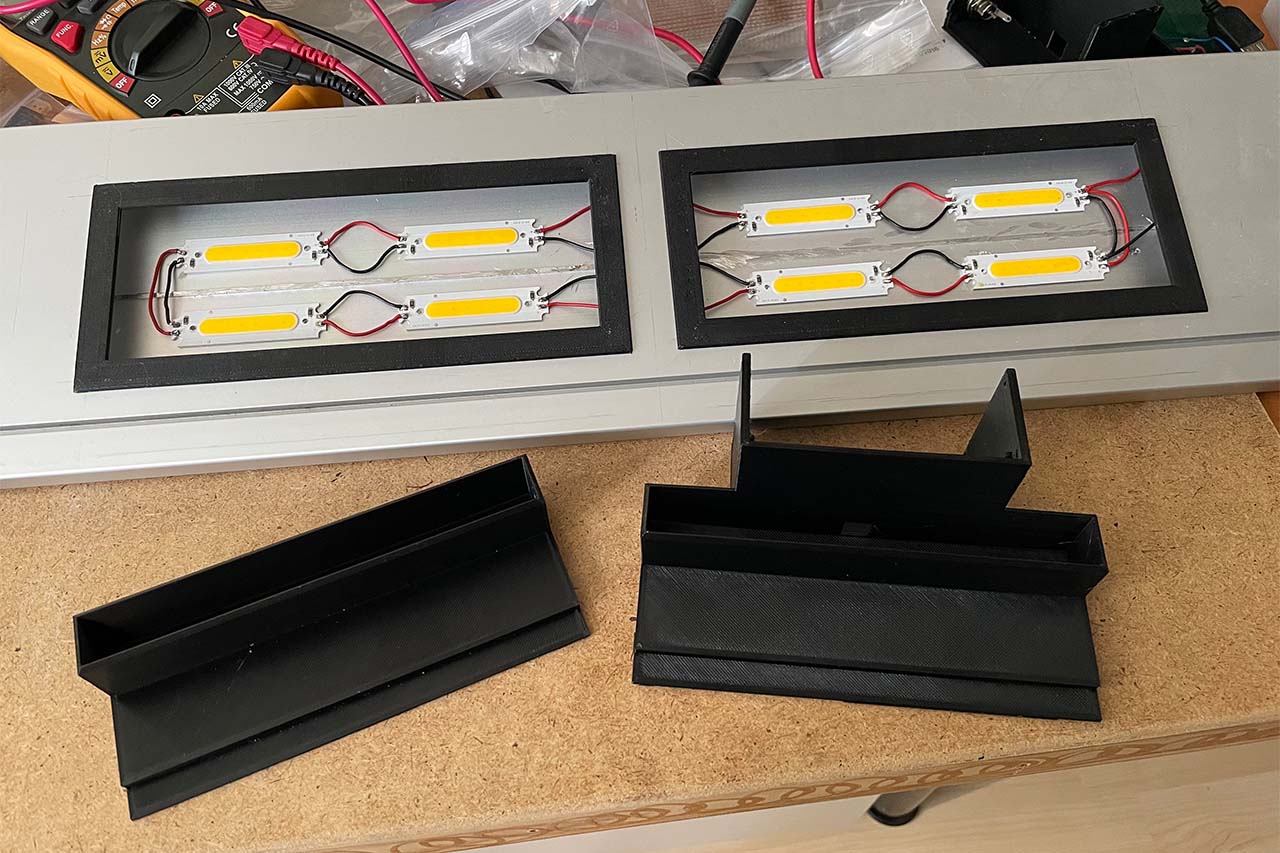
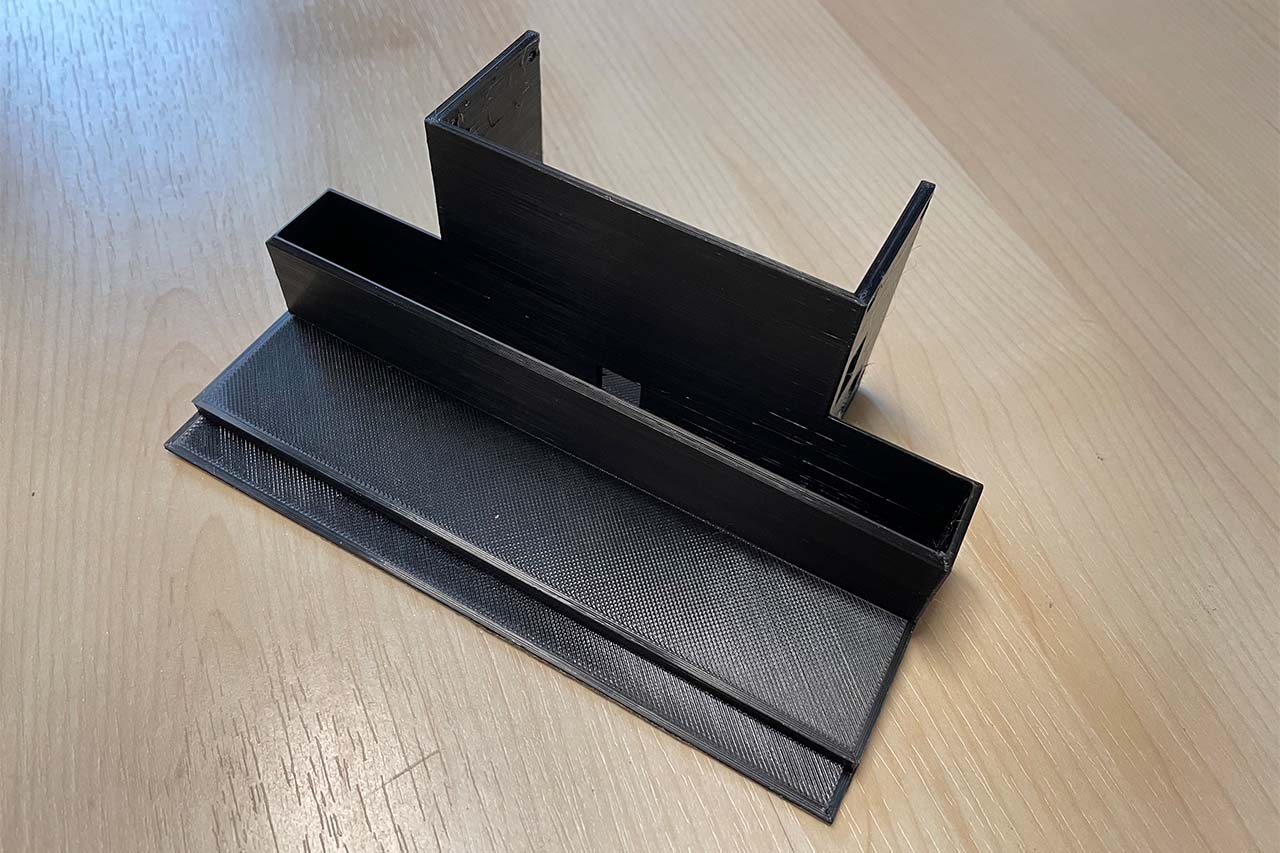
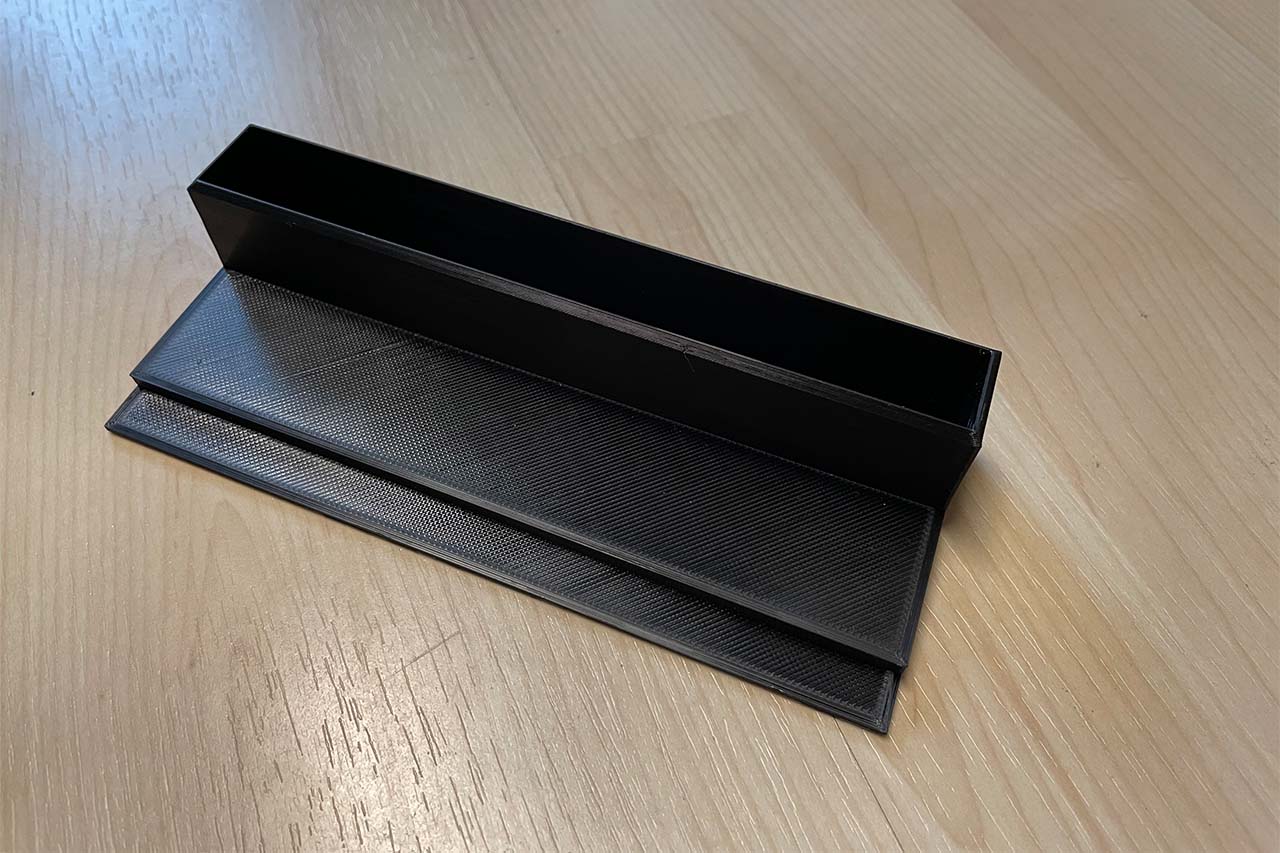
The side mountings for the profile are also from the 3D printer. One side also contains the housing in which the electronics are housed.
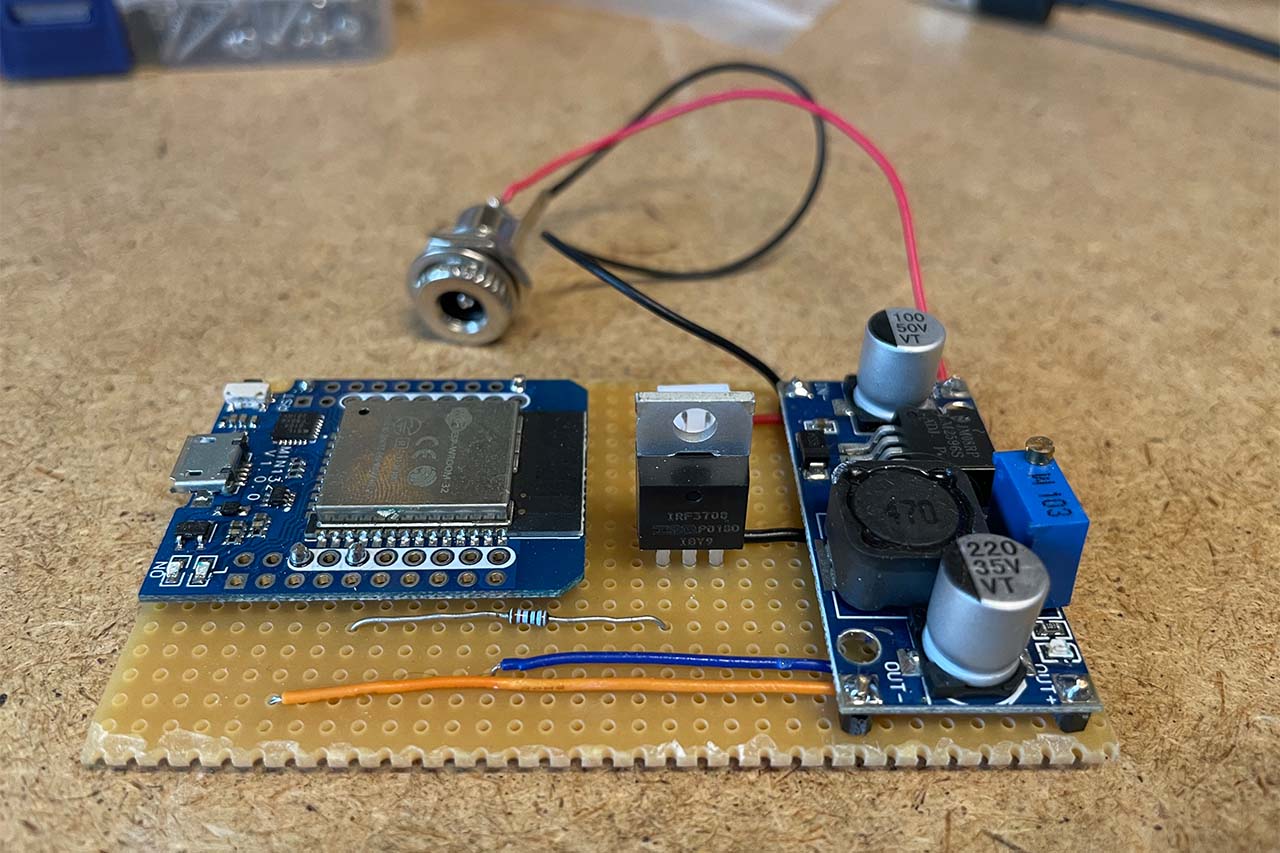
The lighting electronics consist of just a few components. An ESP32 microcontroller controls the brightness of the lighting. To do this, the current time is loaded via the WLAN and the brightness is automatically controlled depending on this. The profile of when and how bright it should be is built into the code. Of course, a lot more could be done here, e.g. control via mobile phone, but it works very well as it is. The LEDs are switched with a MOSFET transistor of type IRF3708. I explained how to control LEDs with a microcontroller in my last article. As the MOSFET works like a switch, the brightness of the LEDs is regulated by pulse width modulation with the ESP32. Otherwise, a voltage regulator is required to generate the 5 volts for the microcontroller from the 12 volt supply voltage.
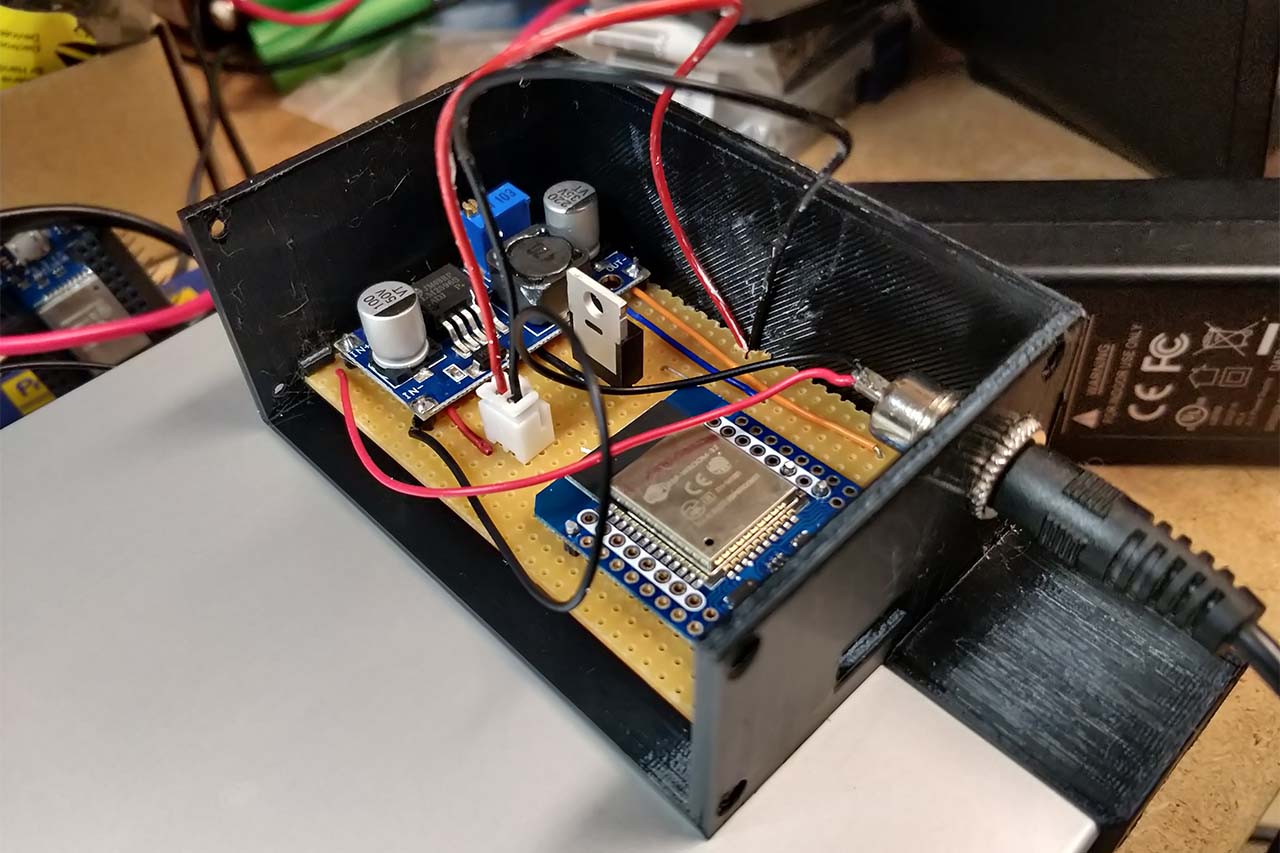
The circuit board is then simply pushed into the housing and the cables of the LEDs are connected to the circuit board via a plug. There is a small opening in the side of the housing so that the ESP32 can still be connected via USB if changes need to be made to the software.
Before all the parts are finally glued together, the lighting must of course be tested. To do this, I ran the LEDs at full brightness for a few days and monitored the temperature in particular. However, the aluminium profile only became slightly warm, i.e. the heat is dissipated very well.

In the following video you can see that the pulse width modulation also works as expected.
For those interested in technology, here is the code for controlling the brightness. The LED control (LEDC) of the ESP32 is used for this.
// PWM-Konfiguration
#define PWM_FREQ 1000 // 1000Hz PWM
#define PWM_RESOLUTION LEDC_TIMER_16_BIT // Resolution of 16 bit = maximum at 1000Hz
#define MIN_DUTY 0 // Minimum duty cycle value
#define MAX_DUTY 65535 // Maximum duty cycle value
#define LEDC_CHANNEL LEDC_CHANNEL_0 // LEDC-Channel

// PIN forLED-Channel
#define LED_PIN 16

void app_main(void)
{
    esp_err_t ret;

    ledc_timer_config_t ledc_timer = {
        .duty_resolution = PWM_RESOLUTION,
        .freq_hz = PWM_FREQ,
        .speed_mode = LEDC_HIGH_SPEED_MODE,
        .timer_num = LEDC_TIMER_0,
        .clk_cfg = LEDC_USE_APB_CLK,
    };
    ledc_channel_config_t ledc_channel = {
        .channel = LEDC_CHANNEL,
        .duty = 0,
        .gpio_num = LED_PIN,
        .speed_mode = LEDC_HIGH_SPEED_MODE,
        .timer_sel = LEDC_TIMER_0
    };

    time_t now;
    struct tm timeinfo;

    int brightnessArray[24] = { ...  };

    ledc_timer_config(&ledc_timer);
    ledc_channel_config(&ledc_channel);
    ledc_fade_func_install(0);

    time(&now);
    localtime_r(&now, &timeinfo);

    // LEDs dark at startup
    ledc_set_duty(LEDC_HIGH_SPEED_MODE, LEDC_CHANNEL, 0);
    int current_state = 0;

    // Maximum value depends on PWM_RESOLUTION
    int max_duty = (1 << PWM_RESOLUTION) - 1;  // With 16 bits this is 65535

    while (1) {

        time(&now);
        localtime_r(&now, &timeinfo);

        int hour = timeinfo.tm_hour;
        int target_state = brightnessArray[hour];

        if (target_state != current_state) {
            current_state = target_state;

            if (target_state == 0) {
                ledc_set_fade_with_time(LEDC_HIGH_SPEED_MODE, LEDC_CHANNEL, MIN_DUTY, 10 * 60 * 1000); // Switch off, 10 minutes fade time
            }
            else {
                ledc_set_fade_with_time(LEDC_HIGH_SPEED_MODE, LEDC_CHANNEL, MAX_DUTY, 10 * 60 * 1000); // Switch on, 10 minutes fade time
            }

            ledc_fade_start(LEDC_HIGH_SPEED_MODE, LEDC_CHANNEL, LEDC_FADE_WAIT_DONE);
        }

        vTaskDelay(60 * 1000 / portTICK_PERIOD_MS); // Wait for 10 seconds
    }
}
Finally, the panels and side sections are glued to the profile. I used ordinary sanitary silicone for this. Two Plexiglas panes are glued into the panels, which unfortunately can't really be seen in the photo.
And this is what the finished lighting looks like from below and above.
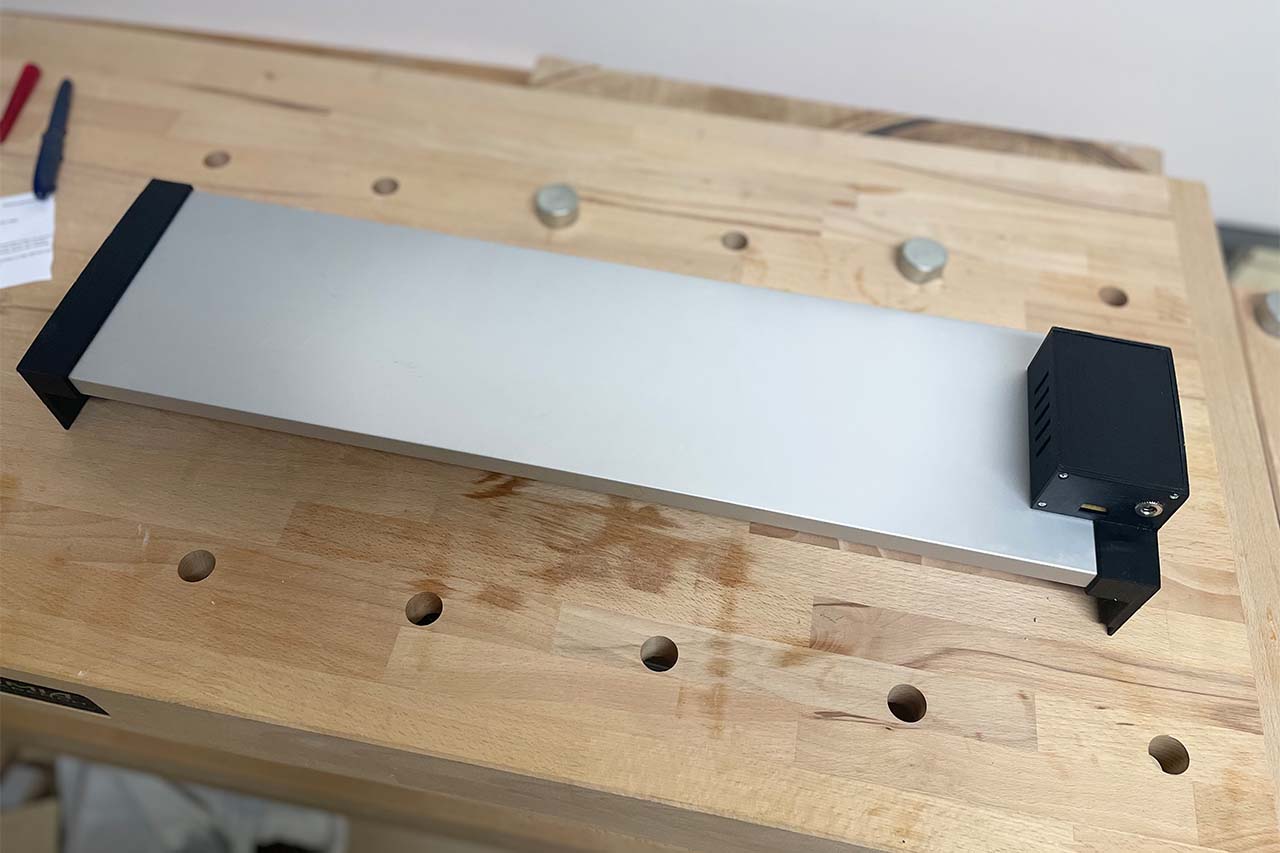
The last photo is of course the lighting in operation. I think it actually looks like it was bought :-)

This completes this small project. Apart from the LEDs and the MOSFET, the entire lighting system was built from scraps, from the aluminium profile to the ESP32, the voltage regulator, old filaments and the power supply unit that previously powered a laptop.