Beautify flower pots with the napkin technique
Maybe some of you already know the napkin technique, but I would like to introduce it to you. I think you can achieve quite beautiful results with it and renew many an old flower pot (or vase, jug, etc.).
What do you need?
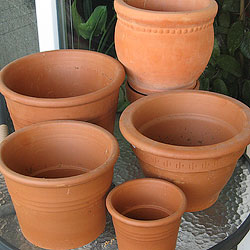
Clay pots: In principle, there are no limits to the shape and size. Especially when it comes to the shape, you should try something other than the standard terracotta flower pot. Ideally, the style of the pot should match the motif of the napkins.
Acrylic paints: I have tried cheaper and medium-cheap hobby paints and actually like the cheaper ones better. They don't cover as well, but they don't smell so extremely chemical. I don't know if this is due to the more expensive components or the brand.
Napkin glue: You can get this glue in any craft shop.
Bristle brush
Possibly: exterior varnish, crackling varnish: The varnish is mainly used to protect the paint and the napkins from moisture. Depending on your taste, you can use matt or glossy varnish.
Work steps (simple):
- Prime the clay pot with paint. If the napkin with background has been torn out, then it is best to paint the pot in the same background colour. The napkin (especially if both bases have been torn off) is very thin and matches the background colour somewhat. Therefore, the base colour should also be light so that the motif can shine nicely. Leave to dry (about 10 minutes).
- Apply the napkin glue to the place where the motif is to go.
- Place the napkin on the napkin and very carefully smooth it out with your fingers from the centre of the motif. A few small wrinkles usually cannot be prevented and will disappear after drying. Nevertheless, you should take care to smooth out larger air folds.
- Brush the napkin glue over the napkin again to create a protective layer.
- Either spray the outside with varnish or paint the whole pot with the napkin glue. The napkin glue usually also has a varnish in it.
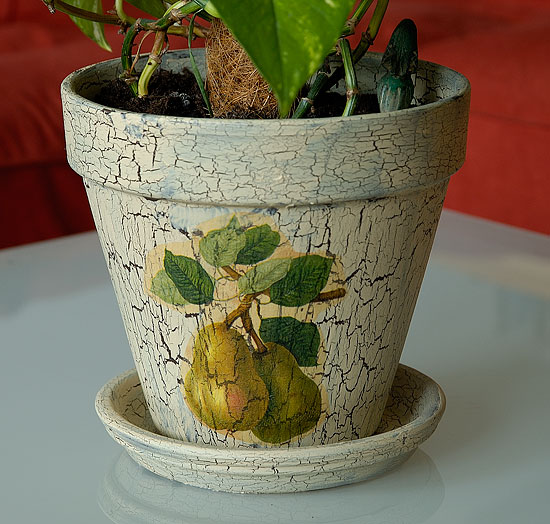
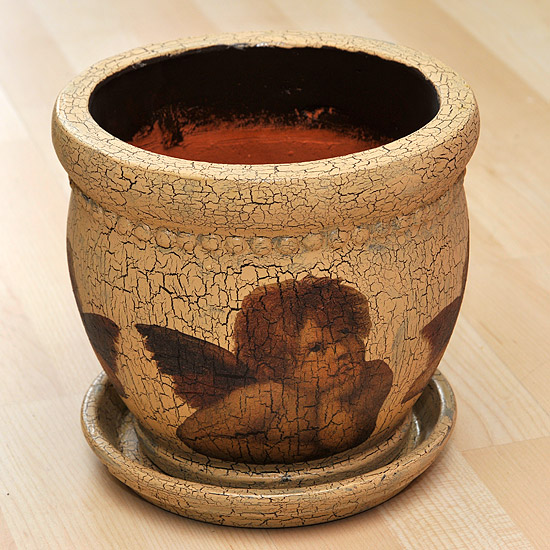
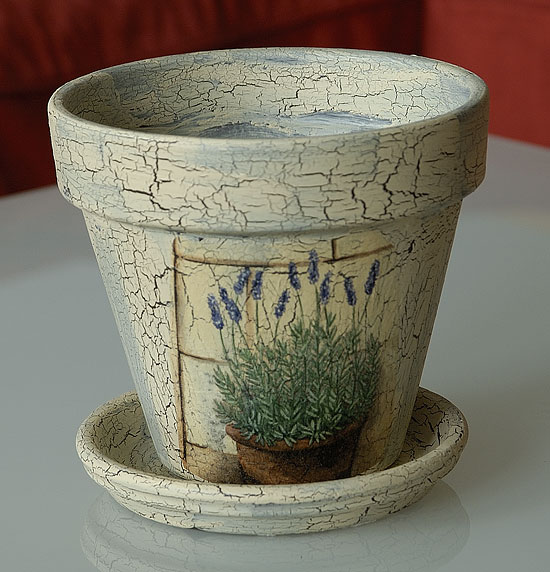
Steps in the crackling lacquer technique (antique):
- Select the napkin motif and tear out/cut.
- Prime the clay pot with paint. This is the colour that will shine through the cracks. I recommend a rather dark colour.
- Apply a thick layer of crackling varnish and let it dry well.
- Paint over the cracks with the second, lighter colour. Caution: The varnish causes the paint to crack as soon as it dries. Then you must not paint over it again, because otherwise you will close the cracks right away. This makes this technique a little more difficult.
- After drying, glue the napkin on as described above. The napkin does not get any tears from the crackling varnish! However, the tears will show through on light-coloured napkins.
Tips:
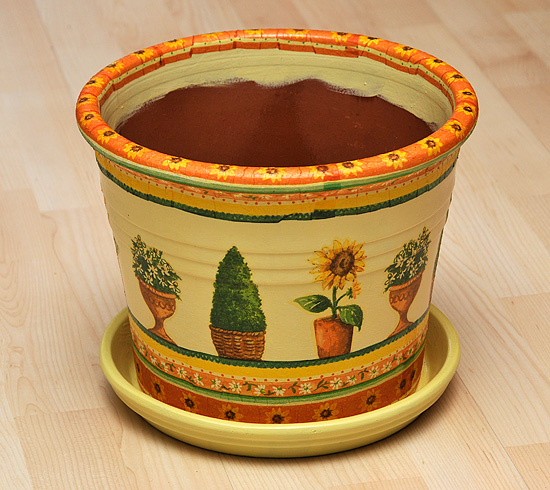
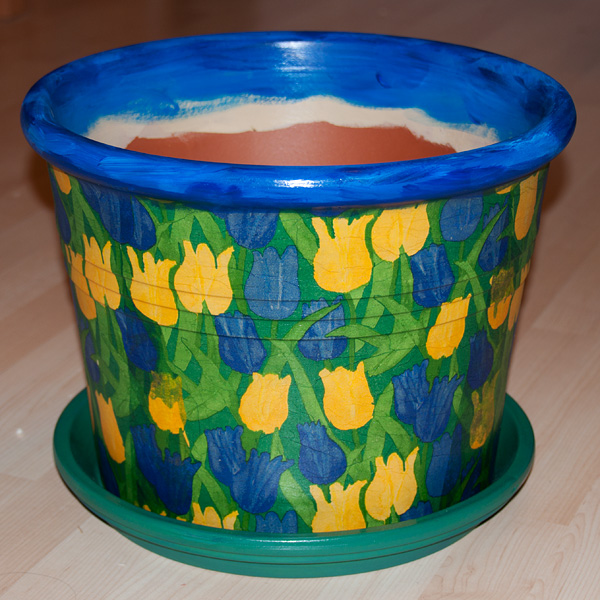
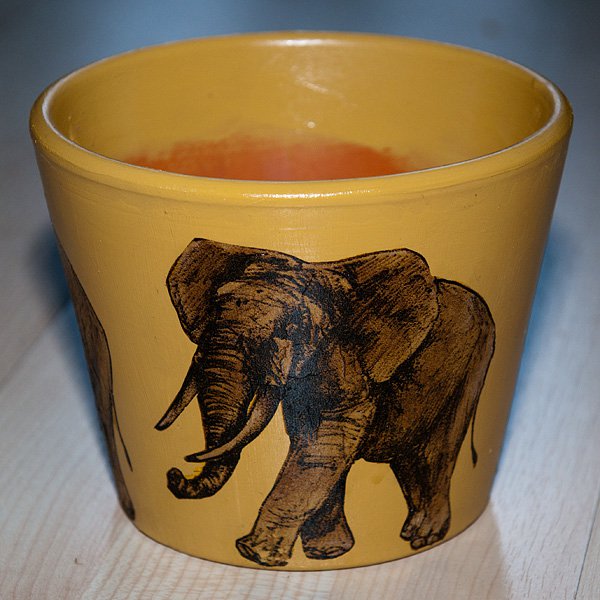
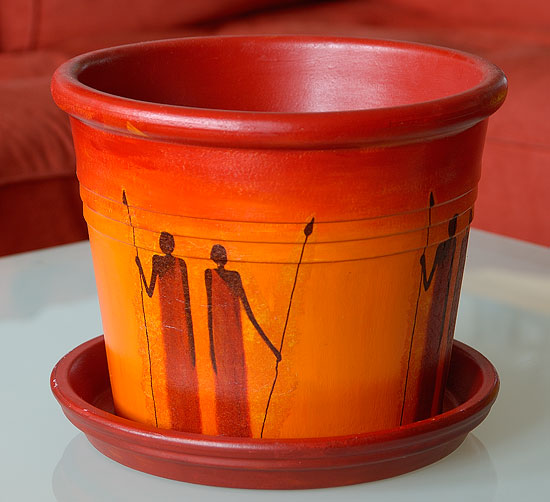
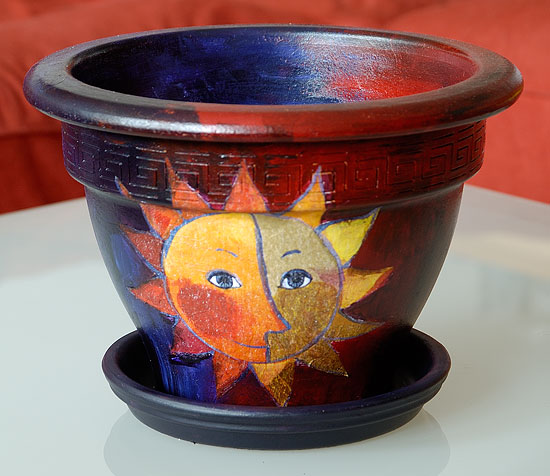
What do you do if you want a dark background colour (e.g. the pot on the top right with the sun)? In this case, I painted the place where the motif goes in white and the rest of the pot in dark colours. After the napkin was glued on, I touched up the white edges with a brush.
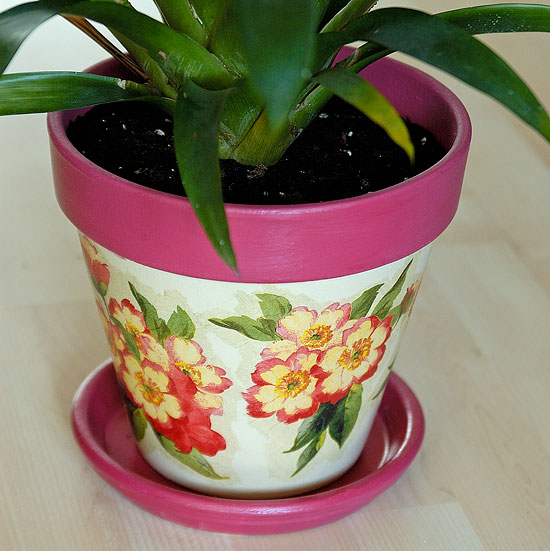
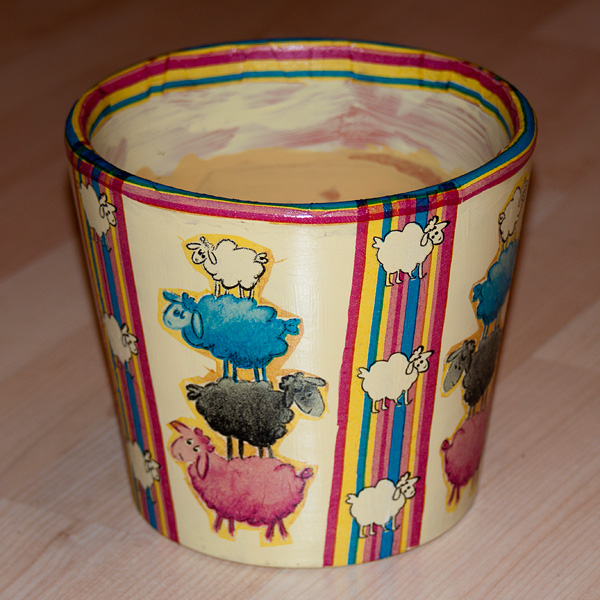
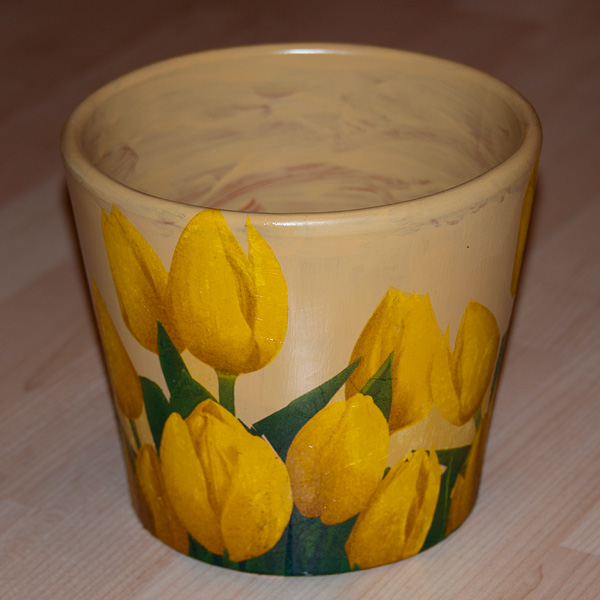
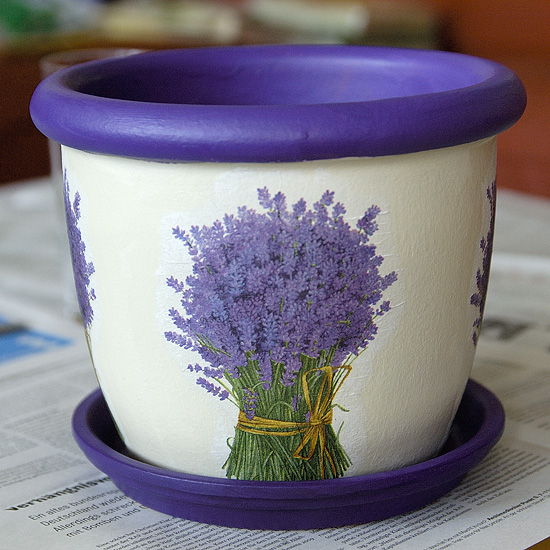
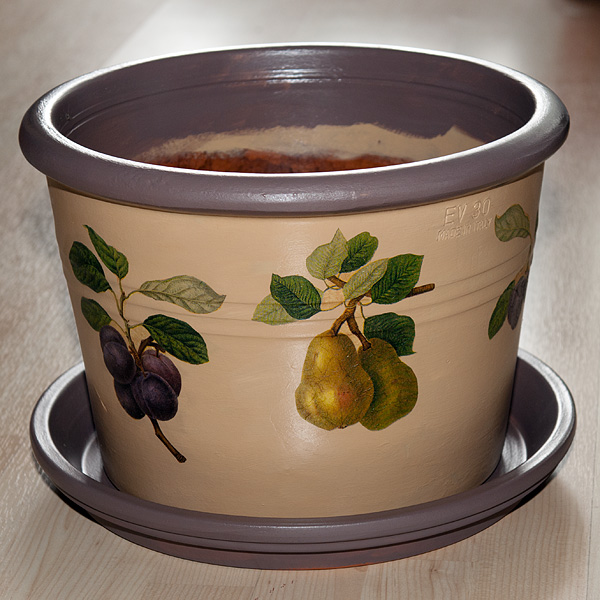
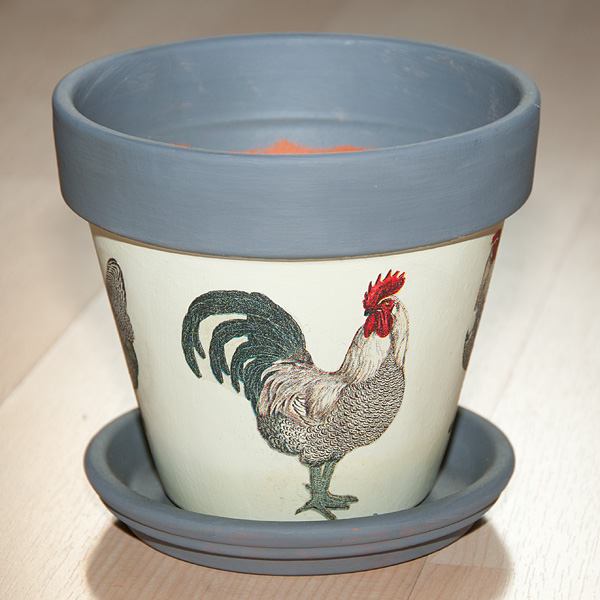
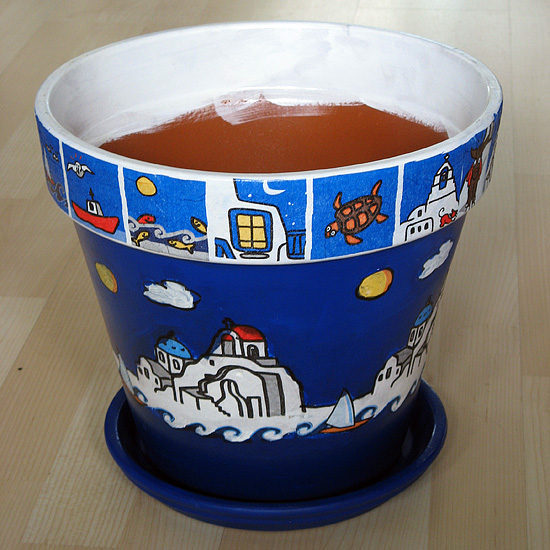
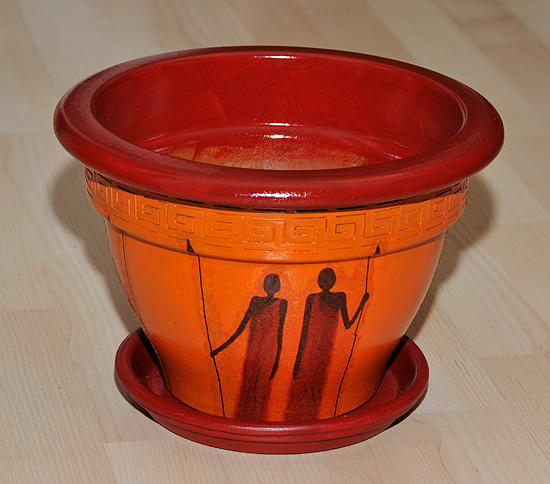
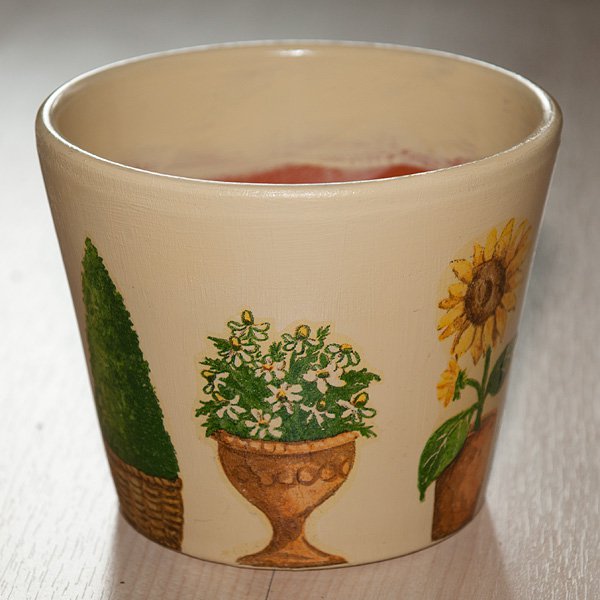
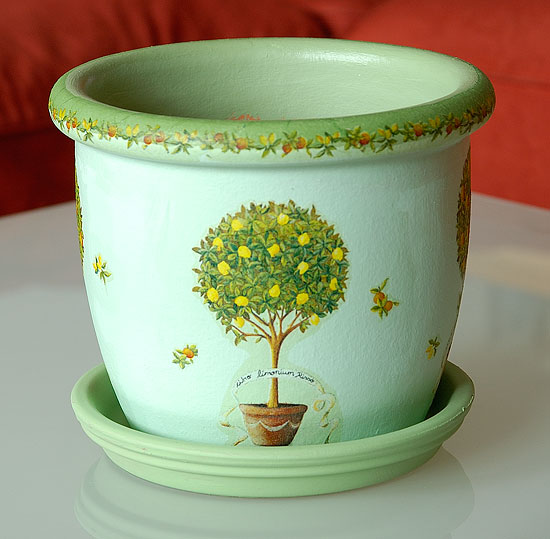
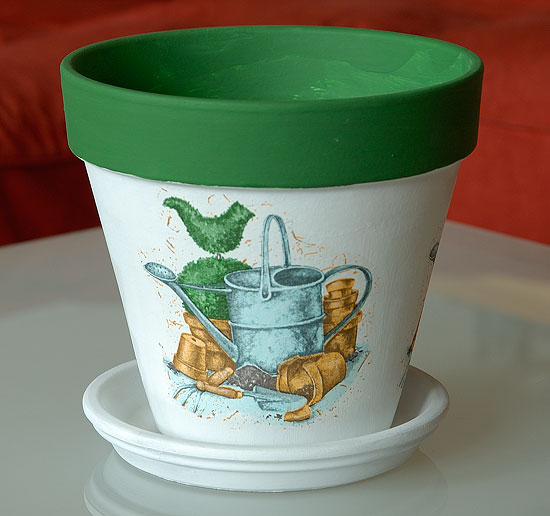
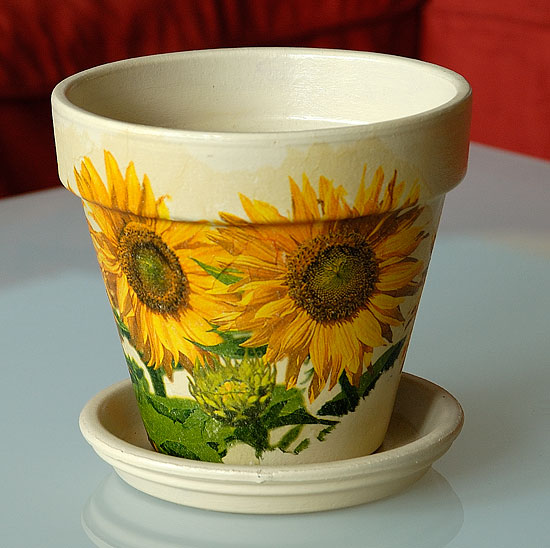
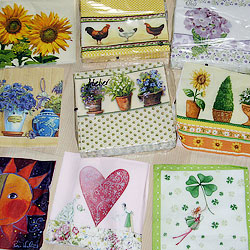
So, I hope I didn't forget anything. Finally, a few examples: